I’ve been looking for a clean way to send push notifications from my home lab for a while. Things like backup completion alerts, Uptime Kuma webhook targets, or just a quick curl call from a script to let me know something finished running. I tried a few hosted options but they either had annoying limits on the free tier or required an account tied to some third-party service I’d rather not depend on.
Ntfy solves this cleanly. It’s an open source, self-hosted notification service that uses a simple HTTP-based publish/subscribe model. You publish a message to a topic via a plain HTTP POST, and anyone subscribed to that topic receives a push notification — on their phone, browser, or anywhere else the Ntfy app is installed. No accounts with third parties, no vendor lock-in, and the setup is about as straightforward as it gets.
This post covers deploying Ntfy with Docker, locking it down with authentication, managing users and their topic access, and setting up API tokens so your scripts and applications can publish without using your account password.
Prerequisites
- Docker & Docker Compose installed — see my Install Docker and Docker Compose on Linux guide if you need it
- Dockhand installed — see my Dockhand — Docker Management Dashboard guide if you need it
- Optionally: a domain name and reverse proxy (e.g. Nginx Proxy Manager) if you want to expose Ntfy externally with HTTPS
Project Structure
Ntfy needs two things bind-mounted from the host: a config file and a data directory for the user database, message cache, and attachments. Create this structure before deploying:
ntfy/
├── server.yml
└── data/
The data/ directory can be created empty — Ntfy will initialize the database files on first start. The server.yml file is what we’ll configure next.
Heads up if you’re running as a non-root user: Create the
data/directory manually as the user you plan to run the stack under before deploying. If Docker creates it on first run, it will be owned by root, and the container will fail to write to it. A quickmkdir datawhile logged in as (orsudo -u) your service account is enough to avoid this.
Server Configuration
Create server.yml inside your ntfy directory with the following contents:
base-url: "https://ntfy.example.com"
listen-http: ":80"

auth-file: "/var/lib/ntfy/user.db"
auth-default-access: "deny-all"
enable-login: true

cache-file: "/var/lib/ntfy/cache.db"
cache-duration: "12h"

attachment-cache-dir: "/var/lib/ntfy/attachments"
attachment-total-size: "5G"
attachment-file-size: "15M"
attachment-expiry-duration: "3h"
A few things worth pointing out here:
base-url— set this to the URL you’ll be accessing Ntfy from. If you’re using a reverse proxy with a custom domain, put that here. This is used to generate click-through links in notifications.auth-file— this is the SQLite database Ntfy uses to store users and their access permissions. The path must be inside the Docker volume so it persists across container restarts.auth-default-access—deny-allmeans no one can publish or subscribe to any topic unless explicitly granted access. This is the right setting for a private instance. If you want a fully open instance (anyone can publish and subscribe), set this toread-write, but that’s not recommended if your instance is reachable from the internet.enable-login— this must be explicitly set totruefor the web UI login form to work. Even withauth-fileconfigured and users created, Ntfy defaults this tofalse, which leaves the web UI showing “Login is disabled.”- The
cacheblock controls how long undelivered messages are held so devices that were offline can catch up. - The
attachmentblock enables file attachments in notifications and sets limits on attachment size and total storage used.
Deploying the Stack
In Dockhand, go to Stacks, click Add stack, give it a name like ntfy, and paste the following into the editor:
services:
  ntfy:
    image: binwiederhier/ntfy:latest
    container_name: ntfy
    user: "${PUID}:${PGID}"
    ports:
      - "${NTFY_PORT}:80"
    volumes:
      - /home/${NTFY_USERNAME}/ntfy/server.yml:/etc/ntfy/server.yml
      - /home/${NTFY_USERNAME}/ntfy/data:/var/lib/ntfy
    environment:
      - TZ=${TZ}
    command: serve
    healthcheck:
      test: ["CMD-SHELL", "wget -q --tries=1 http://localhost:80/v1/health -O - | grep -o '\"healthy\":true' || exit 1"]
      interval: 30s
      timeout: 10s
      retries: 3
      start_period: 10s
    deploy:
      resources:
        limits:
          memory: 512M
    restart: unless-stopped
The compose file uses environment variables to handle volume paths dynamically — no hardcoded paths needed. It also runs the container under a specific user via PUID/PGID, includes a healthcheck that polls the /v1/health endpoint every 30 seconds, and caps memory at 512MB.
Add the following environment variables in the Dockhand stack editor:
| Name | Example Value | Description |
|---|---|---|
PUID |
1000 |
UID of the user to run the container as |
PGID |
1000 |
GID of the user to run the container as |
NTFY_USERNAME |
dockersa |
Username whose home directory holds the ntfy config and data |
NTFY_PORT |
8080 |
Host port to expose Ntfy on |
TZ |
America/Los_Angeles |
Timezone for the container |
To find your PUID and PGID, run id on your server while logged in as the user you want the container to run as.
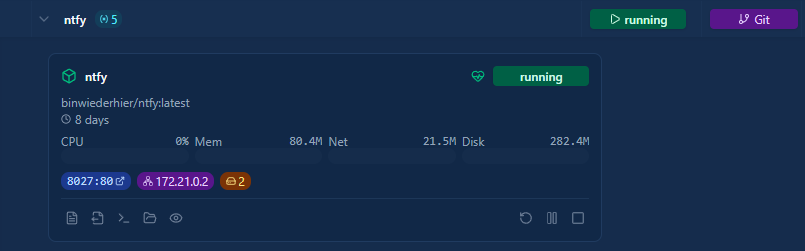
Click Deploy the stack. Once Dockhand shows all containers as running, Ntfy is up and listening on the port you configured.
Deploying via GitOps Integration
If you’d rather have Dockhand pull and deploy the compose file directly from the repository, you can use the Git Integration feature instead of pasting manually. Go to Settings → Git Integration, connect your repository, and Dockhand will watch for changes and redeploy affected stacks automatically via webhook.
For a starting point, the compose file for this stack is in the CHNS/Docker-Compose repo at Ntfy/docker-compose-bind.yaml. See the Dockhand article for full setup details on the Git integration.
Creating the Admin User
With auth-default-access: deny-all set, the first thing you need to do is create an admin user. This user can manage other users and has full read/write access to all topics.
Open the Ntfy container’s console in Dockhand (Containers → ntfy → Console), or run the command via docker exec:
docker exec -it ntfy ntfy user add --role=admin admin
Breaking down each part:
docker exec— runs a command inside a running container-it—-ikeeps stdin open so you can type the password;-tallocates a pseudo-TTY so the prompt displays correctlyntfy— the name of the container to run the command inntfy user add— the Ntfy CLI subcommand to create a new user--role=admin— assigns the admin role, which grants full read/write access to all topics and the ability to manage other usersadmin— the username to create; you can change this to whatever you want
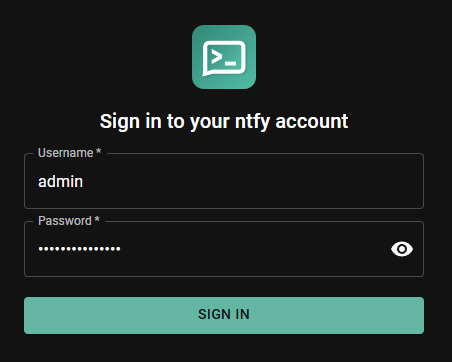
You’ll be prompted to set a password. Once created, you can log into the Ntfy web UI at http://{your server IP}:8080 with these credentials.
Managing Users
Adding a Regular User
For each person or service that needs access to Ntfy, create a dedicated user account:
docker exec -it ntfy ntfy user add {username}
You’ll be prompted to set a password. Regular users have no topic access by default — you need to explicitly grant it.
Listing Users
docker exec -it ntfy ntfy user list
This shows all users and their assigned roles.
Changing a Password
docker exec -it ntfy ntfy user change-pass {username}
Removing a User
docker exec -it ntfy ntfy user del {username}
Granting Topic Access
Topic access is managed separately from user accounts. After creating a user, you grant them access to specific topics using the ntfy access command.
Grant Read/Write Access to a Topic
docker exec -it ntfy ntfy access {username} my-topic read-write
This allows username to both publish messages to my-topic and subscribe to receive them.
Grant Read-Only Access
Useful for users who should be able to receive notifications from a topic but not publish to it:
docker exec -it ntfy ntfy access {username} my-topic read-only
Grant Write-Only Access
Useful for services or scripts that need to publish to a topic but shouldn’t be able to read from it:
docker exec -it ntfy ntfy access {username} my-topic write-only
List Access Rules for a User
docker exec -it ntfy ntfy access {username}
Revoke Access
docker exec -it ntfy ntfy access --reset {username} my-topic
Or to revoke all access for a user at once:
docker exec -it ntfy ntfy access --reset {username}
Topic names in Ntfy are just strings — there’s no need to pre-create them. The first time a message is published to a topic, it’s automatically created. Access rules use exact topic names, but you can also use wildcards. For example, ntfy access username homelab-* read-write would grant access to any topic starting with homelab-.
API Tokens
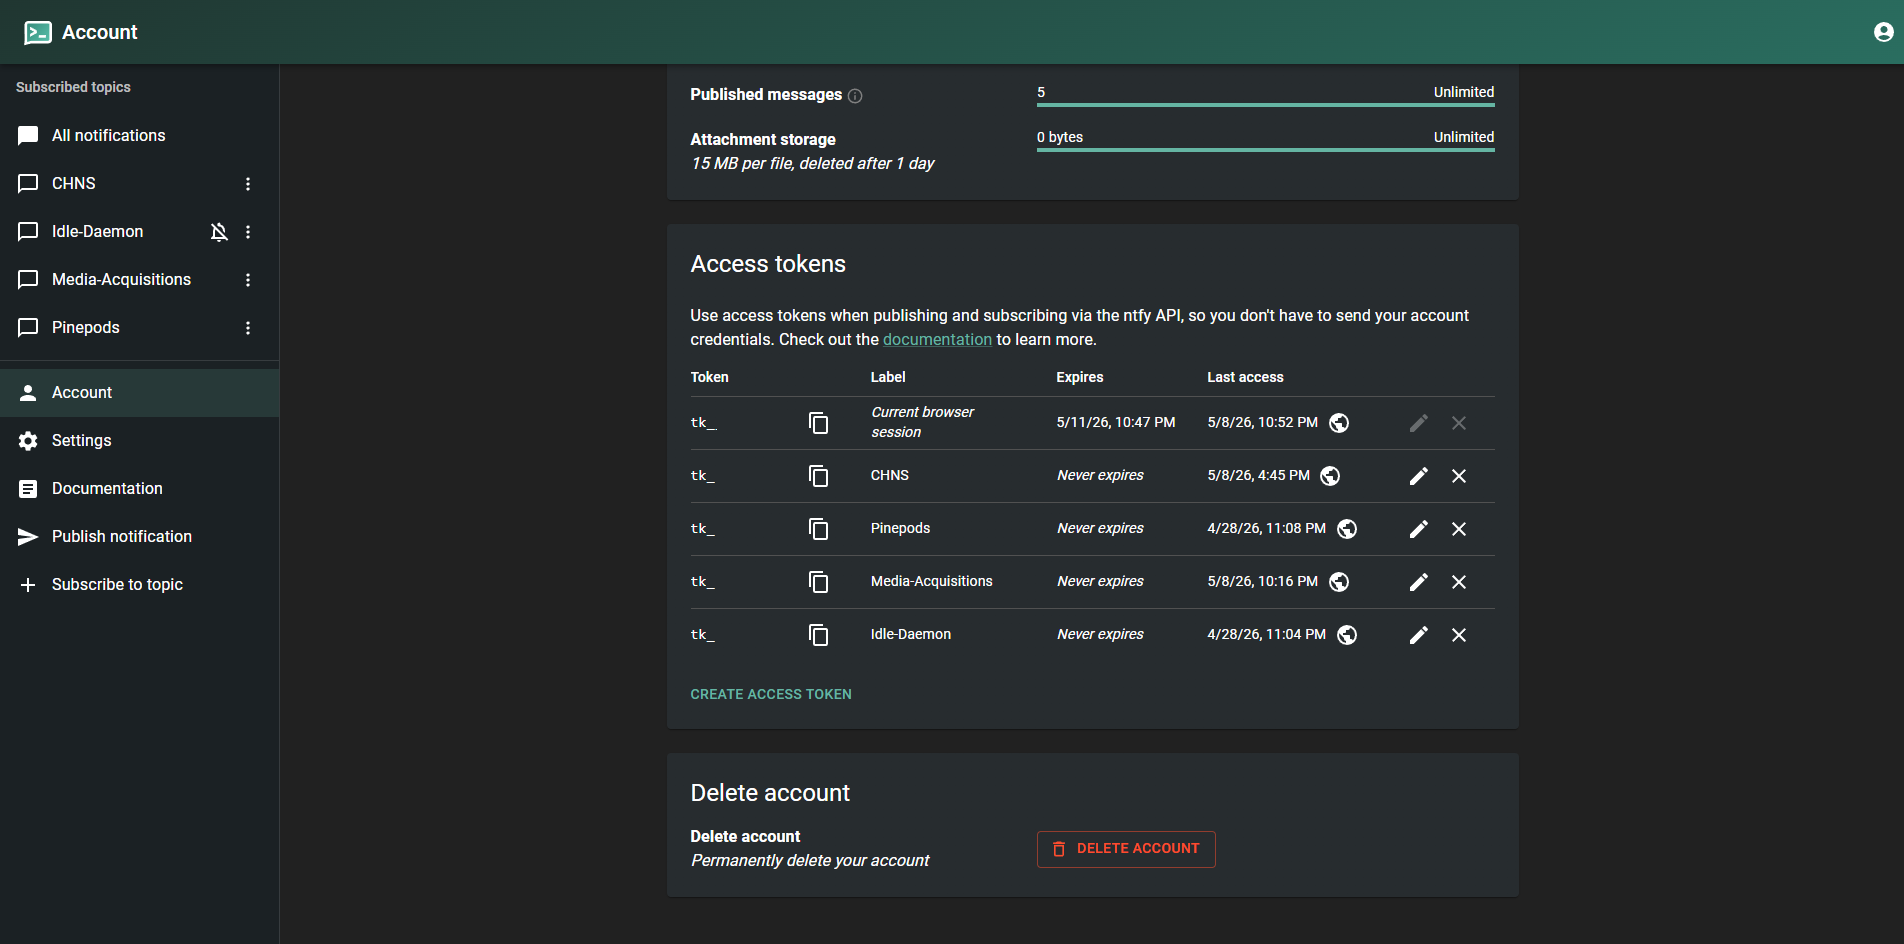
Passwords work for interactive use, but for scripts and applications publishing notifications you’ll want API tokens instead. Tokens can be scoped and revoked individually without touching the user’s password.
Creating a Token
Tokens can be created from the Ntfy web UI or the CLI.
Via the web UI:
Log in as the user you want to create the token for, then go to Account → Access Tokens → Create token. Give it a description (e.g. uptime-kuma or backup-script) so you can identify it later.
Via the CLI:
docker exec -it ntfy ntfy token add {username}
In both cases you’ll get back a token that starts with tk_. Copy it immediately — it won’t be shown again.
Using a Token to Publish
Tokens are passed as a Bearer token in the Authorization header:
curl \
  -H "Authorization: Bearer {token}" \
  -H "Title: Backup Complete" \
  -H "Priority: default" \
  -d "Full backup completed successfully" \
  https://ntfy.example.com/my-topic
If you’re testing locally before setting up a reverse proxy, replace the domain with your server IP and port:
curl \
  -H "Authorization: Bearer {token}" \
  -d "Test notification" \
  http://192.168.1.10:8080/my-topic
Listing and Revoking Tokens
To list all tokens for a user:
docker exec -it ntfy ntfy token list {username}
To revoke a token:
docker exec -it ntfy ntfy token del {username} {token}
Each script or application that publishes to Ntfy should have its own token. That way if a token is ever compromised or a service is decommissioned, you can revoke just that token without affecting anything else.
Subscribing on Mobile
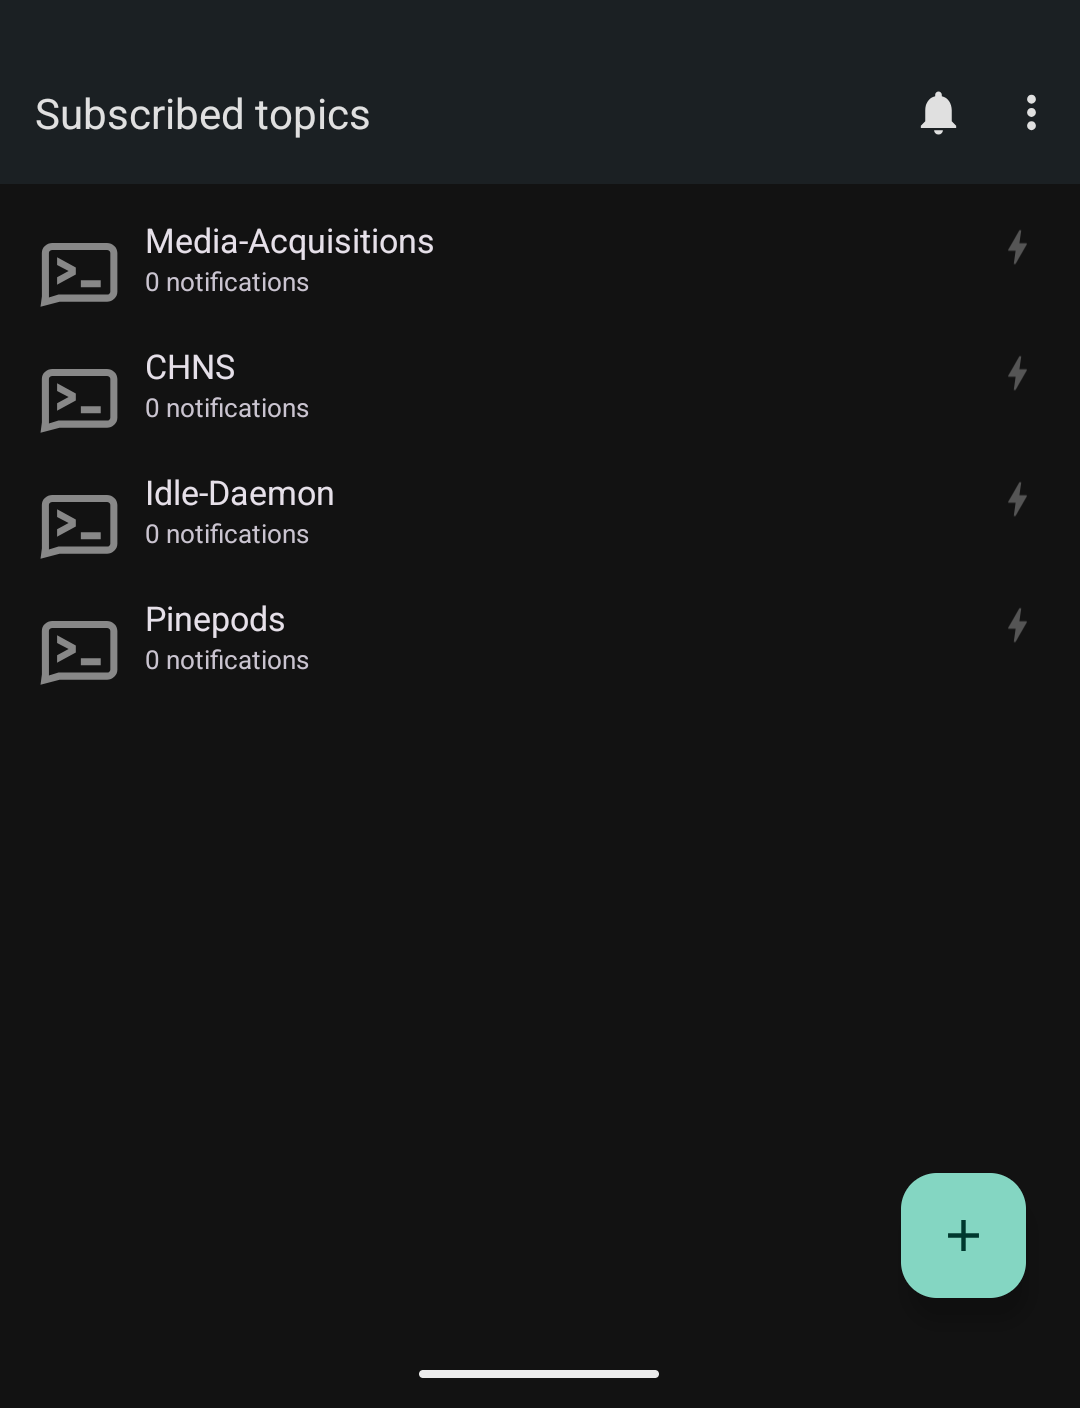
Install the Ntfy app on your phone (available on Android via F-Droid or Google Play, and iOS via the App Store). By default it points at the public ntfy.sh server — you’ll need to point it at your own instance.
In the app, go to Settings → Default server and enter your Ntfy URL. If your instance requires authentication, you’ll also need to enter your username and password or configure the app to use a token.
From there, tap the + button, enter a topic name, and you’re subscribed. Any messages published to that topic will now push to your device.
Wrapping Up
Ntfy has quickly become one of those tools I don’t think about anymore — it just works. I have it integrated with Uptime Kuma for downtime alerts, a few backup scripts that post on completion, and a couple of cron jobs that I’d otherwise have no visibility into. One curl call and the notification is on my phone in seconds.
The access control model is what makes it practical to run as a shared instance across a home lab. Each user or service gets their own account and token, scoped to exactly the topics they need. If a script’s token is ever rotated or revoked, nothing else is affected.
If you’re looking to expand from here, the Ntfy documentation has solid coverage of more advanced features like actions (buttons in notifications), notification scheduling, and email publishing.