Most of the time when a new Ubuntu LTS drops, my first instinct is to just spin up a fresh VM and rebuild. If a server is running Docker, it’s usually cleaner to migrate containers over to a new base than to do an in-place upgrade. That said, not everything lives in a container — and for those servers running bare applications or things that took a while to configure just right, an in-place upgrade is a lot more practical than starting from scratch.
With the release of Ubuntu Server 26.04 LTS, I decided to write up this guide for anyone in that situation. If you’ve been running 24.04 and just want to get to the new LTS without rebuilding, this is for you.
One thing worth knowing before you start: Ubuntu doesn’t always open the LTS-to-LTS upgrade path immediately after a new release. Since 26.04 literally just dropped, there’s a good chance do-release-upgrade will tell you there’s no upgrade available if you run it right now. The workaround — same as what I covered in my Upgrade Ubuntu Server 22.04 LTS to 24.04 LTS article — is to go through the interim release first. I’ll walk through both paths below.
Prerequisites
- Install Ubuntu Server 24.04 LTS — the starting point for this upgrade
Before you start the upgrade, there are a few things to take care of first.
Update all packages and reboot. You want your server to be fully current before the upgrade runs:
sudo apt update && sudo apt upgrade -y && sudo reboot
Check your available disk space. The upgrade will need room to download and stage packages. A few gigabytes free should be enough, but the more the better.
Take a backup or snapshot. This is the big one. In-place upgrades can and do go sideways — a configuration conflict, a package that doesn’t play nice, or just bad timing can leave you with a broken system. If this server is a VM, take a snapshot before you start. If it’s bare metal, make sure you have a backup you can restore from. Do not skip this step.
Upgrade
Once your server is updated and you’ve taken a snapshot, run the upgrade command:
sudo do-release-upgrade
If you are running this shortly after 26.04’s release, you will likely see this message:
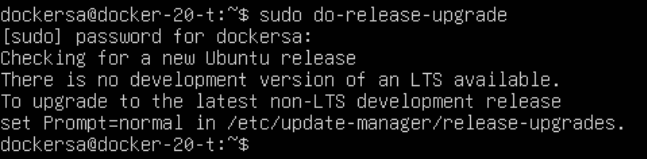
This just means Canonical hasn’t yet opened the official LTS-to-LTS upgrade path. The workaround is to temporarily change the upgrade prompt setting so the tool will look for the interim release (25.10) instead of only looking for LTS versions.
Open the release upgrades config file:
sudo nano /etc/update-manager/release-upgrades
At the bottom of the file, you’ll see a Prompt= line. Change the value from lts to normal. Save and exit with Ctrl + X, then Y, then Enter.
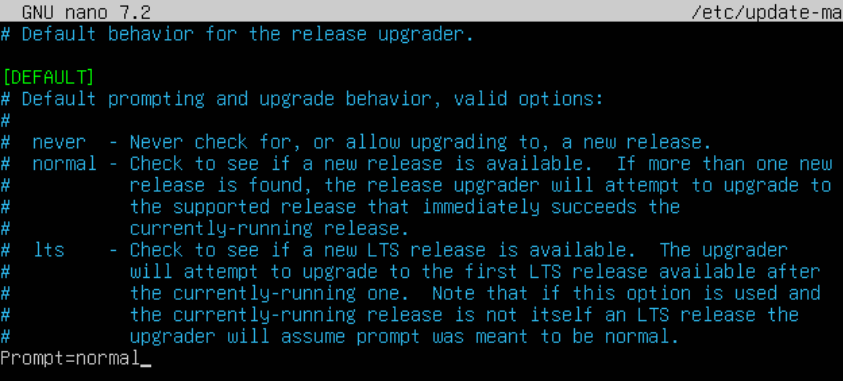
Now run the upgrade command again:
sudo do-release-upgrade
This time it should find the 25.10 release and begin the upgrade process. You’ll be prompted to confirm you want to proceed — press y and Enter to continue.
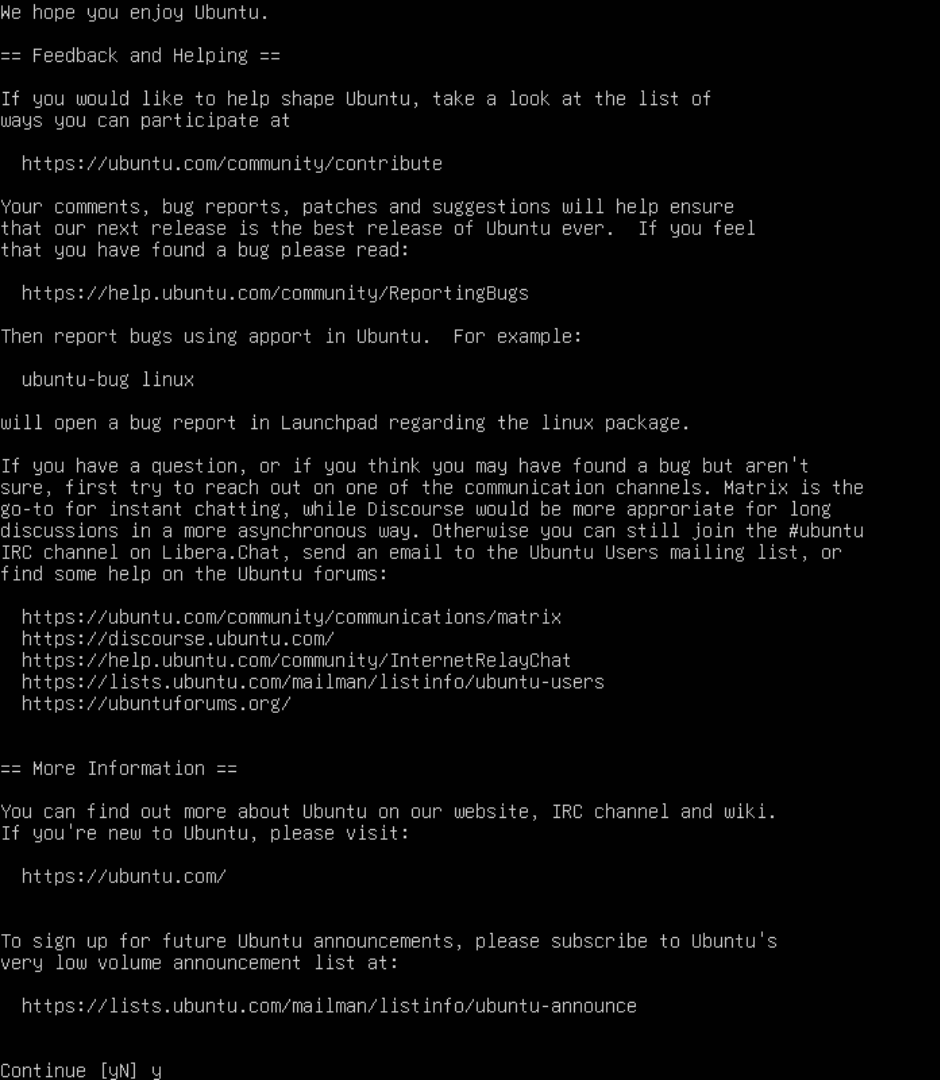
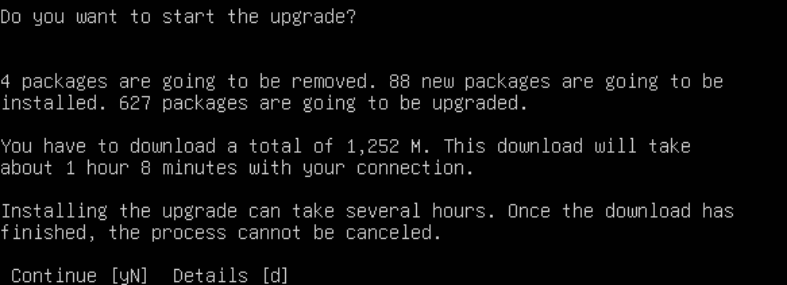
The tool will then give you a summary of everything it’s going to do — how many packages will be installed, upgraded, or removed. Press y and Enter to confirm.
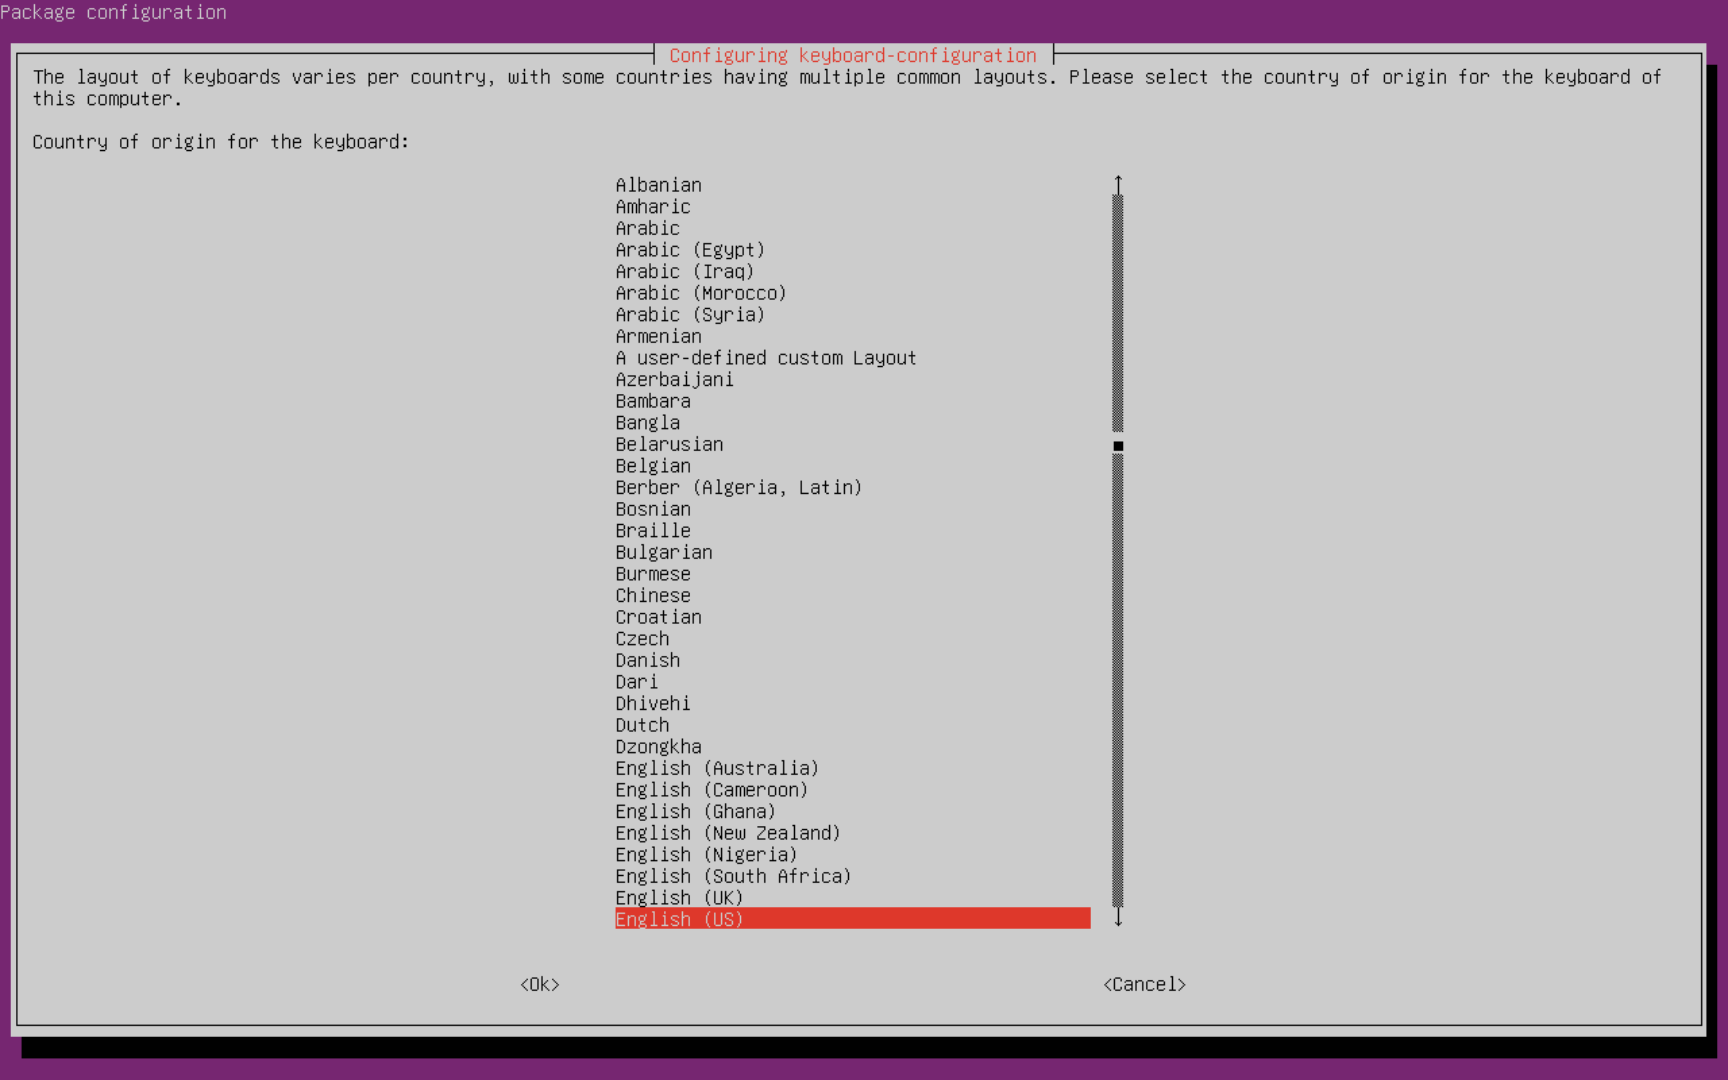
During the upgrade, you may be prompted to configure your keyboard layout. Select your country of origin and press Enter to confirm.
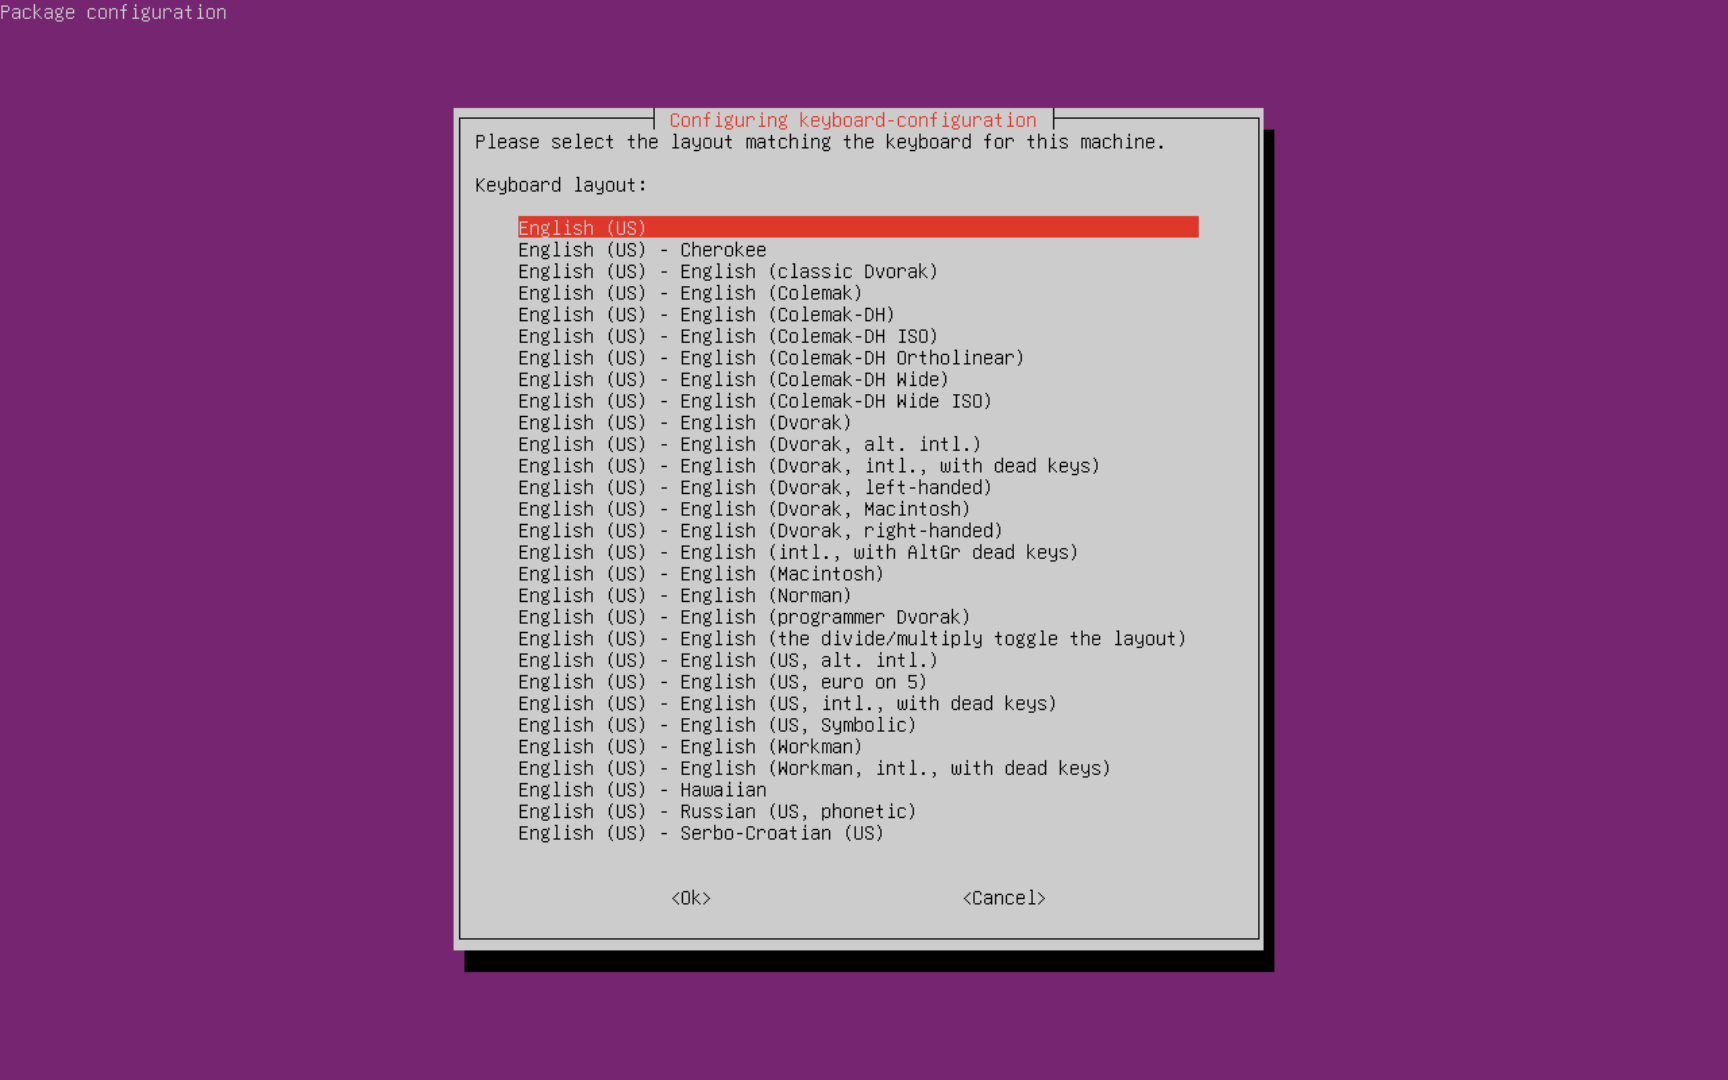
Then select your specific keyboard layout and press Enter.
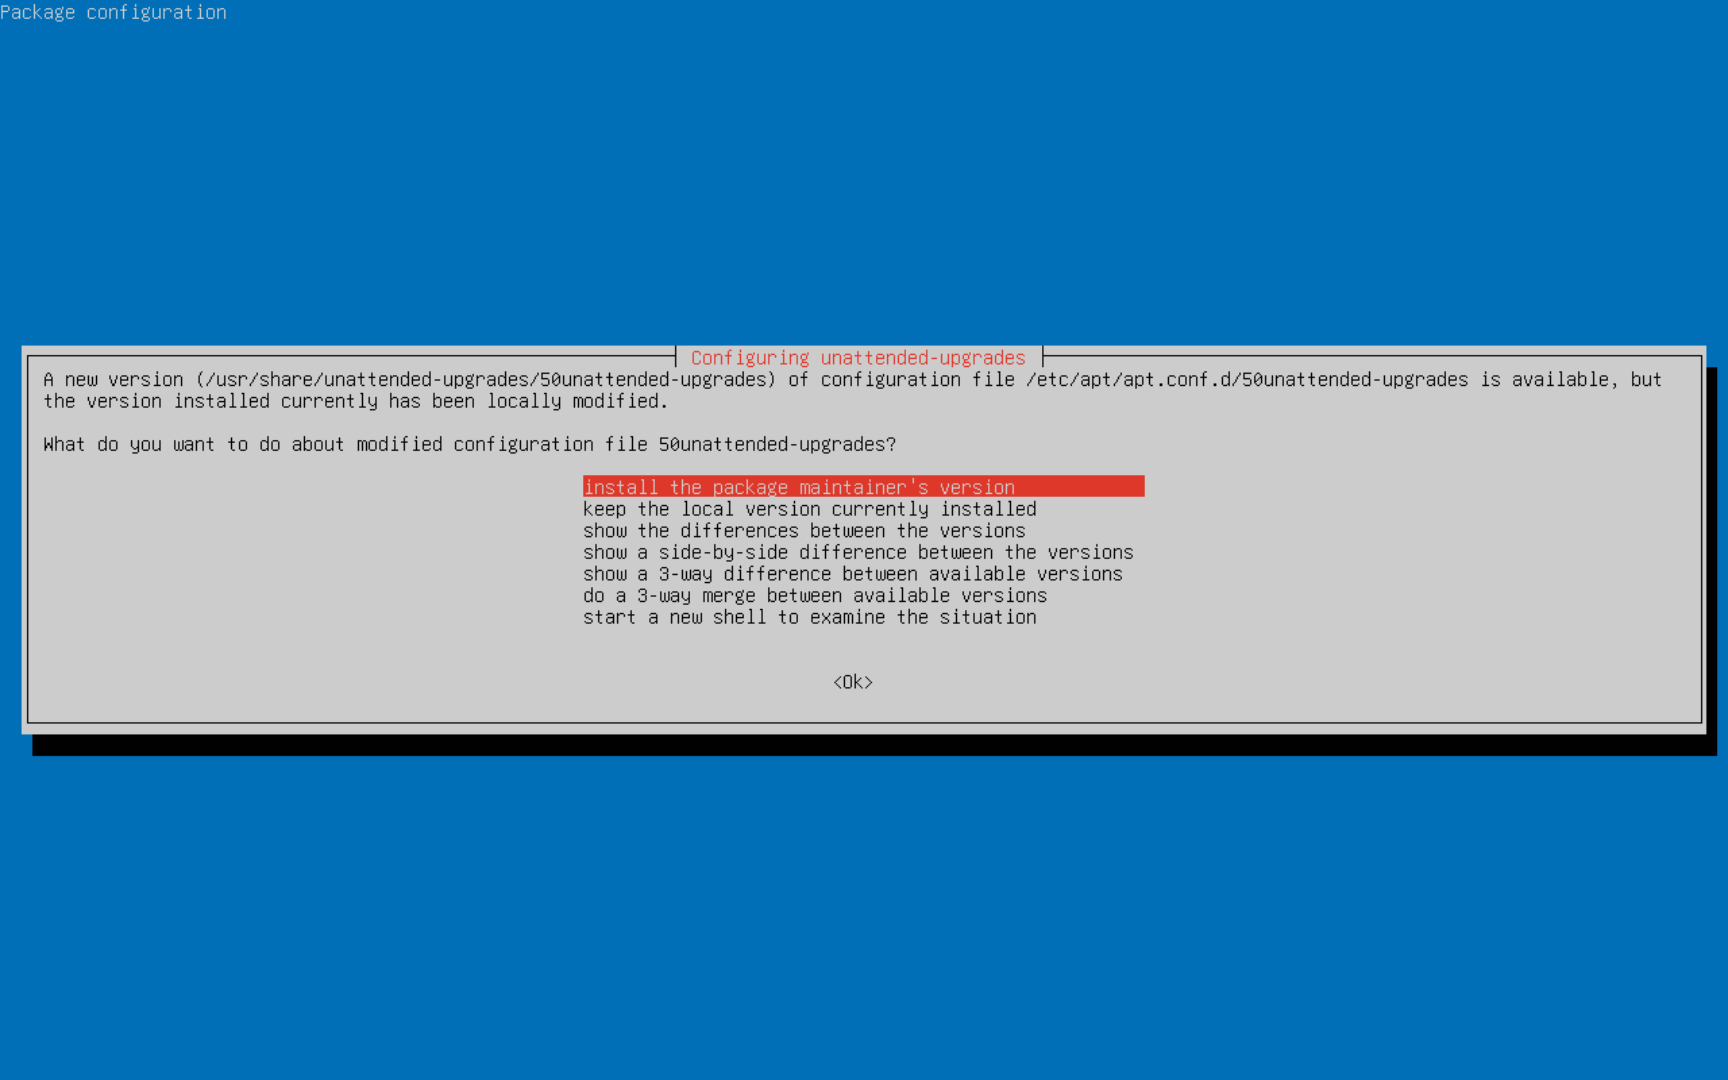
If you have a locally modified unattended-upgrades config, you’ll be asked what to do with it. I recommend selecting “Install the package maintainer’s version” to pick up any new defaults for the new release.
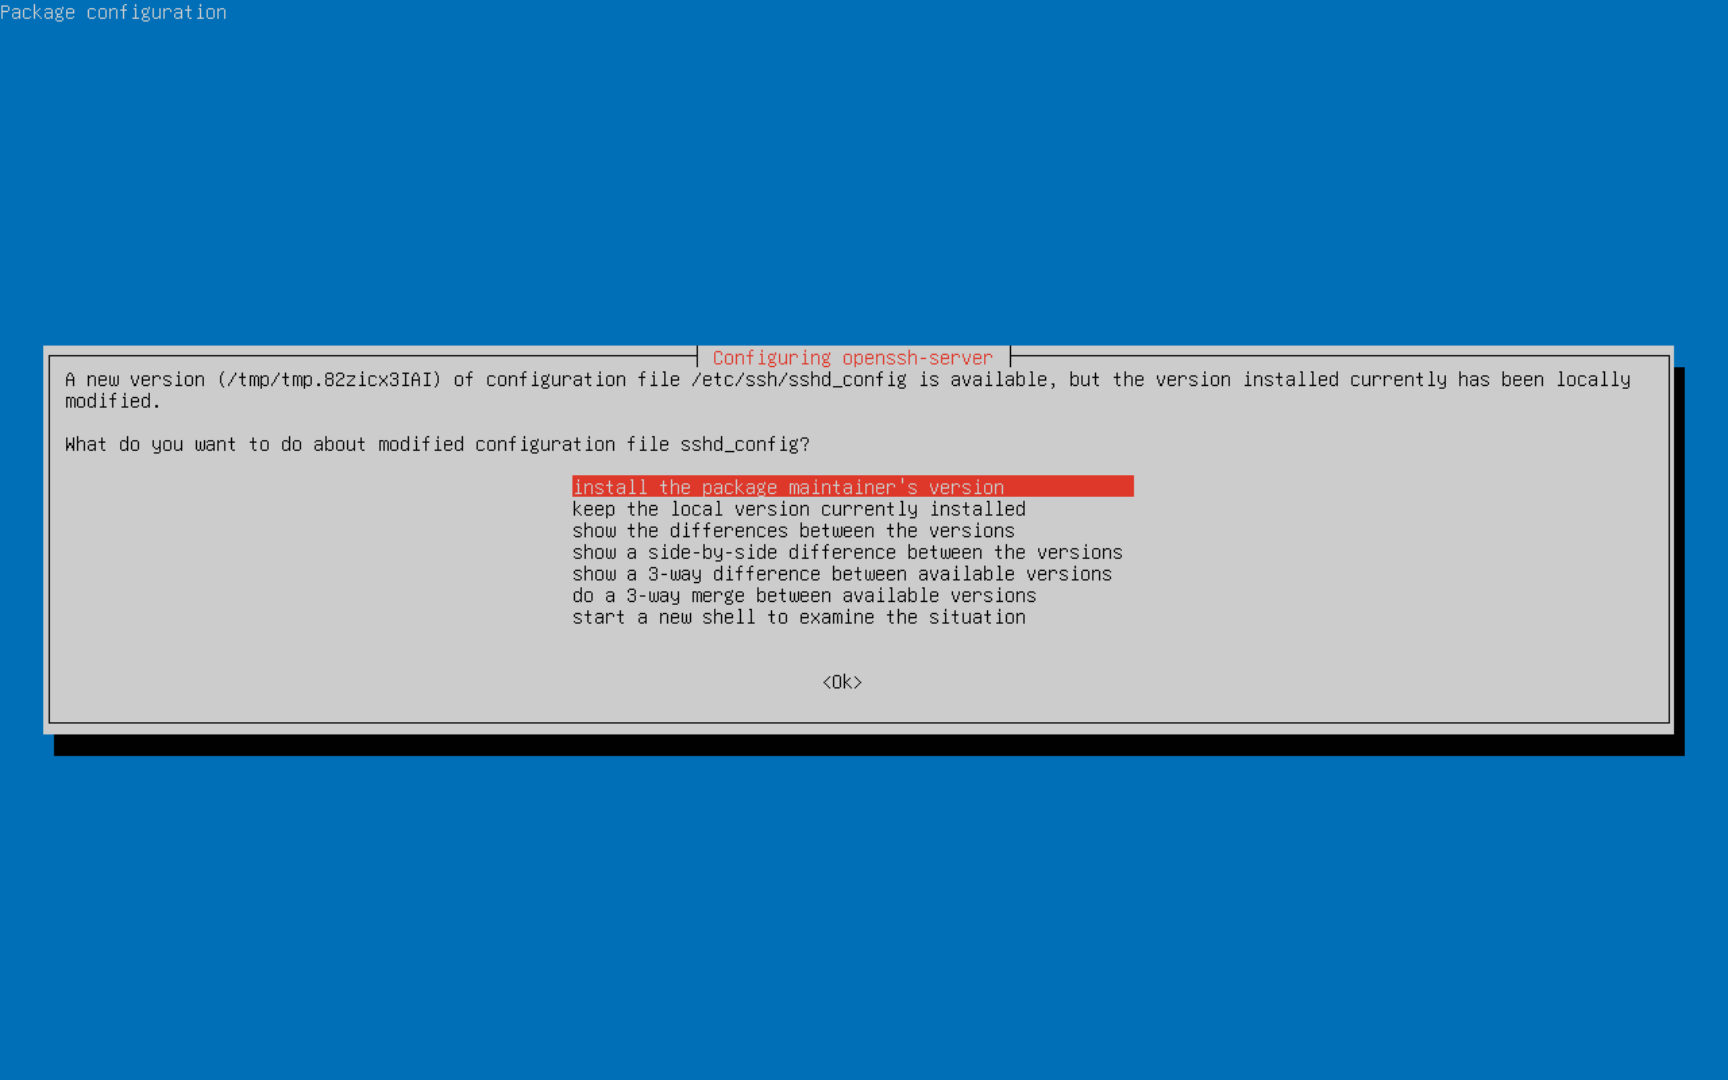
Similarly, if you have modified your SSH config, you’ll be asked whether to keep your existing sshd_config or replace it with the package maintainer’s version. I recommend selecting “Install the package maintainer’s version” so you get any new defaults, then go back and re-apply your custom settings afterward.
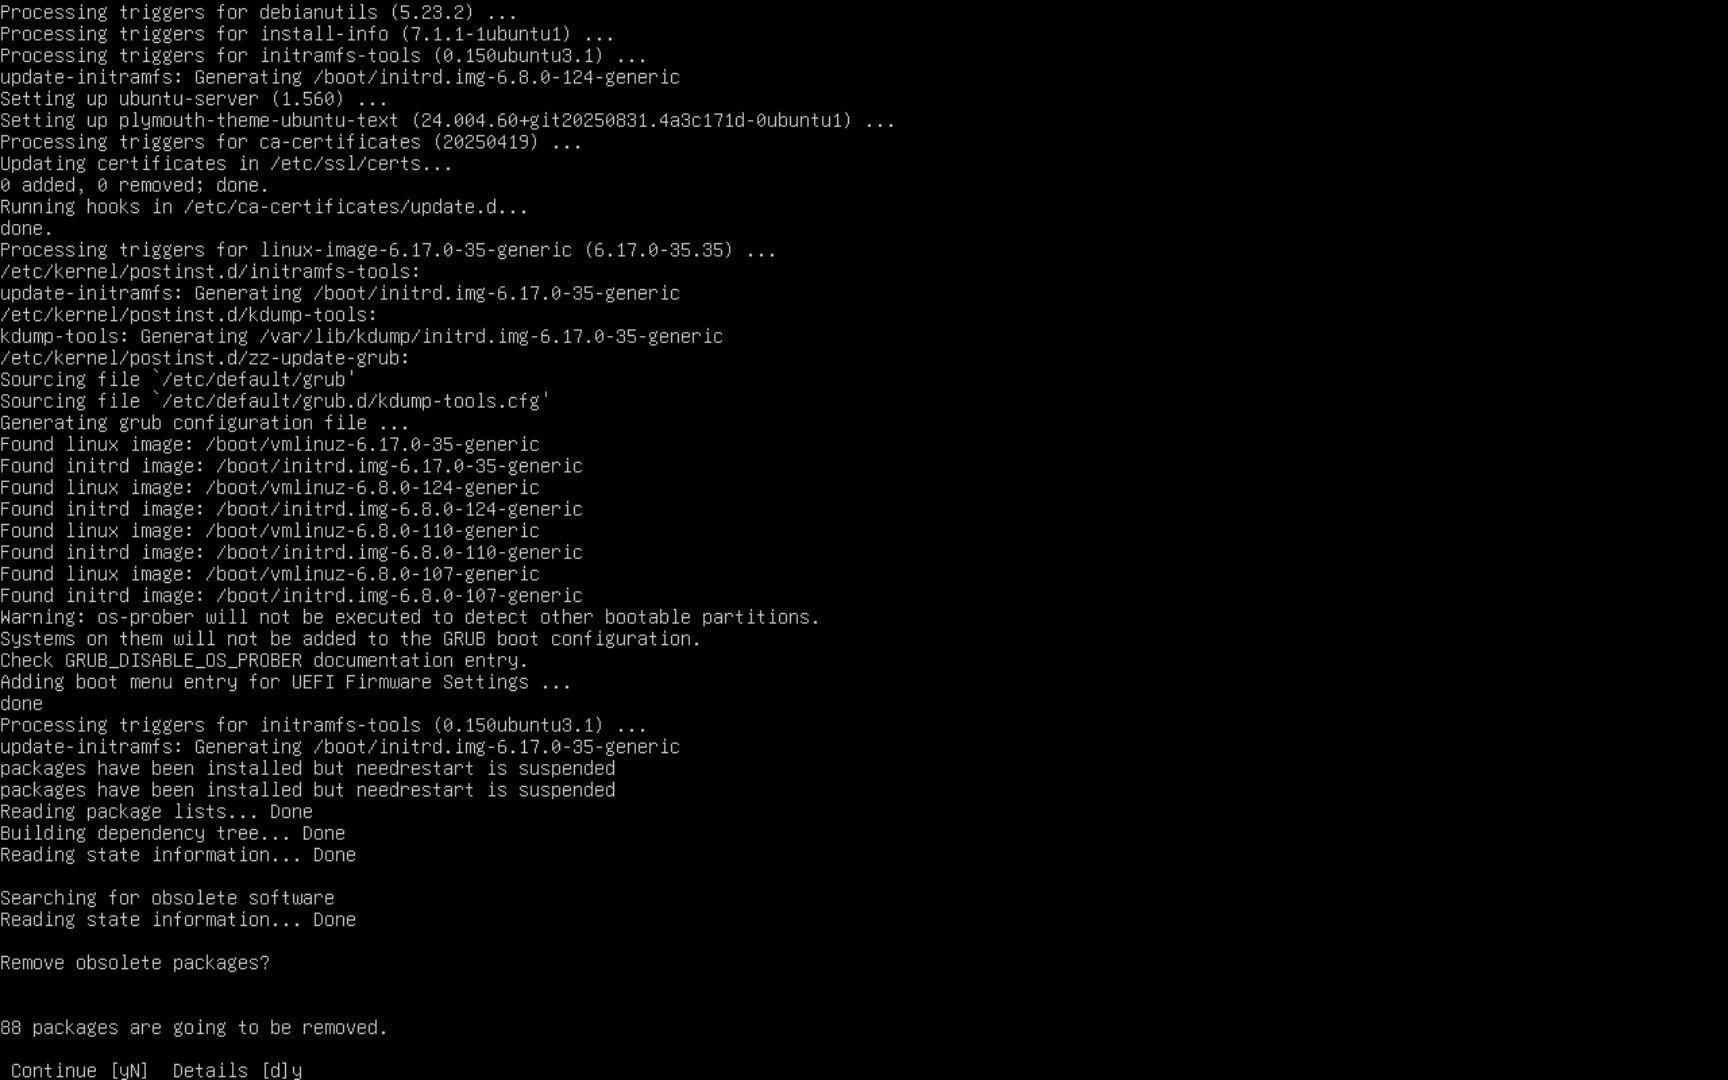
You’ll then be asked to confirm removing obsolete packages. Press y and Enter to confirm.
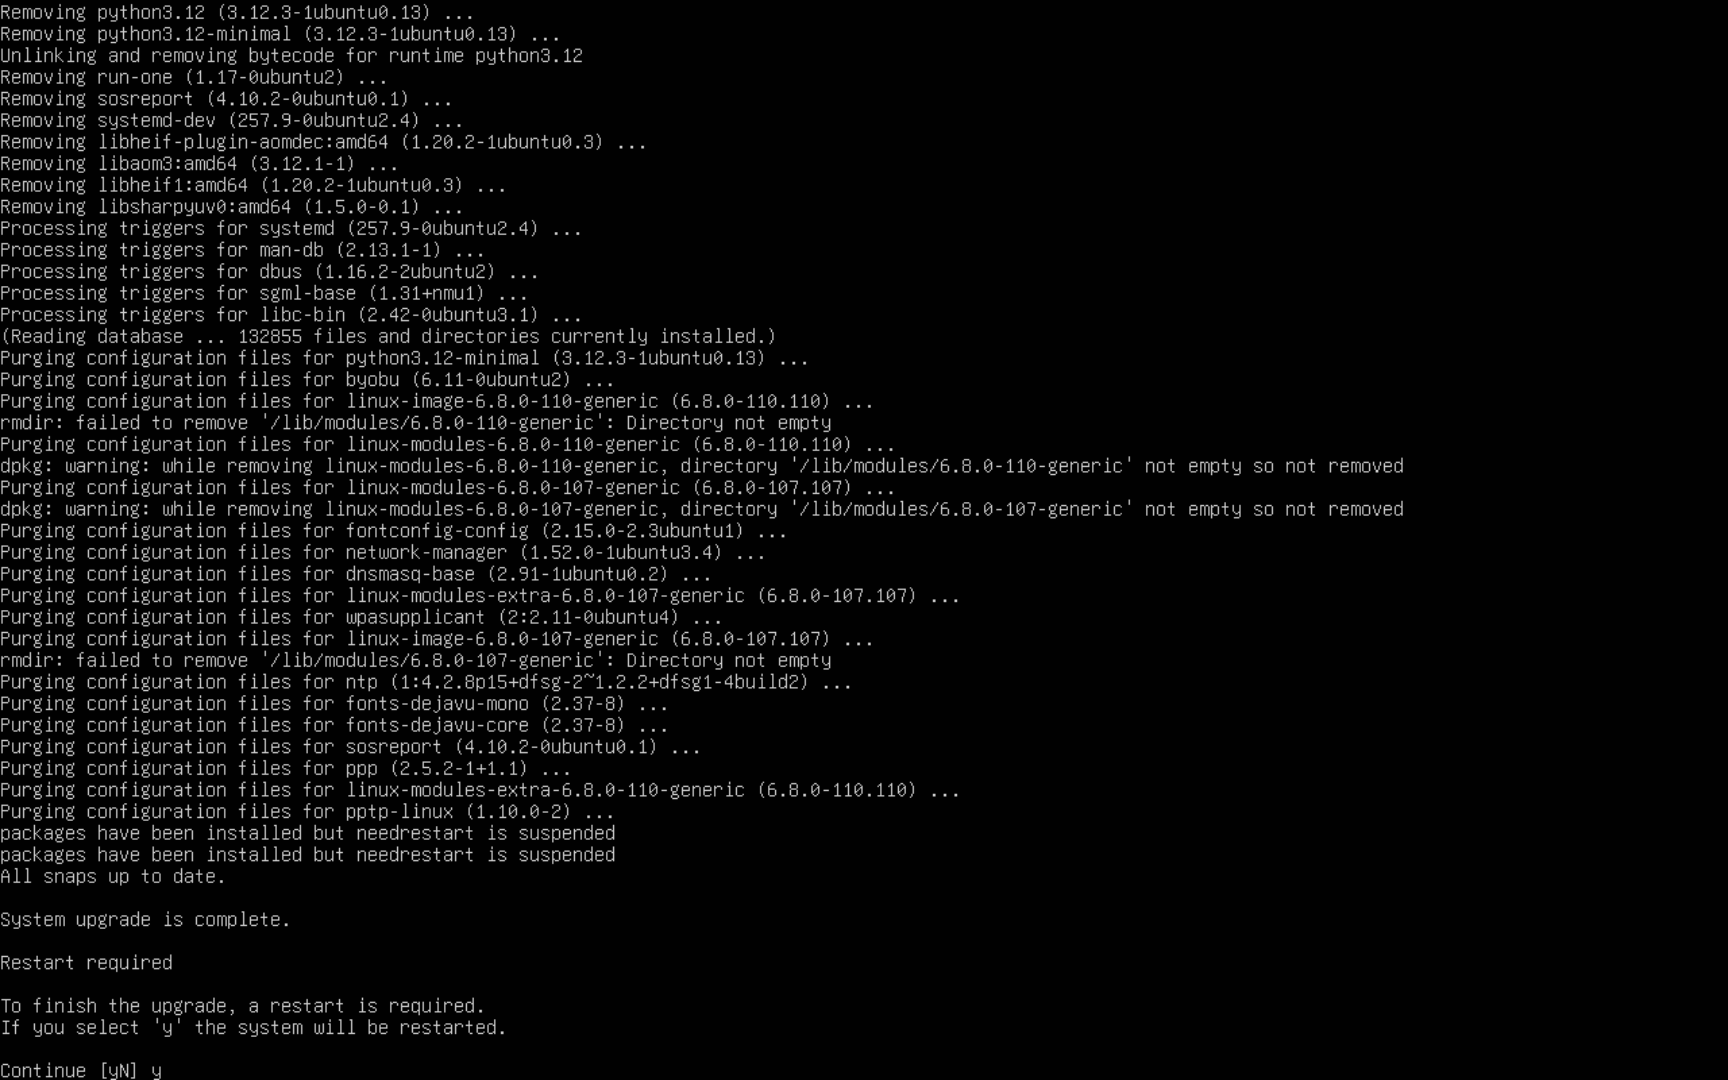
Once the upgrade finishes, you’ll see a message that the “System upgrade is complete.” and that a restart is required. Press y and Enter to reboot.
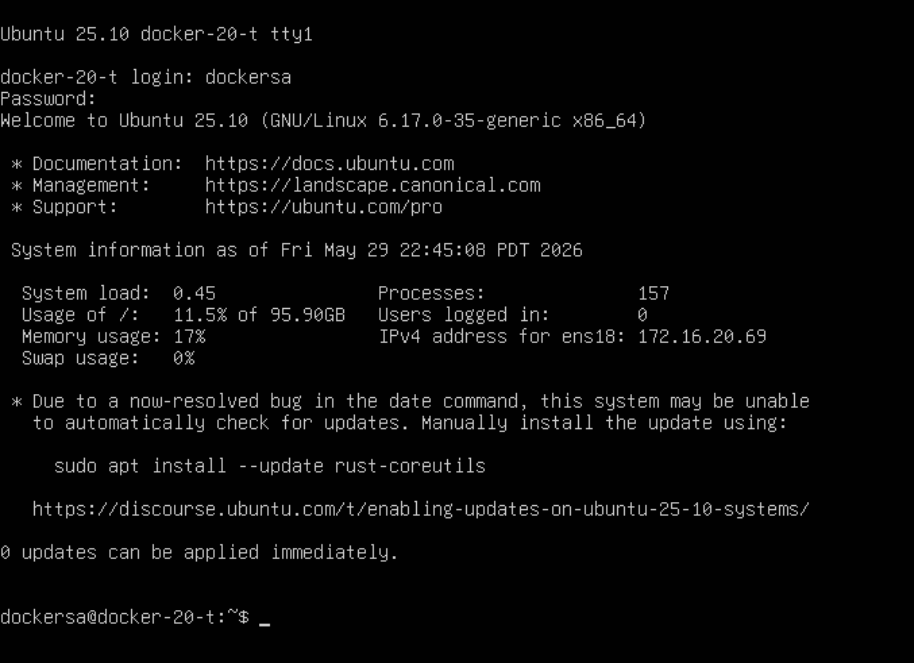
After the server comes back up, log back in and you should see that you’re now on Ubuntu 25.10. We still need to get to 26.04, so we’ll do the upgrade one more time.
Now we need to go back and revert the change we made to the release-upgrades file so that the tool looks for the LTS release again:
sudo nano /etc/update-manager/release-upgrades
Change Prompt=normal back to Prompt=lts. Save and exit.
Run the upgrade command one more time:
sudo do-release-upgrade
This time it should find 26.04 LTS and begin the final upgrade. Same as before — confirm you want to upgrade when prompted.
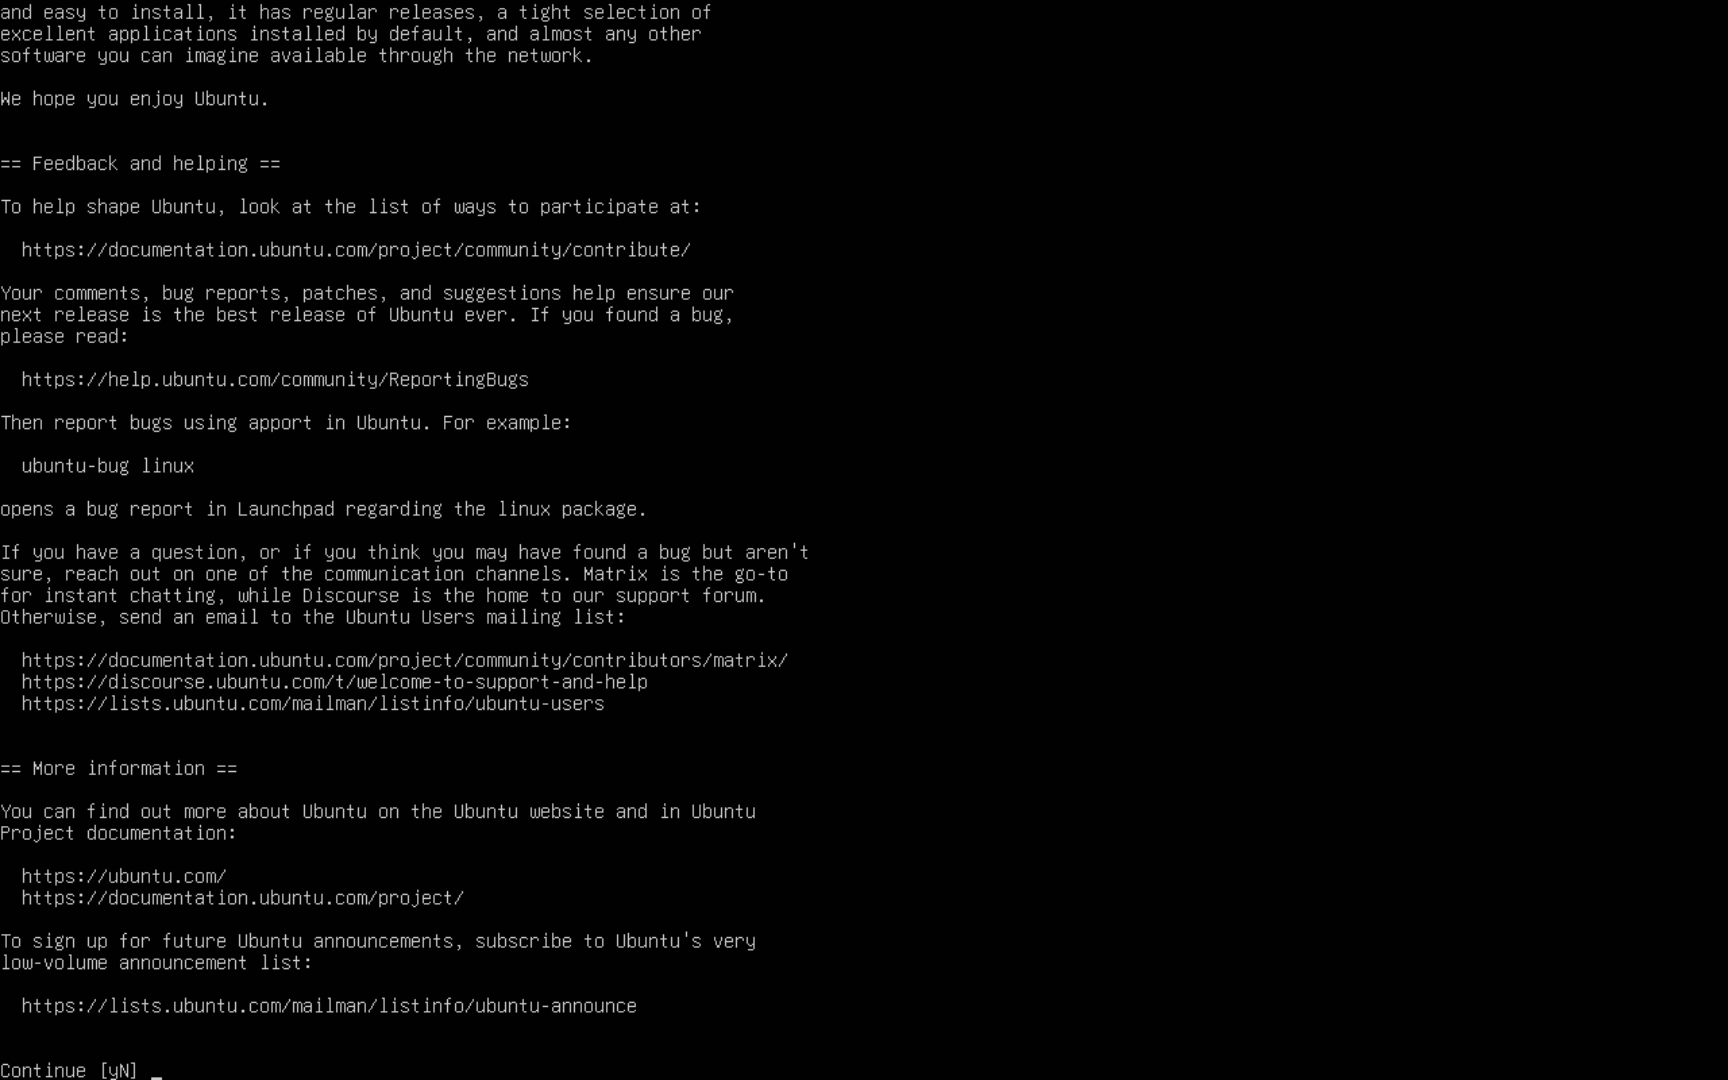
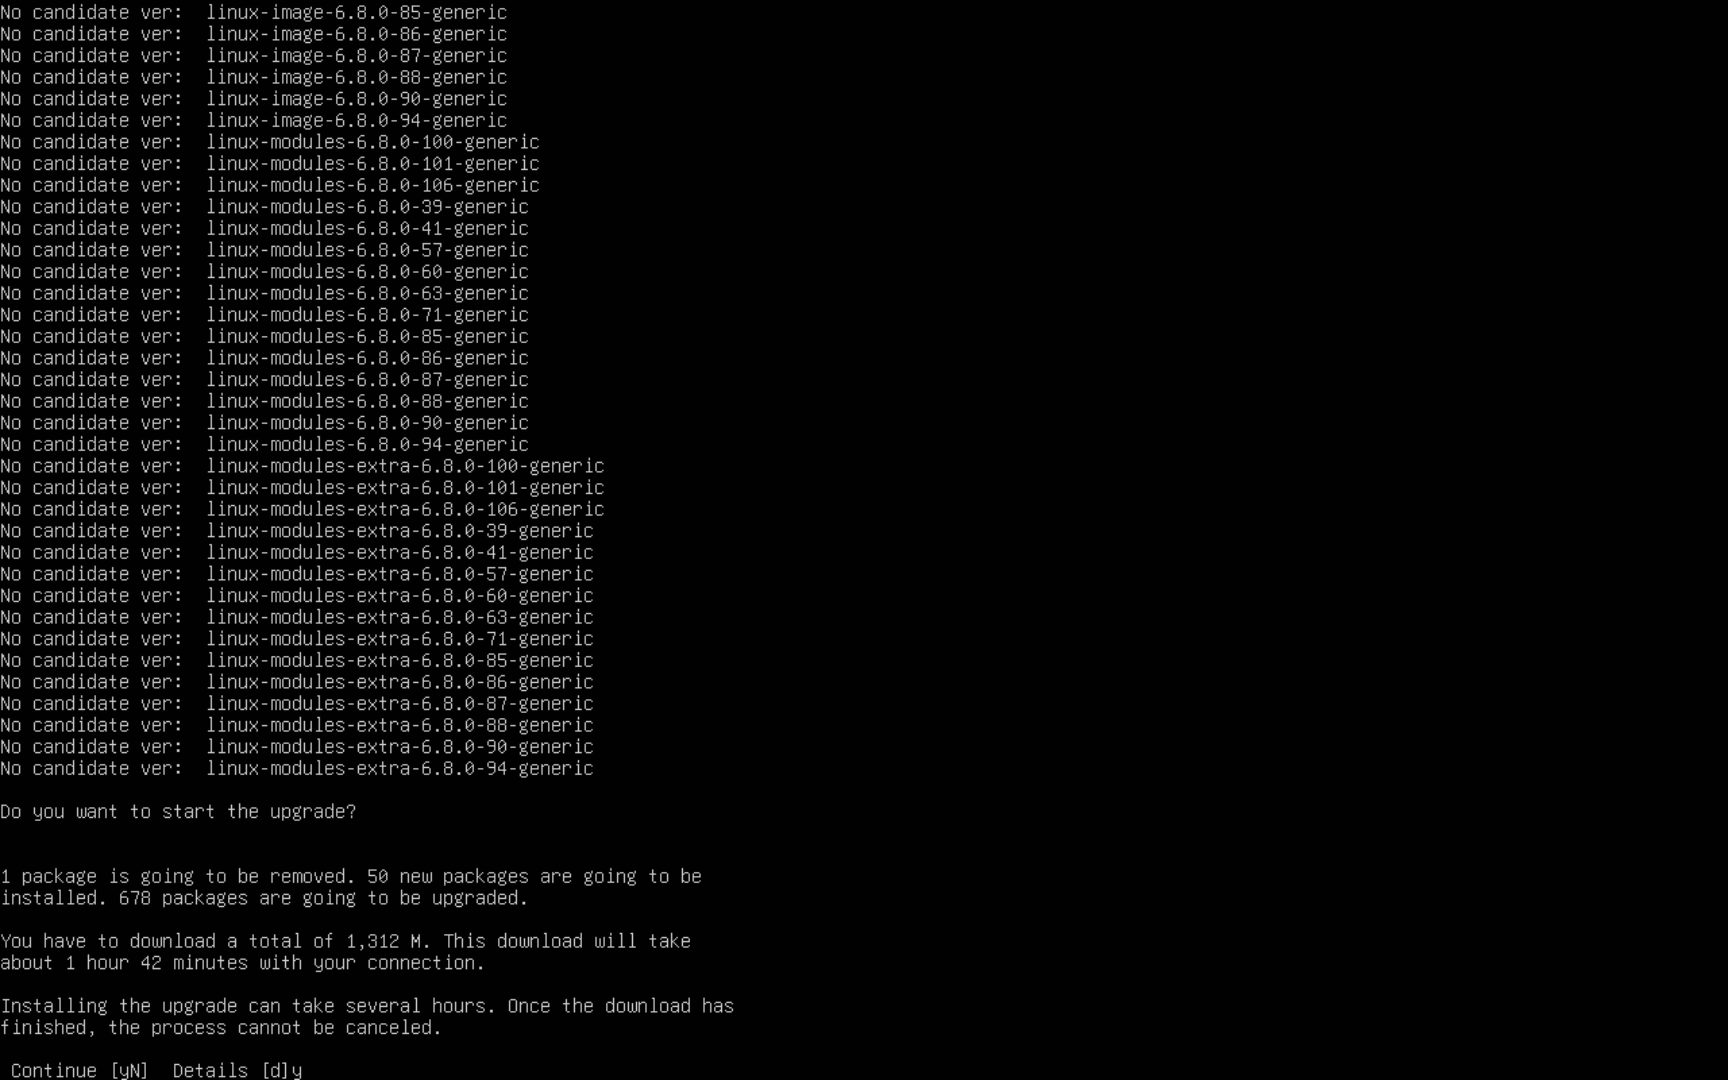
The package summary will appear. You may see a number of No candidate ver lines for older kernel packages — this is expected and just means those older kernels don’t have a counterpart in the new release’s repositories. Press y and Enter to confirm.
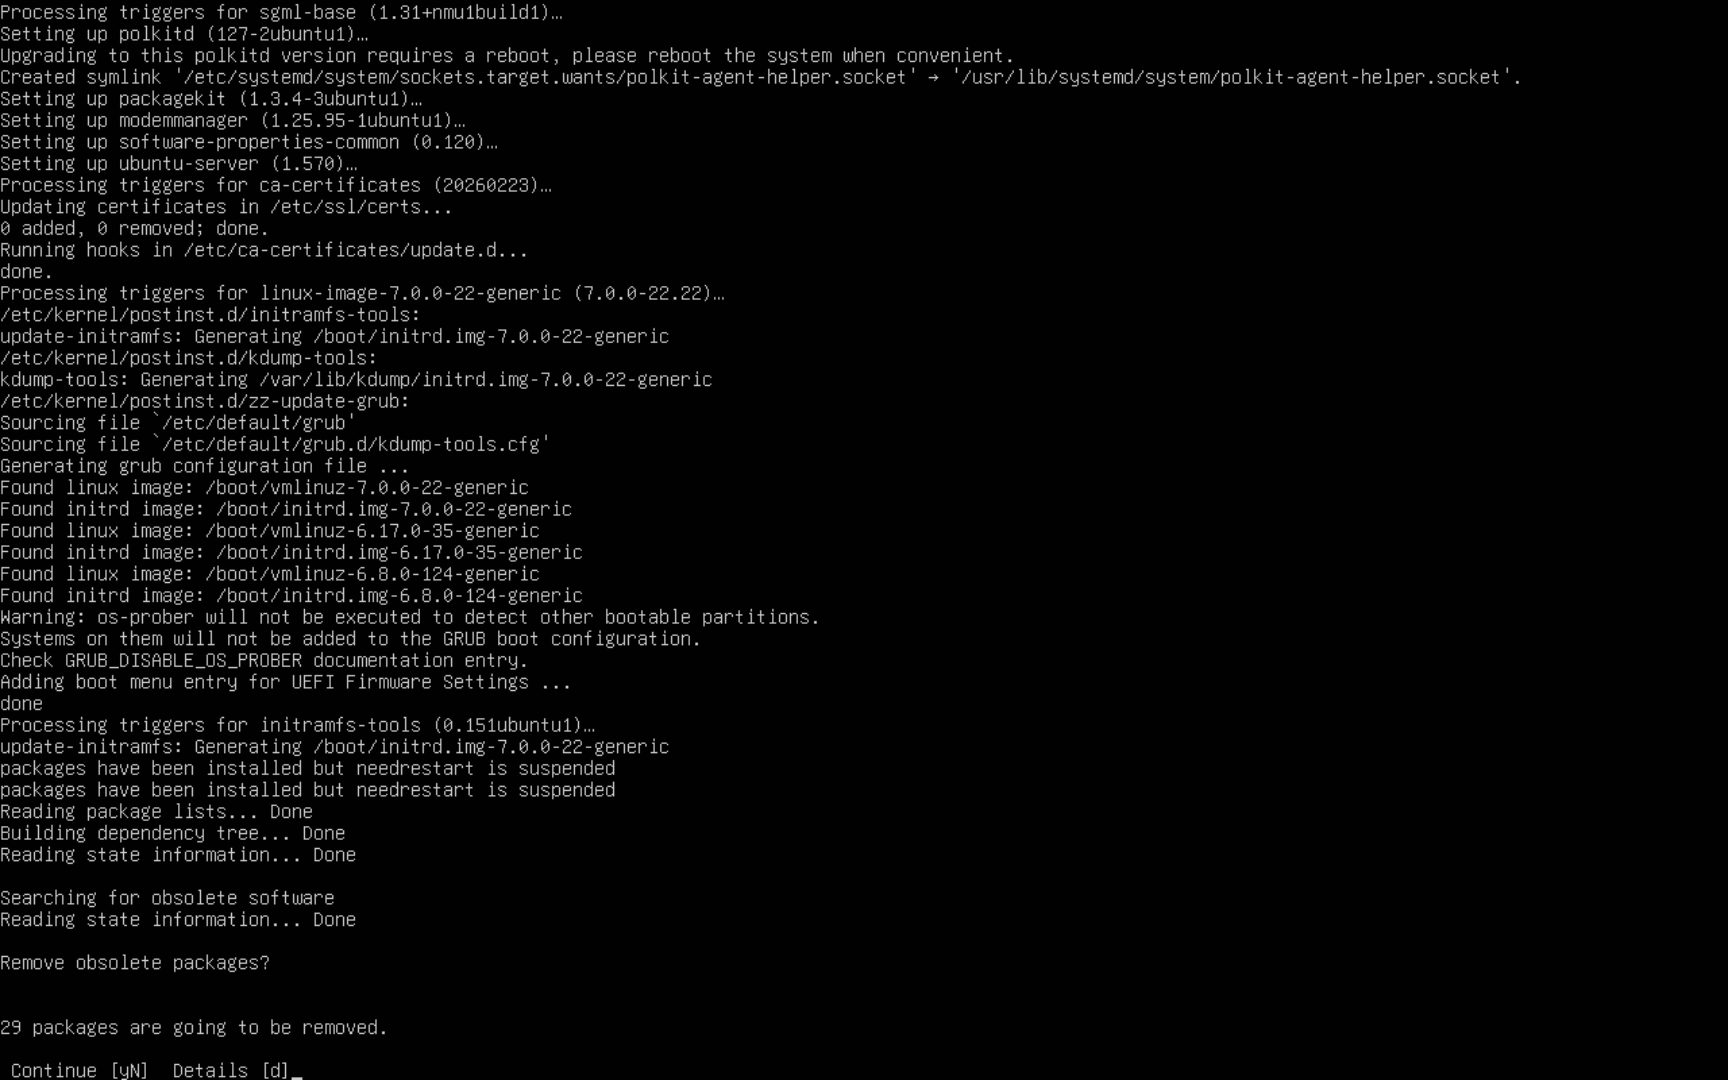
Confirm removal of obsolete packages.
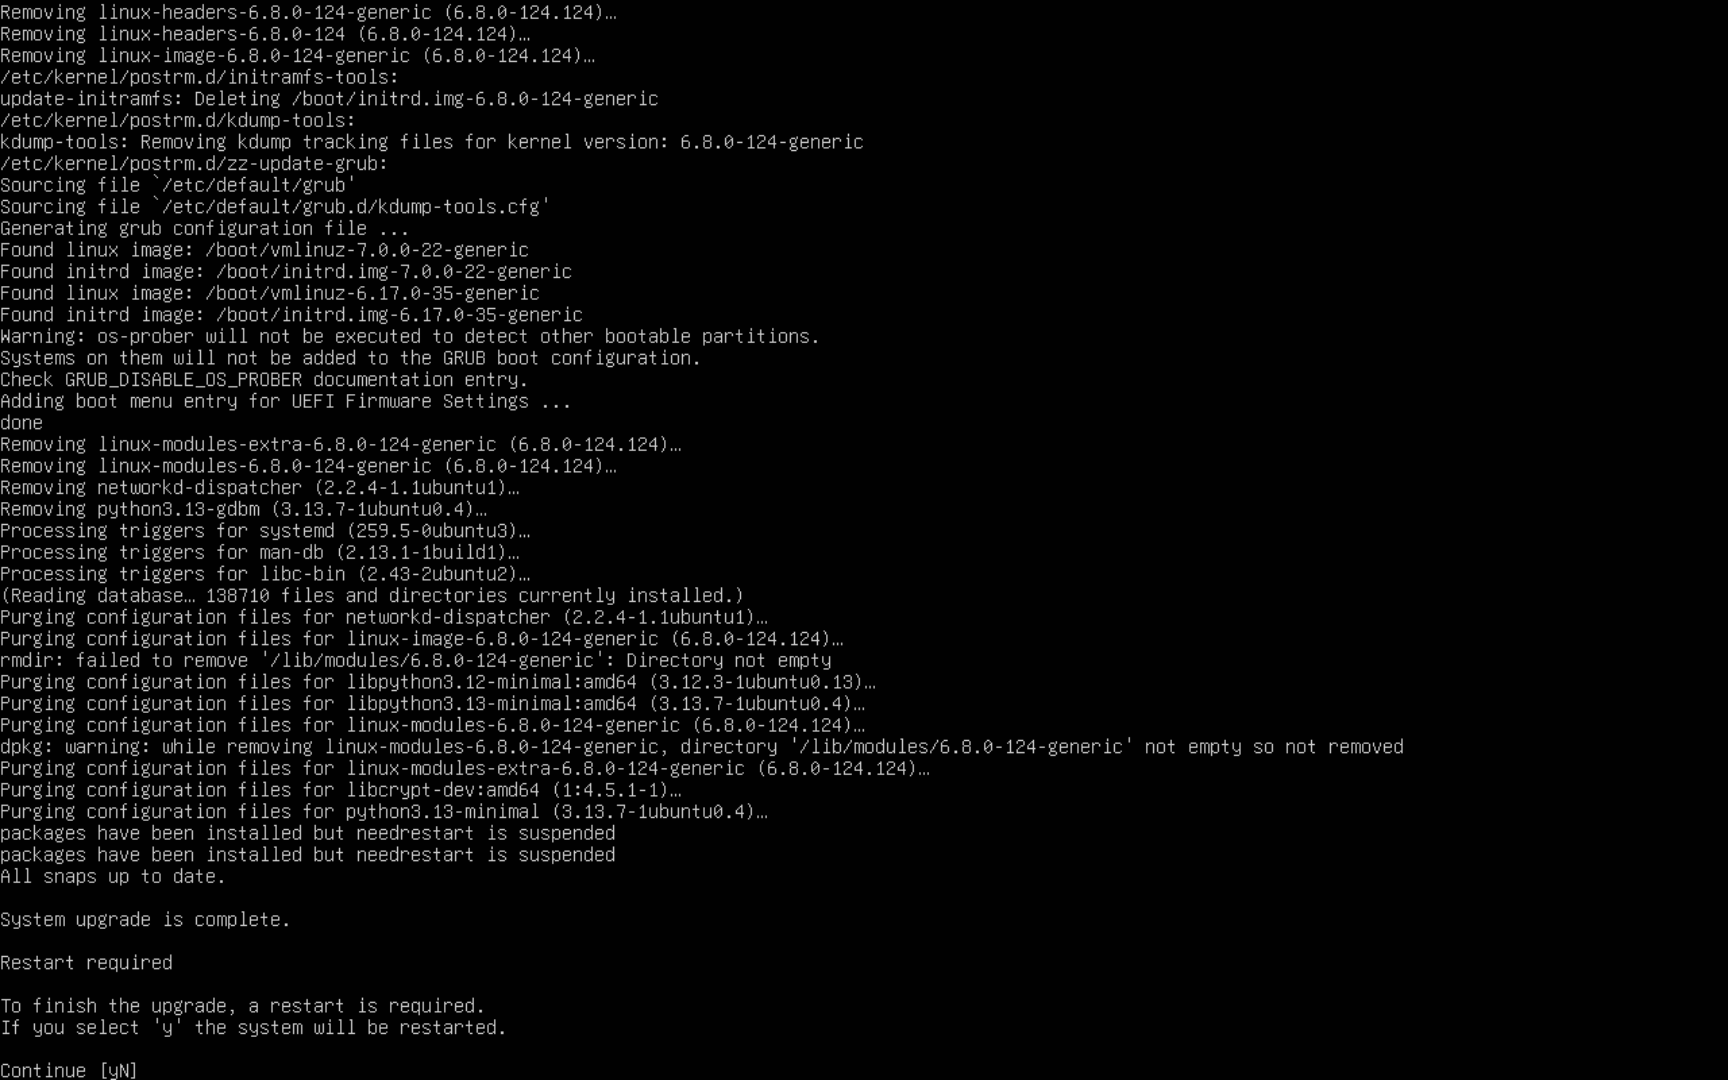
Once it’s done, confirm the final restart.
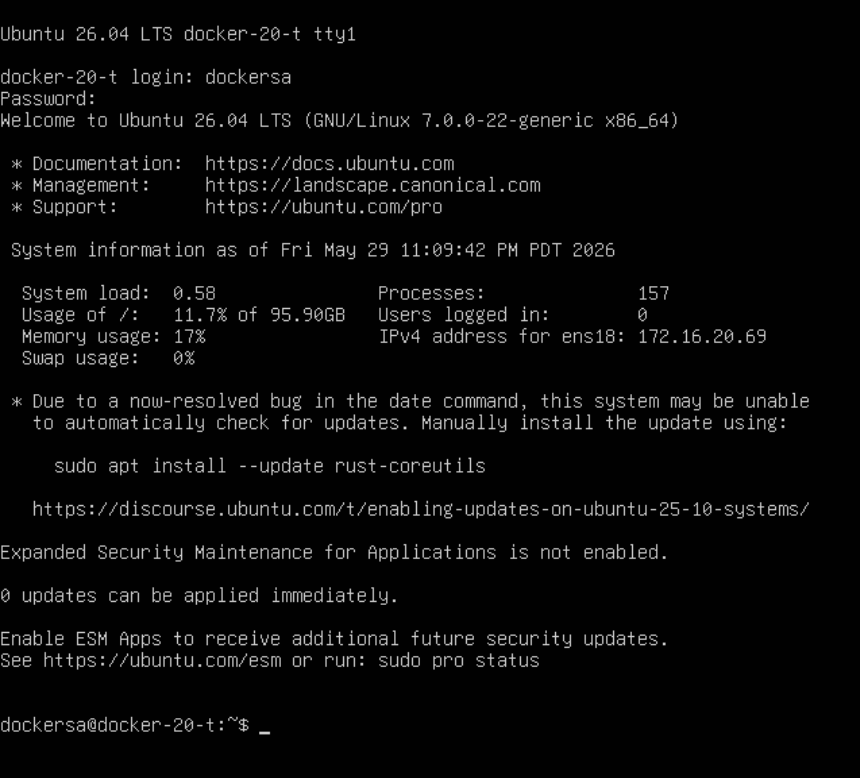
After the server reboots, log back in and you should see that your server is now running Ubuntu 26.04 LTS.
Note: If you upgraded without the interim step because the 26.04 upgrade path was already available when you ran this, you can skip the two-hop process entirely — the single do-release-upgrade run will take you straight to 26.04.
Hopefully this saves a few people the frustration of staring at “No new release found” and wondering if something is wrong. The timing issue with LTS upgrade paths is one of those things Ubuntu doesn’t make super obvious, so it catches people off guard every release cycle.
Once you’re on 26.04, check out my Things I Do After Installing Ubuntu Server article for a list of the first steps I run on every new (or newly upgraded) Ubuntu Server. And if you’re looking for more 26.04 content, I’ve got everything rounded up in my Ubuntu Server 26.04 LTS — My Content Hub.