For a long time I was flying blind on my Proxmox host. Backups would finish (or fail) in the middle of the night and I wouldn’t know until I happened to log into the web UI and check the logs. That’s not a great way to run a homelab, especially when a failed backup might mean a VM you care about hasn’t been protected in weeks. I wanted push notifications — something that would ping my phone the moment anything noteworthy happened on my Proxmox node.
I’d already been using ntfy for other self-hosted alerting, so it was the natural choice here. Proxmox VE 8.1 introduced a proper notification framework with support for webhook endpoints, and PVE 9.x builds on that. Getting ntfy wired up is actually pretty straightforward once you know where to look. This post covers the full setup against a self-hosted ntfy instance with token authentication.
Prerequisites
- Installing and Updating Proxmox VE — A running Proxmox VE instance is required
- ntfy - Self-Hosted Push Notifications — Covers deploying and configuring a self-hosted ntfy instance; have your server URL and API token ready before continuing
Step 1: Pick Your Ntfy Topic
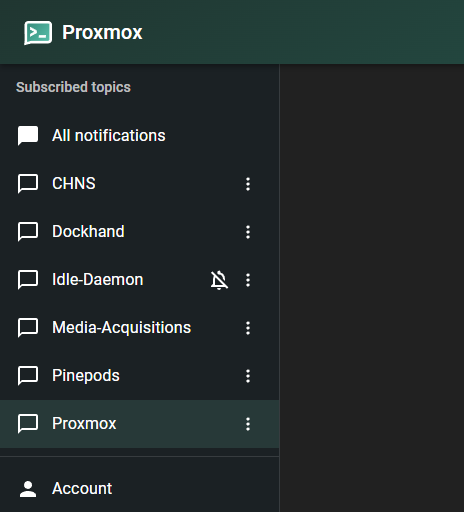
On your self-hosted ntfy instance, create a topic for Proxmox alerts. A topic is just a name you choose — it acts like a channel. For this guide I’ll use Proxmox as the example topic name. Replace it with your own.
Open the ntfy app or your instance’s web UI and subscribe to the topic. You can verify it’s working by opening https://ntfy.yourdomain.com/Proxmox in a browser.
Generate an API Token
If your ntfy instance requires authentication (recommended), you’ll need an access token for Proxmox to authenticate when posting notifications.
In the ntfy web UI, go to Settings → Users & Access Tokens and click Create token. Give it a descriptive label like proxmox and set an expiry if you want, or leave it as never expires.
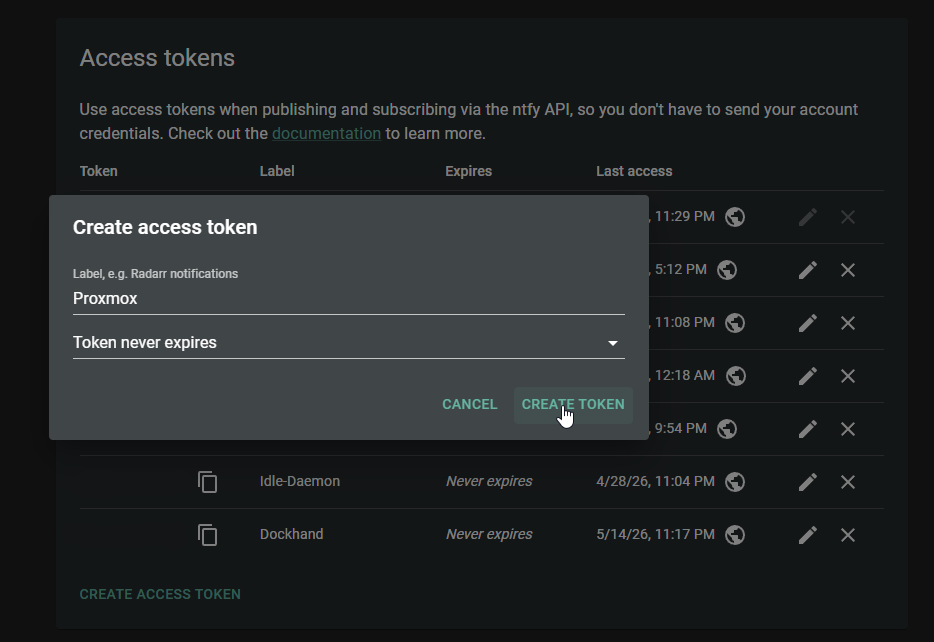
Copy the token value — it starts with tk_. You’ll paste it into the Proxmox webhook configuration in the next step.
Step 2: Add a Webhook Endpoint in Proxmox
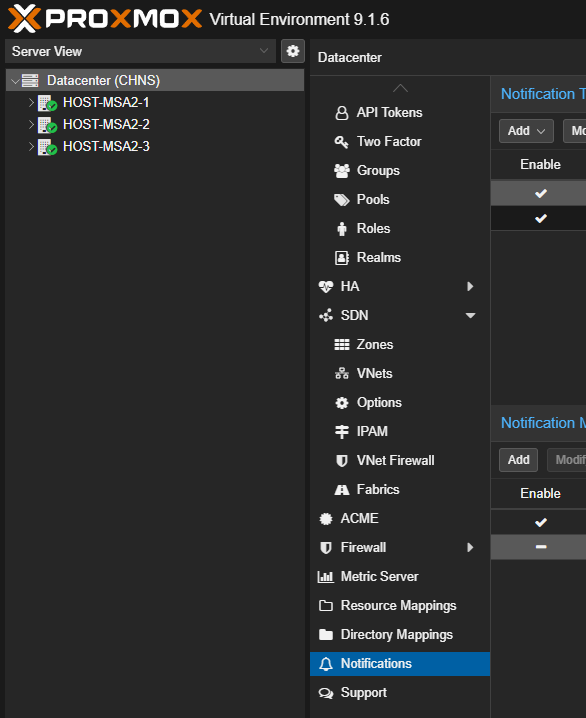
In the Proxmox web UI, navigate to Datacenter → Notifications.
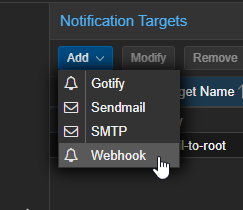
Click Add and select Webhook.
Fill in the fields as follows:
- Name:
ntfy(or whatever you want to call this endpoint) - URL:
https://ntfy.yourdomain.com/Proxmox - Method:
POST
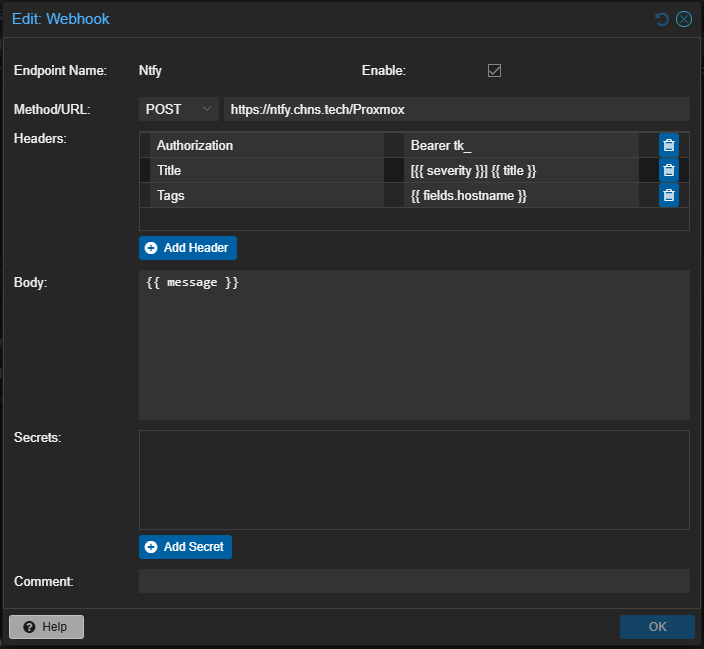
Under Headers, add the following:
| Header Name | Value |
|---|---|
Title |
[{{ severity }}] {{ title }} |
Tags |
{{ fields.hostname }} |
Authorization |
Bearer tk_yourtokenhere |
Replace tk_yourtokenhere with the access token from your ntfy instance. You can generate one under Settings → Users & Access Tokens in the ntfy web UI.
Under Body, enter:
{{ message }}
The {{ title }} and {{ message }} placeholders are template variables that Proxmox fills in automatically when sending a notification. title is the short event name (e.g., “vzdump backup job”) and message is the full detail.
Click Add to save the Webhook.
Click on the new target name and then click Test to send a test notification, then check your Ntfy app or browser to confirm it came through.

Step 3: Add a Notification Matcher
Endpoints alone don’t do anything — you need a matcher to tell Proxmox which events to send to your new endpoint.
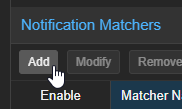
Still in Datacenter → Notifications, under the Notification Matchers section, click Add.
Configure it like this:
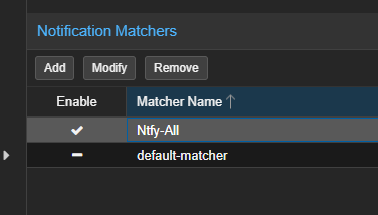
- Matcher Name:
ntfy-all(or be descriptive — e.g.,ntfy-backupsif you only want backup events) - Match Rules: leave this set to All rules match. At the bottom, click Add. Change the Note type to
Match Severityor restrict towarninganderrorif you only want failures - Targets to notify: select the
ntfyendpoint you just created
Leave everything else at defaults unless you want to filter to specific event types. For getting started, matching everything is the most useful — you can always refine it later.
Click Add to save the matcher.
That’s it for the basic setup. Run a backup job or any task on your node and you should get a notification within seconds of it completing.
Conclusion
It took me longer to write this post than it did to actually set this up, which is a good sign. Proxmox’s notification system is genuinely well designed — once you understand the endpoint and matcher model, it’s flexible enough to handle pretty much any alerting setup you can think of. Pairing it with a self-hosted ntfy instance is a natural fit since it works great on mobile and doesn’t require an email server or any complicated infrastructure.
Having backup job results show up on my phone has been one of those quality-of-life improvements that I now can’t imagine running without.