When development on Overseerr went quiet, the community didn’t just sit around waiting. The Seerr project stepped up as an actively maintained fork, keeping the same familiar interface and feature set but with ongoing bug fixes and improvements. If you’ve been running Overseerr in Docker and have been putting off the migration, this post is for you.
The good news is that migrating to Seerr is mostly painless. The project was designed with migration in mind — when you point Seerr at your existing Overseerr config directory and start it up for the first time, it automatically handles the database migration for you. No manual database surgery required. That said, there are a few things you need to do first, and skipping them will cause you headaches, so let’s go through it properly.
I’m running this on Ubuntu Server with Docker Compose. The steps here will apply to any Linux-based Docker setup. If you’re running Overseerr on bare metal or via a different method, the concepts are the same but some commands may differ slightly — if your setup is significantly different, consult the official Seerr migration guide.
Prerequisites
- Install and Configure Docker, Docker Compose and Portainer on Ubuntu Server — Docker and Docker Compose need to be installed and working on your host.
- A running Overseerr instance with data you want to preserve
- SSH access to your Linux host
Step 1: Back Up Your Overseerr Data
Before touching anything, back up your config directory. The Seerr docs are pretty emphatic about this, and for good reason — if the migration goes sideways you’ll want a clean restore point.
Your Overseerr config data lives wherever you mapped the /config volume in your Compose file. If you set up Overseerr using my original walkthrough, your path is /home/{username}/config/overseerr — substitute your actual username. Find that path and copy it somewhere safe:
cp -r /path/to/overseerr/config /path/to/overseerr/config.bak
For example, if you followed my original walkthrough:
cp -r /home/{username}/config/overseerr /home/{username}/config/overseerr.bak
Don’t skip this. It takes five seconds and gives you a rollback option if anything goes wrong.
Step 2: Stop Your Overseerr Container
Shut down Overseerr cleanly before making any changes. This ensures nothing is writing to the database while you’re migrating.
In Portainer, navigate to Stacks, open your Overseerr stack, and click Stop. If you’re not using a stack and the container was deployed individually, go to Containers, find the Overseerr container, and click Stop.
Once stopped, confirm it’s no longer running — the container status should show as Stopped in Portainer.
If you’re running Docker Compose without Portainer, navigate to your Compose file directory and run:
docker compose down
Confirm it’s stopped with:
docker ps
Overseerr should no longer appear in the list of running containers.
Step 3: Fix Config Folder Permissions
This is the step that trips people up most often. Seerr runs as a non-root node user with UID 1000. If your existing Overseerr config files are owned by root (which is common if you originally started the container as root), Seerr won’t be able to read or write them and will fail on startup.
Run this one-liner to recursively set the correct ownership on your config directory:
docker run --rm -v /path/to/overseerr/config:/data alpine chown -R 1000:1000 /data
Replace /path/to/overseerr/config with the actual path to your config directory. If you followed my original Overseerr walkthrough, that command looks like this:
docker run --rm -v /home/{username}/config/overseerr:/data alpine chown -R 1000:1000 /data
This spins up a temporary Alpine container, mounts your config volume, recursively changes ownership to UID/GID 1000, and then removes itself. Quick and clean.
You can verify the ownership change worked:
ls -la /home/{username}/config/overseerr
You should see 1000 1000 (or a username if UID 1000 maps to a local user) in the ownership columns.
Step 4: Update Your Docker Compose File
Now update your Compose file to point at the Seerr image and include the required directives. Open your existing docker-compose.yml and replace the Overseerr service definition with the following:
services:
  seerr:
    image: seerr/seerr:latest
    init: true
    container_name: seerr
    environment:
      - LOG_LEVEL=debug
      - TZ=America/Los_Angeles
      - PORT=5055
    ports:
      - 5055:5055
    volumes:
      - /home/{username}/config/overseerr:/app/config
    restart: unless-stopped
A few things to note about these changes:
image— swapped from the old Overseerr image toseerr/seerr:latest, hosted on Docker Hub.init: true— this is required. It runs Seerr with a proper init process inside the container, which handles signal forwarding and zombie process reaping correctly.volumes— point this at the same config directory your Overseerr instance was using. Seerr will find the existing database and settings there and migrate them automatically on first start.TZ— set this to your local timezone. The example above usesAmerica/Los_Angeles; adjust as needed.
The port (5055) is the same as Overseerr, so if you have a reverse proxy pointed at that port, nothing changes on that end.
Step 5: Start Seerr
With the Compose file updated and permissions fixed, start the new container.
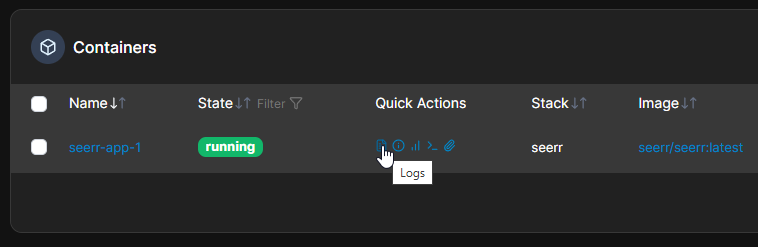
In Portainer, navigate to Stacks, open your stack, and click Start. Portainer will pull the new image and bring the container up. Once it’s running, click on the container name and open the Logs tab to watch the startup process.
If you’re running Docker Compose without Portainer, navigate to your Compose file directory and run:
docker compose up -d
Then follow the logs to watch the startup process:
docker logs -f seerr
On first boot, Seerr will detect the existing Overseerr database and automatically run the migration. You’ll see log output indicating the migration is underway. Once it settles and you see the server listening on port 5055, you’re good.
Step 6: Verify the Migration
Open a browser and navigate to your Seerr instance — same URL and port you were using for Overseerr. Log in with your existing credentials and confirm:
- Your requests are still there
- Your Plex/Jellyfin/Emby connection is intact
- Your Radarr/Sonarr connections are working
- Any users you had set up are still present
Everything should carry over since Seerr is reading from the same database and config files Overseerr was using.

Cleaning Up
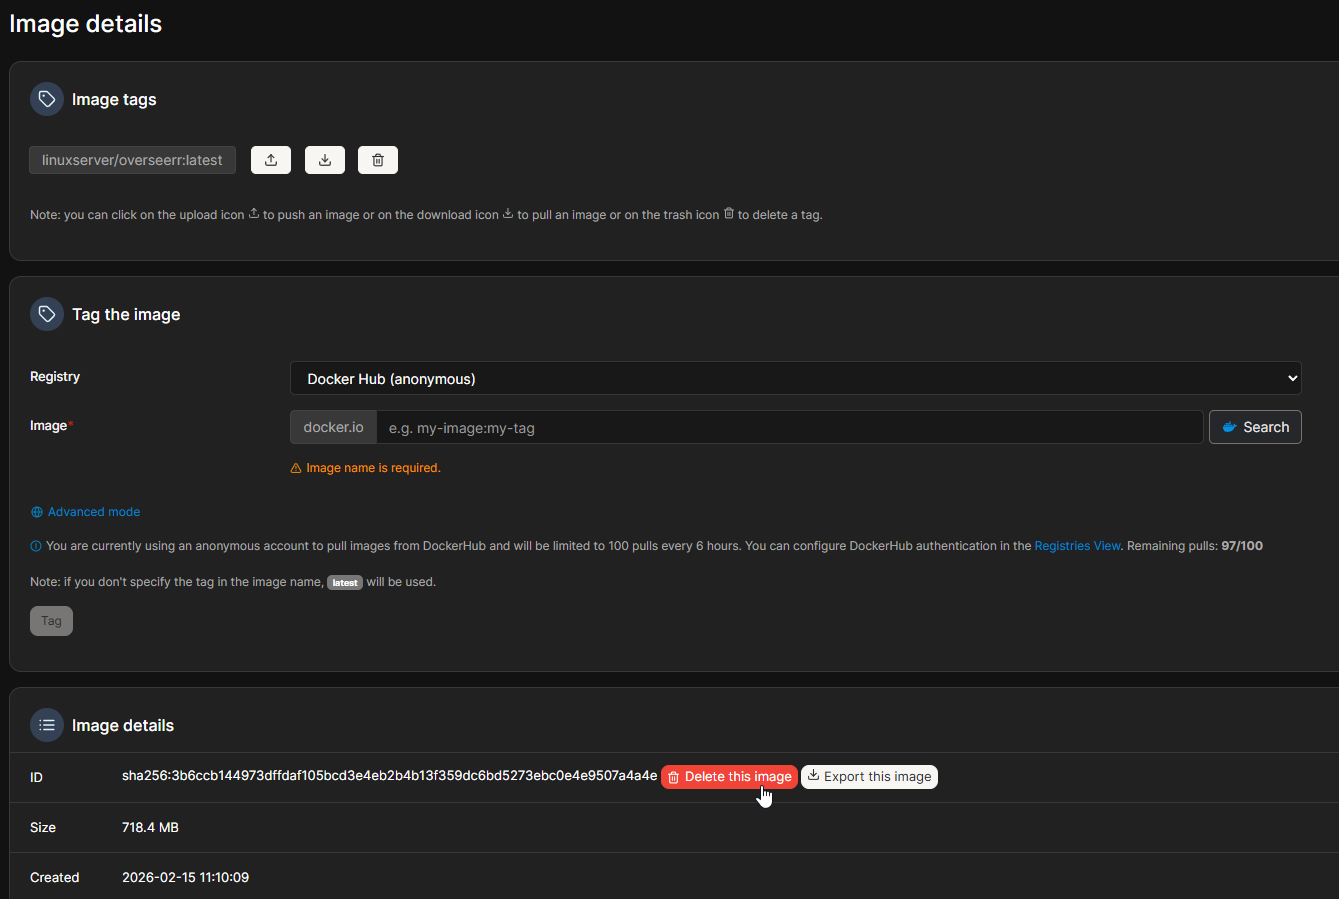
Once you’ve confirmed the migration is working correctly, you can remove the old Overseerr image and your backup (when you’re confident you won’t need it).
In Portainer, navigate to Images, find linuxserver/overseerr:latest, and click Remove. You can also remove the old Overseerr stack from Stacks if it’s no longer in use.
If you’re using Docker Compose without Portainer, remove the image manually:
docker rmi linuxserver/overseerr:latest
Then remove your backup once you’re satisfied:
rm -rf /home/{username}/config/overseerr.bak
Wrapping Up
That’s really all there is to it. The Seerr team made the migration path straightforward — the hardest part is usually just the permission fix, and once that’s sorted the rest is just swapping an image name and adding init: true. The automatic database migration on first boot takes care of everything else.
I’ve been running Seerr since making the switch and it’s been rock solid. The project is actively developed, which was the main reason I moved away from Overseerr in the first place. If you’ve been putting this migration off because it seemed daunting, hopefully this shows it’s pretty low-risk. Just back up first and you’ll be fine.