A friend recently asked me if I knew of a good way download all her photos from Facebook so she could deactivate her account. Looking around online, there are plenty of “How-to’s” to do this however non of them were up to date as Facebook has changed some of the interface and non of them said what to do once you downloaded the package. Hopefully this will be a more complete walk through.
I’m going to go over doing this from the full web interface on Windows PC. Some settings maybe different depending on if you are doing this from MacOS or a phone. If there is a need for it, I may do a follow up with instructions for those devices.
Download Files
First things first, you will need to login to your Facebook account.
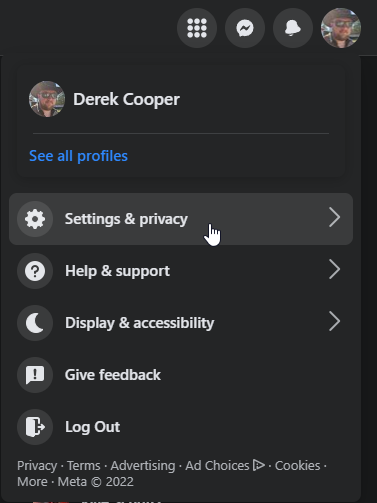
Next, you will need to click on your Profile picture in the top right corner and click “Settings & privacy”.
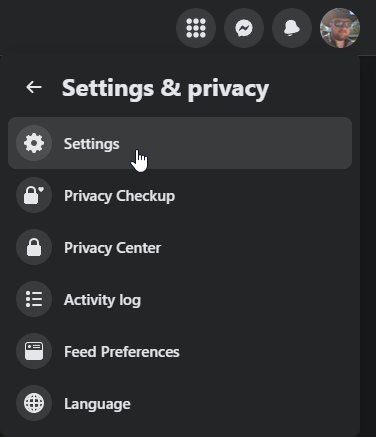
Then click on “Settings”.
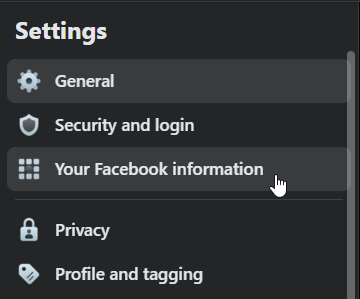
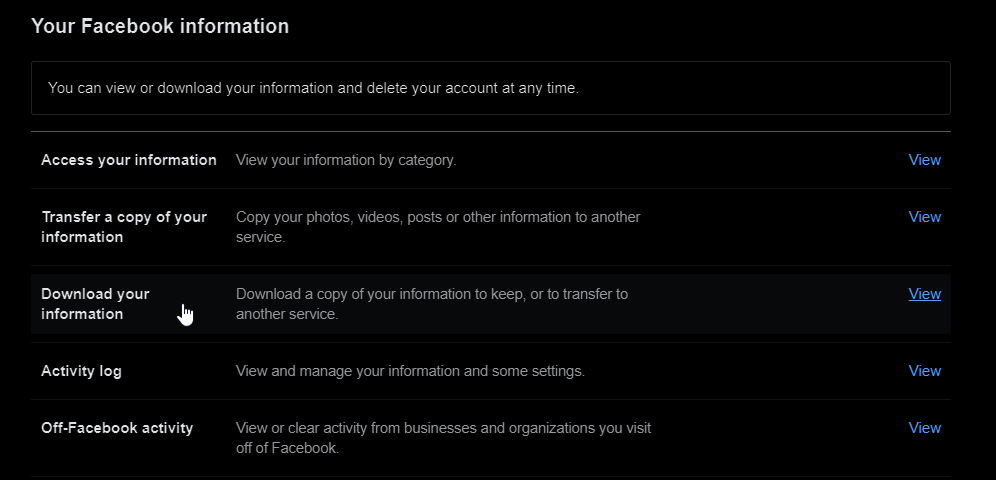
Then click on “Your Facebook information” on the left panel.
Next, in the main panel, click on “Download your information”.
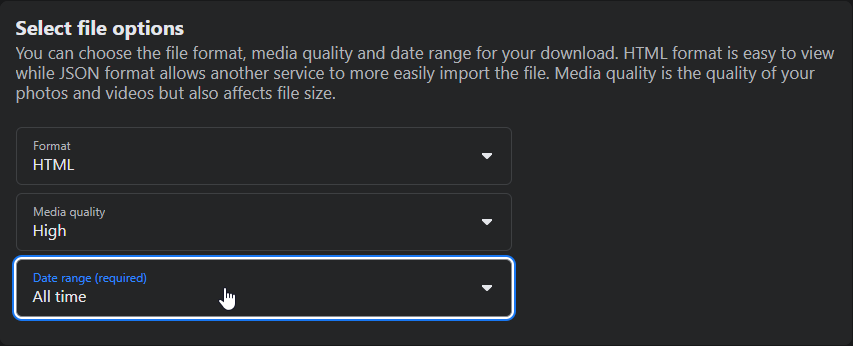
You will want to select the following settings:
-
Format - “HTML”
-
Media quality - “High”
-
Date range (required) - “All time”
Then you will need to click the drop down arrow to the right of “Select information to download”.

Make sure you click on “Deselect All” to the right.

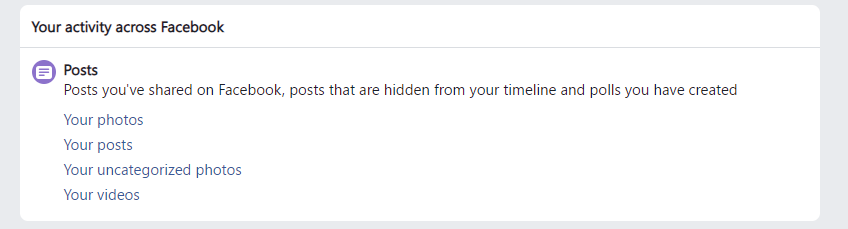
Then scroll down and check the box next to “Posts”. This is one difference that I saw with older how-to articles. Facebook removed the “Photo and Video” from available downloads. “Posts” include all photos and videos now.

Last, scroll all the way down to the bottom of the page and click “Request a download”.

You should see this notification popup in the bottom left corner.

After some time depending on how much it has to process, you should get a notification that your information is ready to download. Click the notification to back to the export page.
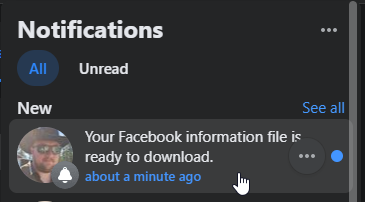
Then click the “Download” button.

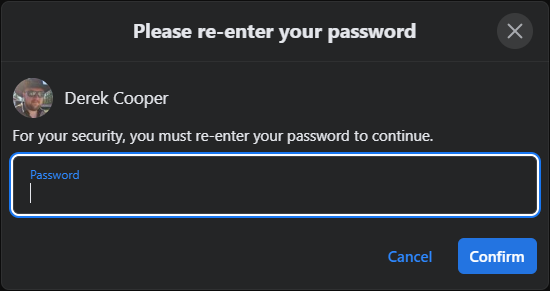
You will then be prompted to enter your Facebook account password.
The files should then download in a zip compressed file to your download folder on your PC. The file name will be “facebook-{your username}.zip”
Unzip the file to a folder and open it.
You should see 2 folders (files and posts) and a “index.html” file. If you launch this file in a web browser, it gives you an offline interface for viewing the files.
If you want the actual photo files to move somewhere else with other photos, they are all located in album folders inside “Posts > Media”. Move these files to whatever folder or other service you want to use to manage your photos. Personally, I use an open source application called “PhotoPrism”. Keep an eye out for a post about building your own PhotoPrism server coming soon.