Archival Notice: This article covers Ubuntu Server 22.04.1 LTS and is kept strictly for historical reference. The current LTS release is Ubuntu Server 24.04 LTS (Noble Numbat). The steps below may still be broadly applicable, but screenshots and version-specific details will differ.
Installation
First, we need to download the “Raspberry Pi Imager” and install it on the PC you are using to set everything up and manage your systems. You can download it Here from the official Raspberry Pi site. You will now also want to insert the SD card that you want to install the OS.
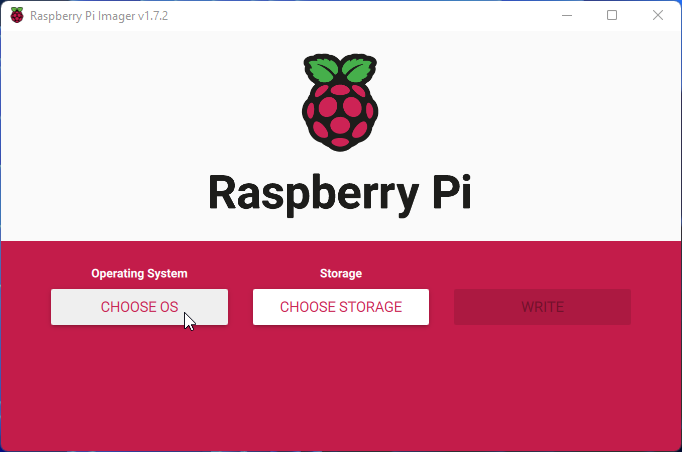
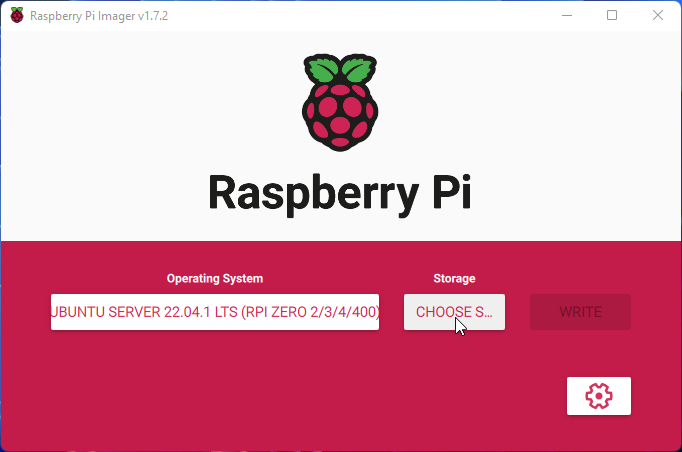
After you install it, launch it and click on “CHOOSE OS”.
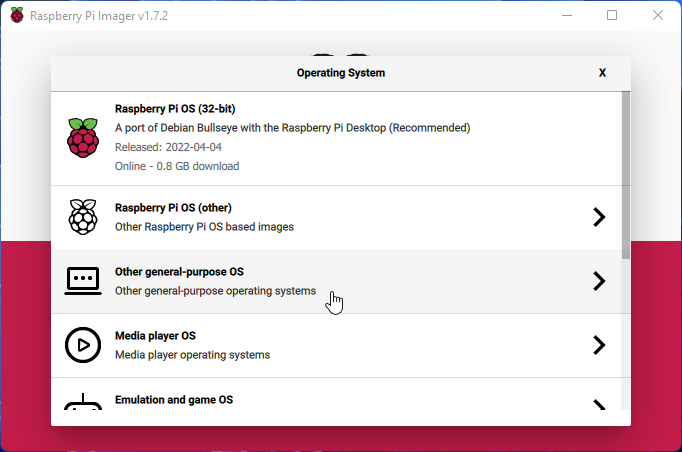
You can choose to install the Debian port that is specifically setup for managing extra features of the Pi out of the box. For the purpose of this walkthrough, I prefer to use the full Ubuntu Server install so click on “Other general-purpose OS”.
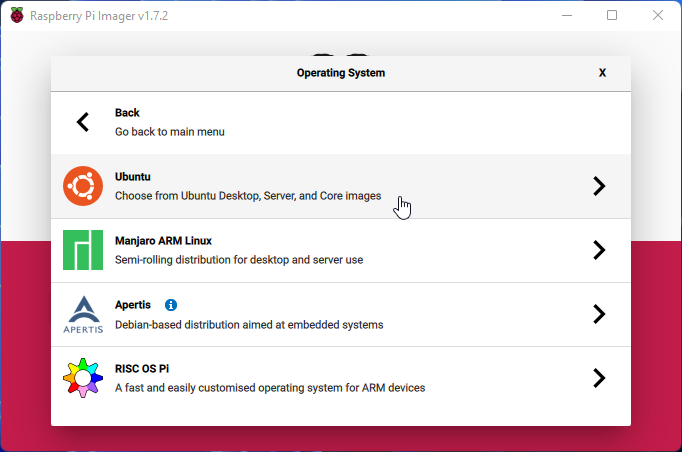
Then choose “Ubuntu”.
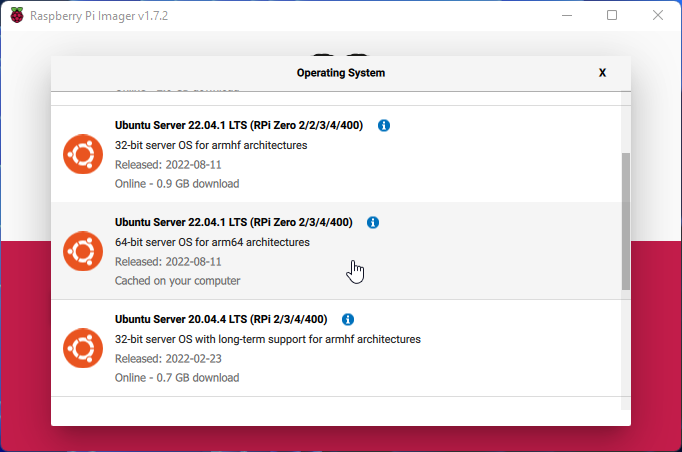
You will want to scroll down until you find the proper OS version for your specific Raspberry Pi. I will be install on a Raspberry Pi 4 (8 GB) so I will select “Ubuntu Server 22.04.1 LTS (RPi Zero 2/3/4/400)”. You will want to make sure you select the “LTS” version since this will be the “Long Term Support” version for updates.
After selecting our OS, we need to select your SD card. Click the button to “CHOOSE STORAGE”.
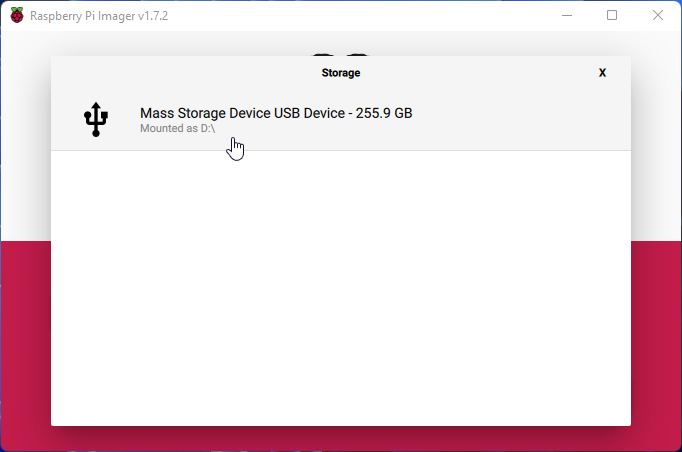
Select your SD card. Make sure it is the correct card as everything will be erased when it writes to the card.
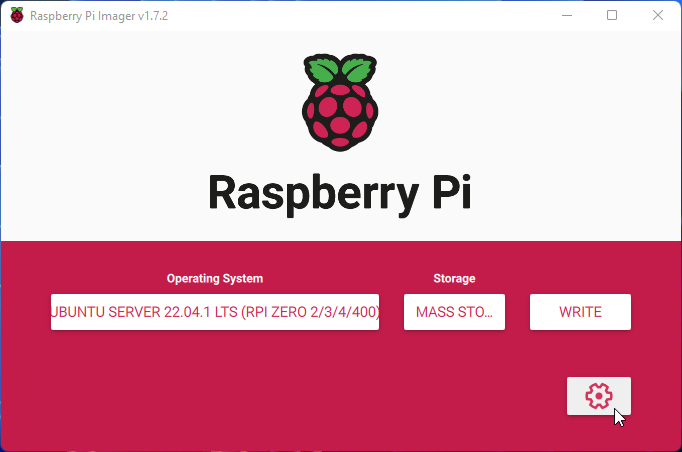
We are now going to configure some settings ahead of time to make it easier to access and manage your Pi on first boot. Click the button that looks like a settings gear.
You will want to set a hostname for the Pi and enable SSH for remote management. Since I only have SSH accessable on my internal network, I just “Use password authentication” and use a strong password to make it a little easier setup.
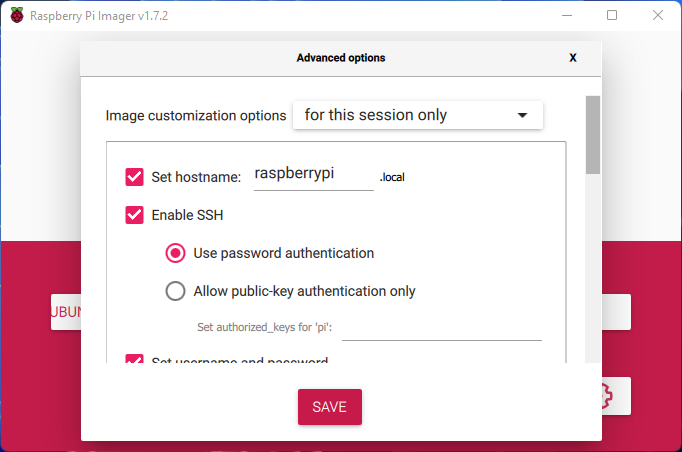
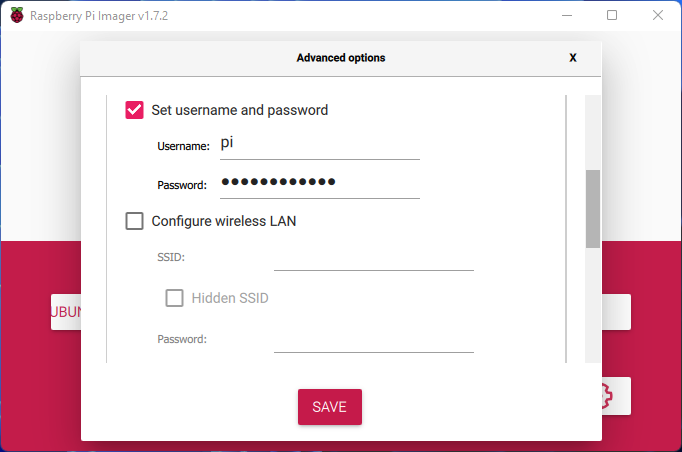
We will also now want to setup the username and password you will use to access your Pi. If you don’t like the default username of “pi”, feel free to change it to whatever works for you.
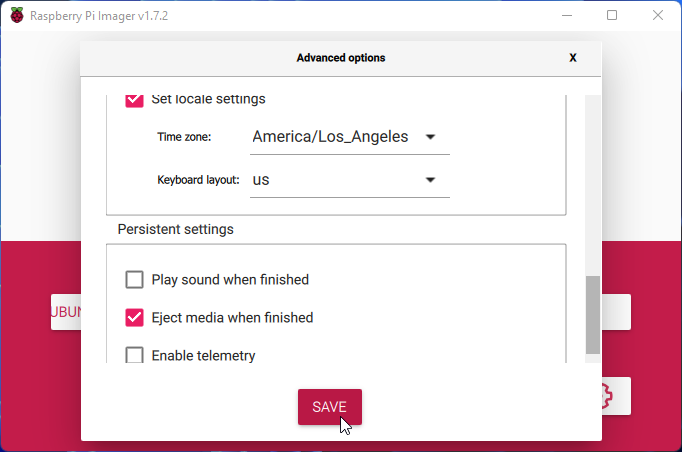
You will then want to scroll down and set your Time zone settings. Once you are happy with all the settings, click “SAVE”.
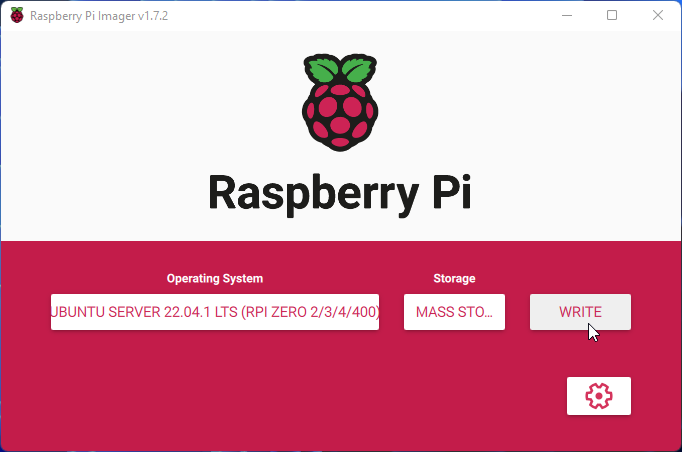
You are now ready to install Ubuntu onto your SD card. When you are ready, simple hit “WRITE”.
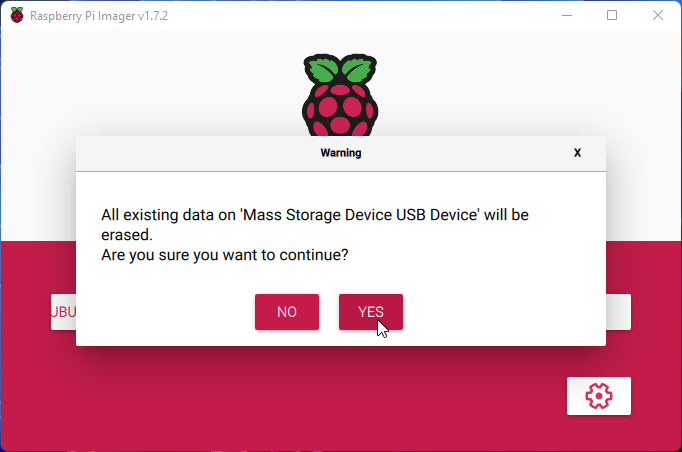
A warning will pop up alerting you to the fact that all the data on the SD card will be erased. Click “YES” to continue.
It will take a few minutes to write to your SD card and then Verify the install. Wait until the following message pops up and click “CONTINUE”.
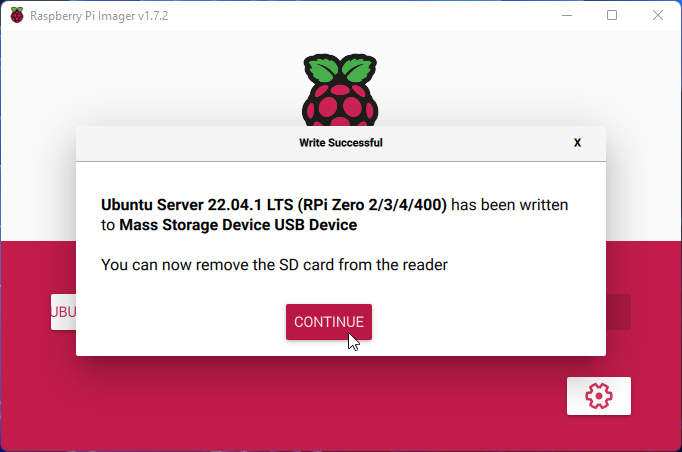
Now you are safe to remove the SD card from your PC, install it into your Raspberry Pi and boot the Pi up.
Basic Configuration
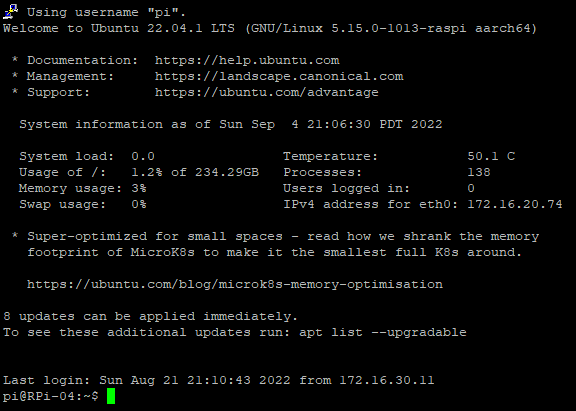
Once the Pi is fully booted up, use your favorite SSH client to connect to the address assigned to your Pi through DHCP. The default port to connect to SSH is “22”. Use the same username and password you setup in the install process. You should see a screen similar to this:
You will notice that even though we just installed the OS, there is updates avalible. You can use the following command to update the package index, install the available upgrades and then reboot the server.
sudo apt update && sudo apt upgrade -y && sudo reboot now
If you get the new “Restart Services” screen, just press “Enter”. Service restarts aren’t needed because the command will restart the whole server.
That is all for this walk through. I have a seperate walk through Here that takes you through the basic configurations I do on newly installed servers.