For people that followed my walk through on installing and setting up Docker, Docker Compose and Portainer on a new Ubuntu Server, you may find yourself in a situation where you need to update Portainer itself. Since Portainer is the management tool for your Docker containers, updating it is a little different than updating your other containers.
How to Know When to Update
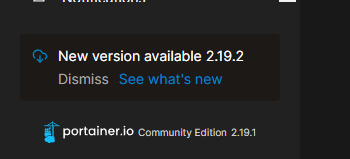
When logging into the Portainer Dashboard, a “New version available” notification will appear in the bottom left corner of the screen.
Update Process
Step 1: Download Latest Image
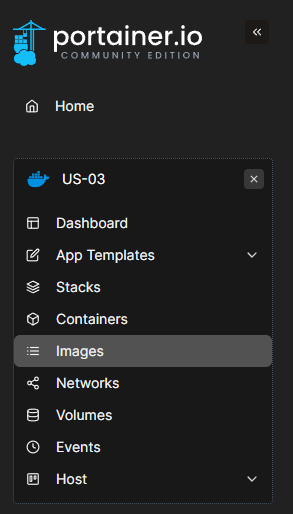
Navigate to “Images” in the left panel of Portainer. Locate the current image by finding “portainer/portainer-ce:latest” in the Tags section. Click the ID to view the image details.
Step 2: Pull New Version
Click the “Pull from registry” button in the Image tags area.

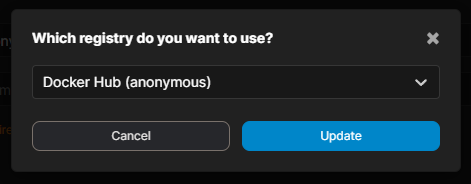
Select “Docker Hub (anonymous)” as the registry (this is the default option) and click “Update”. Wait for the download to complete.

Step 3: Verify New Image
Return to the Images screen. The new image will display with the latest tag while the old version will now be tagged as “none”.
Redeploy Portainer Container
Now you will need to SSH into your server and run the following commands to stop, remove, and redeploy the Portainer container with the new image.
Stop the Portainer container:
docker stop portainer
Remove the Portainer container:
docker rm portainer
Redeploy the Portainer container with the new image:
docker run -d -p 8001:9000 -p 8000:8000 --name portainer --restart always -v /var/run/docker.sock:/var/run/docker.sock -v portainer_data:/data portainer/portainer-ce
After redeploying, log back into the Portainer web interface and verify the new version number displays in the bottom left corner of the admin interface.
Cleanup
Remove the old unused image from the Images menu. Locate the image with the tag “portainer/portainer:none” and remove it to free up storage space.