A step-by-step walkthrough of installing Ubuntu Server 26.04 LTS from downloading the ISO to completing the installation. Covers network configuration, storage partitioning, profile setup, SSH, and post-install updates.
I apply the zero trust firewall model to my email management. All incoming emails route to an Unsorted folder via a catch-all rule, and only emails matching specific sender and subject rules make it to my Inbox. I cover folder structure, routing rules, Outlook’s Sweep feature, and my annual archiving process.
A walkthrough of upgrading Ubuntu Server 24.04 LTS to 26.04 LTS in place. Covers the prerequisite steps, the intermediate upgrade to 25.10 if upgrading shortly after 26.04’s release, and the full upgrade process with all prompts and confirmations.
A walkthrough on configuring Ntfy push notifications in Proxmox VE 9.x so you get real-time alerts for backups, task failures, and other cluster events — on your phone or desktop.
A guide to deploying and configuring Ntfy, a self-hosted push notification service. Covers Docker deployment, server configuration, user management, access control by topic, and generating API tokens for scripted or application-level publishing.
A guide to deploying and configuring Dockhand, a modern Docker management dashboard with built-in vulnerability scanning, GitOps integration, OIDC/SSO support, and multi-host management via the Hawser agent.
An updated walkthrough of the steps I take after a clean Ubuntu Server install — covering SSH hardening, UFW firewall, unattended updates, fail2ban, and a Lynis security audit.
A step-by-step walkthrough of installing Ubuntu Server 26.04 LTS from downloading the ISO to completing the installation. Covers network configuration, storage partitioning, profile setup, SSH, and post-install updates.
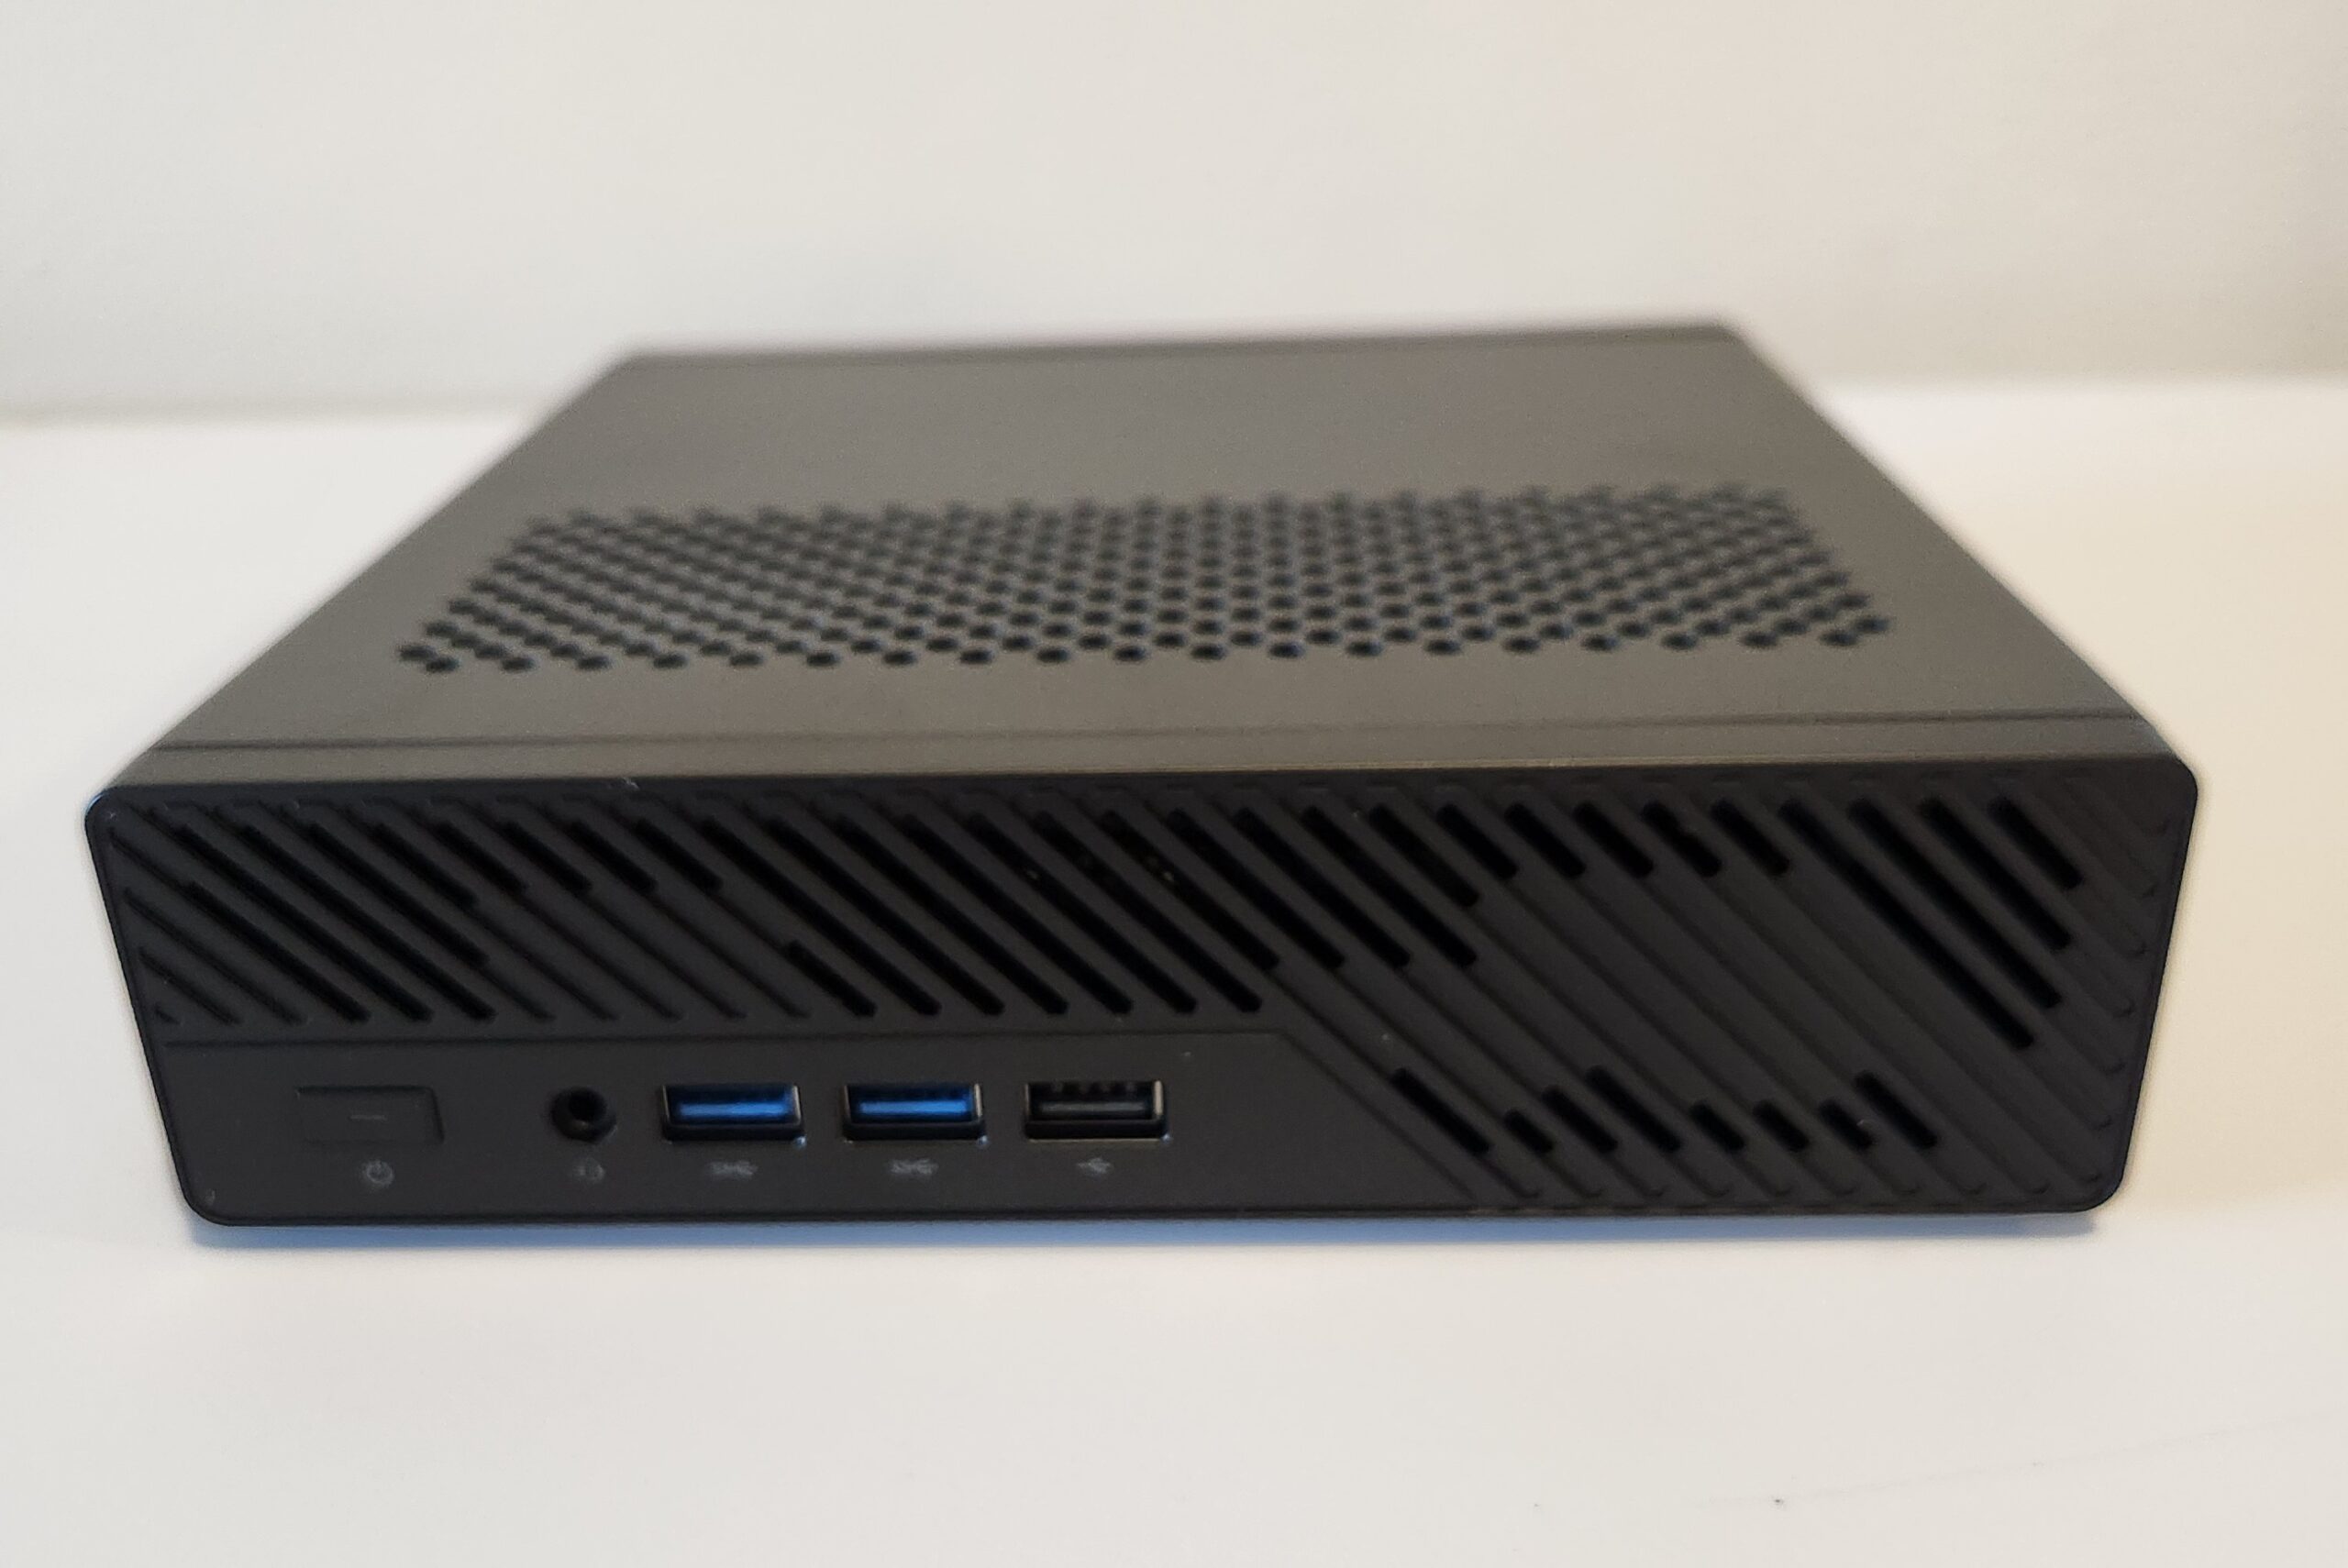
Ubuntu 26.04 LTS drops next week, and I’m putting together a series of articles covering fresh installs, upgrading existing servers, and my post-install setup. This post will serve as the home base — I’ll update it with links as each article goes live.
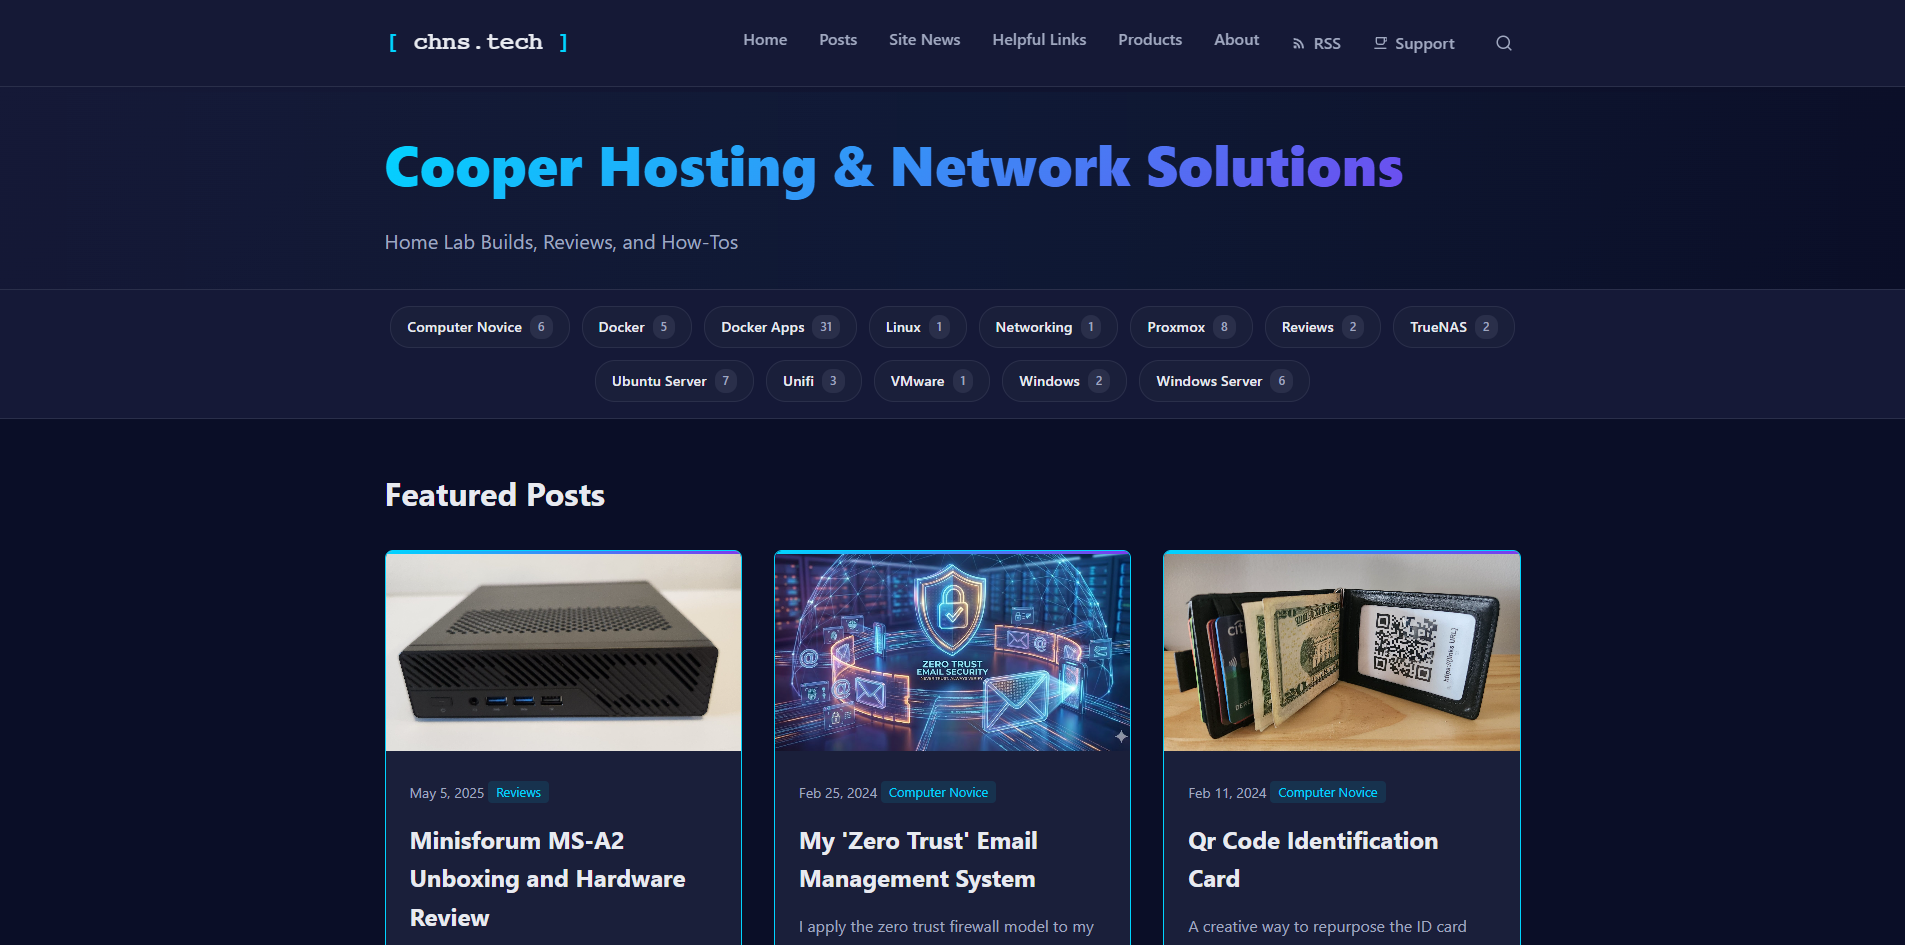
I took some time off after my 2024 challenge to post new content every weekend. It ended up getting the better of me and my time. I also had a few really big life events at the end of 2024 and through 2025 which took up all the free time I had. Well…I’m back and with a whole new look!