With all my recent travel, I thought this Application would be an good one to cover since I’ve been using it a lot recently. The timing on finding out about this application only a week before I was set to go on vacation thanks to MariusHosting publishing an article called How to Install AirTrail on Your Synology NAS was great to say the least.
AirTrail is simply a airline flight tracking application which allows you to enter all the information about your flights and it give you a simple map overview of everywhere you have been. It also gives you some really cool statistics like how much time you spent in the air and distance in total.
One thing this application doesn’t do, but I could see a future update making it possible, is active flight tracking. Meaning it’s only static flight information you enter, it can’t pull current status of your flights or give you information about the flight.
In this article, I’ll cover my Docker deployment and then jump into the web interface to walk through some basic setup and then entering first flight information.
Prerequisites
I will be setting this up on Portainer utilizing Docker Containers running on Ubuntu 24.04. Here are my setup guides for all of those pieces of software:
- Install Ubuntu Server 24.04 LTS
- Things to do after installing Ubuntu Server
- Install and Configure Docker, Docker Compose, and Portainer on Ubuntu Server
Deployment
Copy this code to a new Stack on your Portainer. You can also copy this directly into a Docker Compose yaml file. Update the information for your deployment and deploy the Stack.
services:
  airtrail:
    container_name: airtrail
    image: johly/airtrail:latest
    environment:
      - ORIGIN={exact URL to access web interface, including port number}
      - DB_URL=postgres://{database username}:{database password}@db:5432/airtrail
      - DB_DATABASE_NAME=airtrail
      - DB_USERNAME={database username}
      - DB_PASSWORD={database password}
    ports:
      - {port number}:3000
    depends_on:
      - db
    restart: always

  db:
    container_name: airtrail-db
    image: postgres:16
    environment:
      POSTGRES_DB: airtrail
      POSTGRES_USER: {database username}
      POSTGRES_PASSWORD: {database password}
    volumes:
      - airtrail-db-local:/var/lib/postgresql/data:rw
    restart: always

volumes:
  airtrail-db-local:
Stuff to change for your deployment:
- Image – You can do “latest” for this value and allow something like watchtower to update the image for you or hard set a version and manually update it. Usually with applications that have a database, I hard set to a version to make sure I don’t have versioning issues. For the database, postgres version 16 is supported.
- Origin – This URL needs to be the exact URL that you will be accessing the web interface on. I ran into some trouble because I set it to the server name or localhost even though I was accessing using the server IP address and it didn’t work. As soon as I set it to the IP address of the server and port, everything worked. This does mean if you are going through a reverse proxy and making it publicly accessible, you will want to use that URL and only access it that way.
- Database Username – This is only used for the AirTrail application container to talk internally to the database container so set this to whatever you want. Just make sure you update it in all locations it is listed.
- Database Password – Same as the Database Username, this is only used for the AirTrail application container to talk internally to the database container so set this to something very strong. Also make sure you set it the same in all locations.
- Port Number – You will want to update this to a port that works well inside your environment. It will be the port that you connect to the web interface of the container.
- Restart – You will want to set this to the way you want docker to handle the restarting of the container. Here is a link to the Restart Policies to choose from. I prefer “always” so if it crashes or the server restarts, it will automatically restart the container.
- Volumes – I am using a local Docker volume in this deployment but this would deploy just fine doing a blind mount or NFS Docker volume.
Once you have all the configuration into your Stack and setup the way you want, Deploy the Stack and hopefully you get the Green notification popup and container deployment.
Web Interface
Now that your AirTrail container is deployed, let’s connect to the web interface and start using it.
Open your web browser and navigate to “http://{server name or IP}:{port you configured in the stack}”.
The first thing you should see is a “Welcome” screen prompting for login information:

I did have an issue the first time I deployed the stack where the application container was throwing errors. I just stopped it and restarted it and it started working.
Enter a Username, Password, Name for your User which will be displayed for your flight information, and what unit of measurement you want to use. When you are done, click “Create” at the bottom.
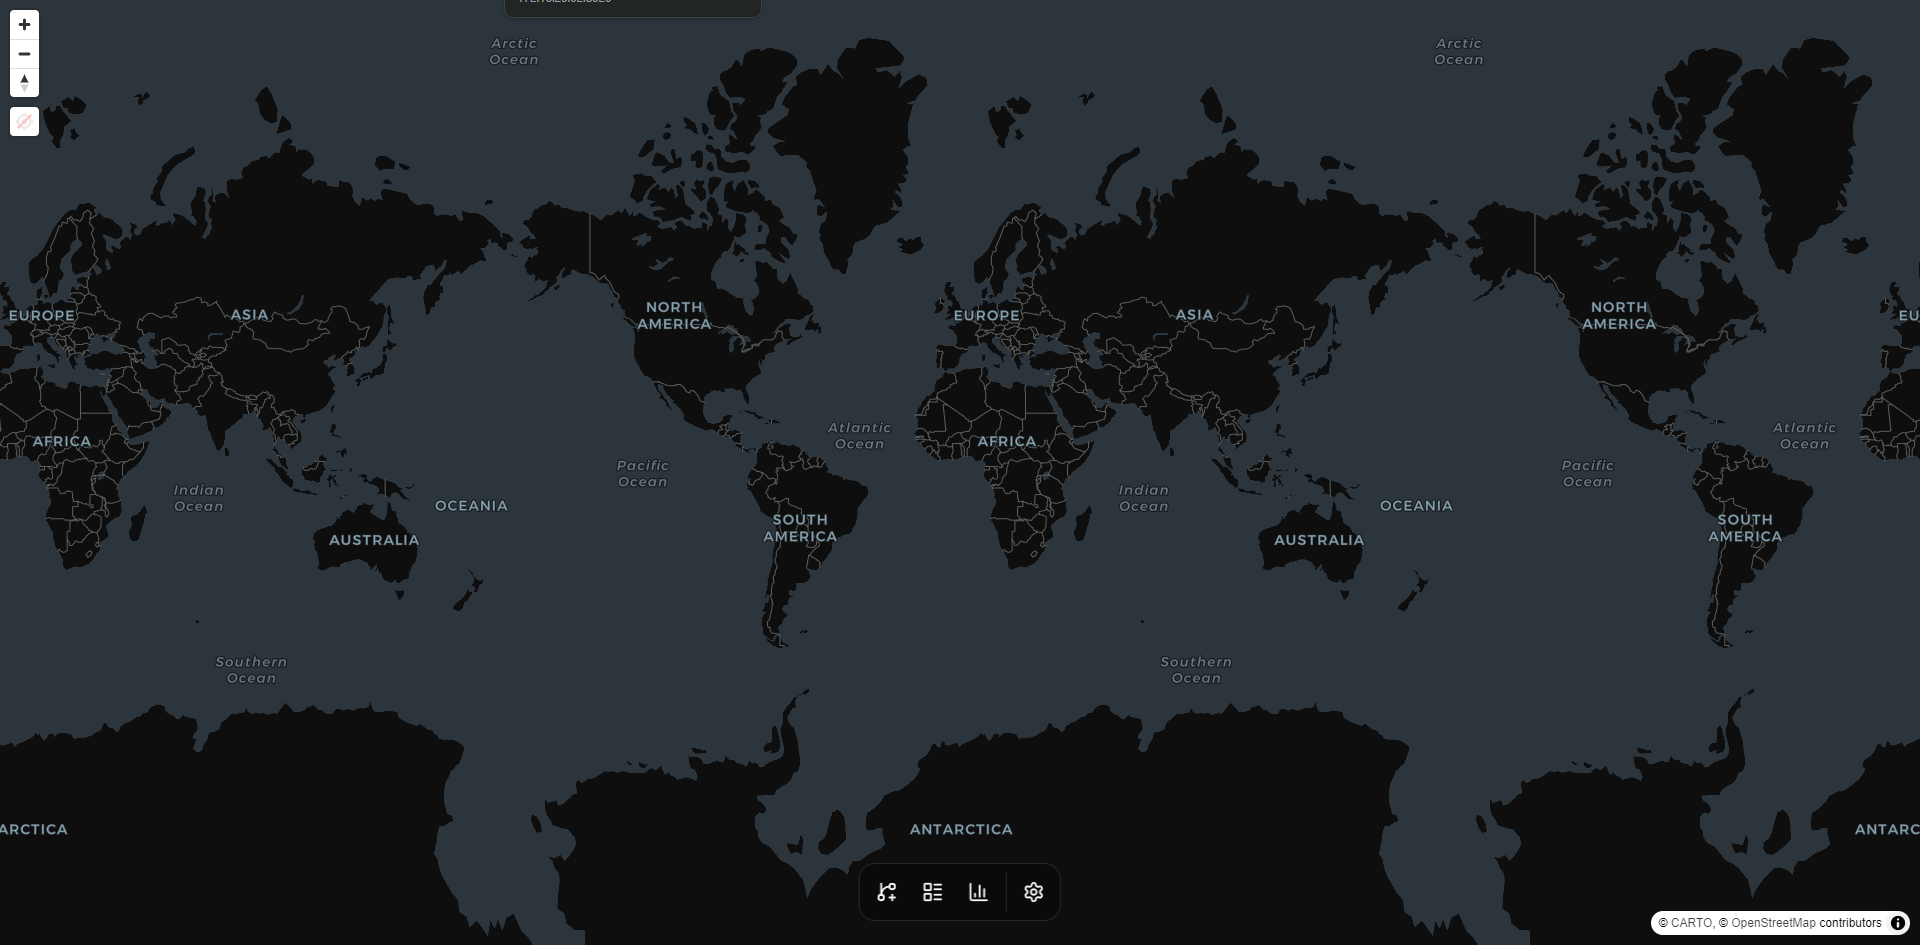
You should then be taken to the World overview map with nothing on it:
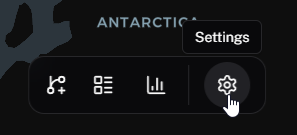
At the bottom of the page, you will find all the configuration buttons for the interface. The gear on the far right will launch the Settings window.
Under the General Settings, I had to set the unit of measurement again since it didn’t save for some reason when creating a user account, I believe this is a bug because when I added another user it did the same thing.
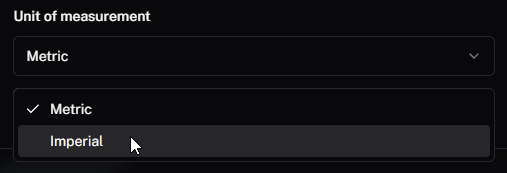
Set all the settings to your preference and then click “Save” at the bottom.
Adding a Flight
Now that we are in and configured, let’s start adding flight information. I’ll be using a fictitious flight as an example.
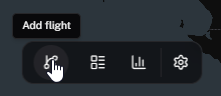
On the bottom, click the “Add flight” button.
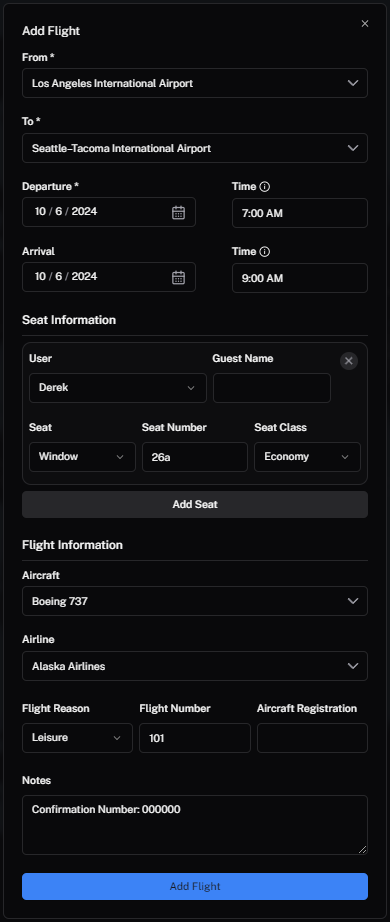
In this “Add Flight” popup, we will enter all the information about the flight. Fill out your information for your flight and click “Add Flight” at the bottom of the page. Few notes…If you want to track multiple people, you will need to create a User Account inside the AirTrail settings to assign them to the Seat. For the Notes area, I like to enter the Confirmation number the airline sends just for documentation sake.
Once you add the flight, it will take you back to the world map where you should now see a “Route” connecting the two Airports.
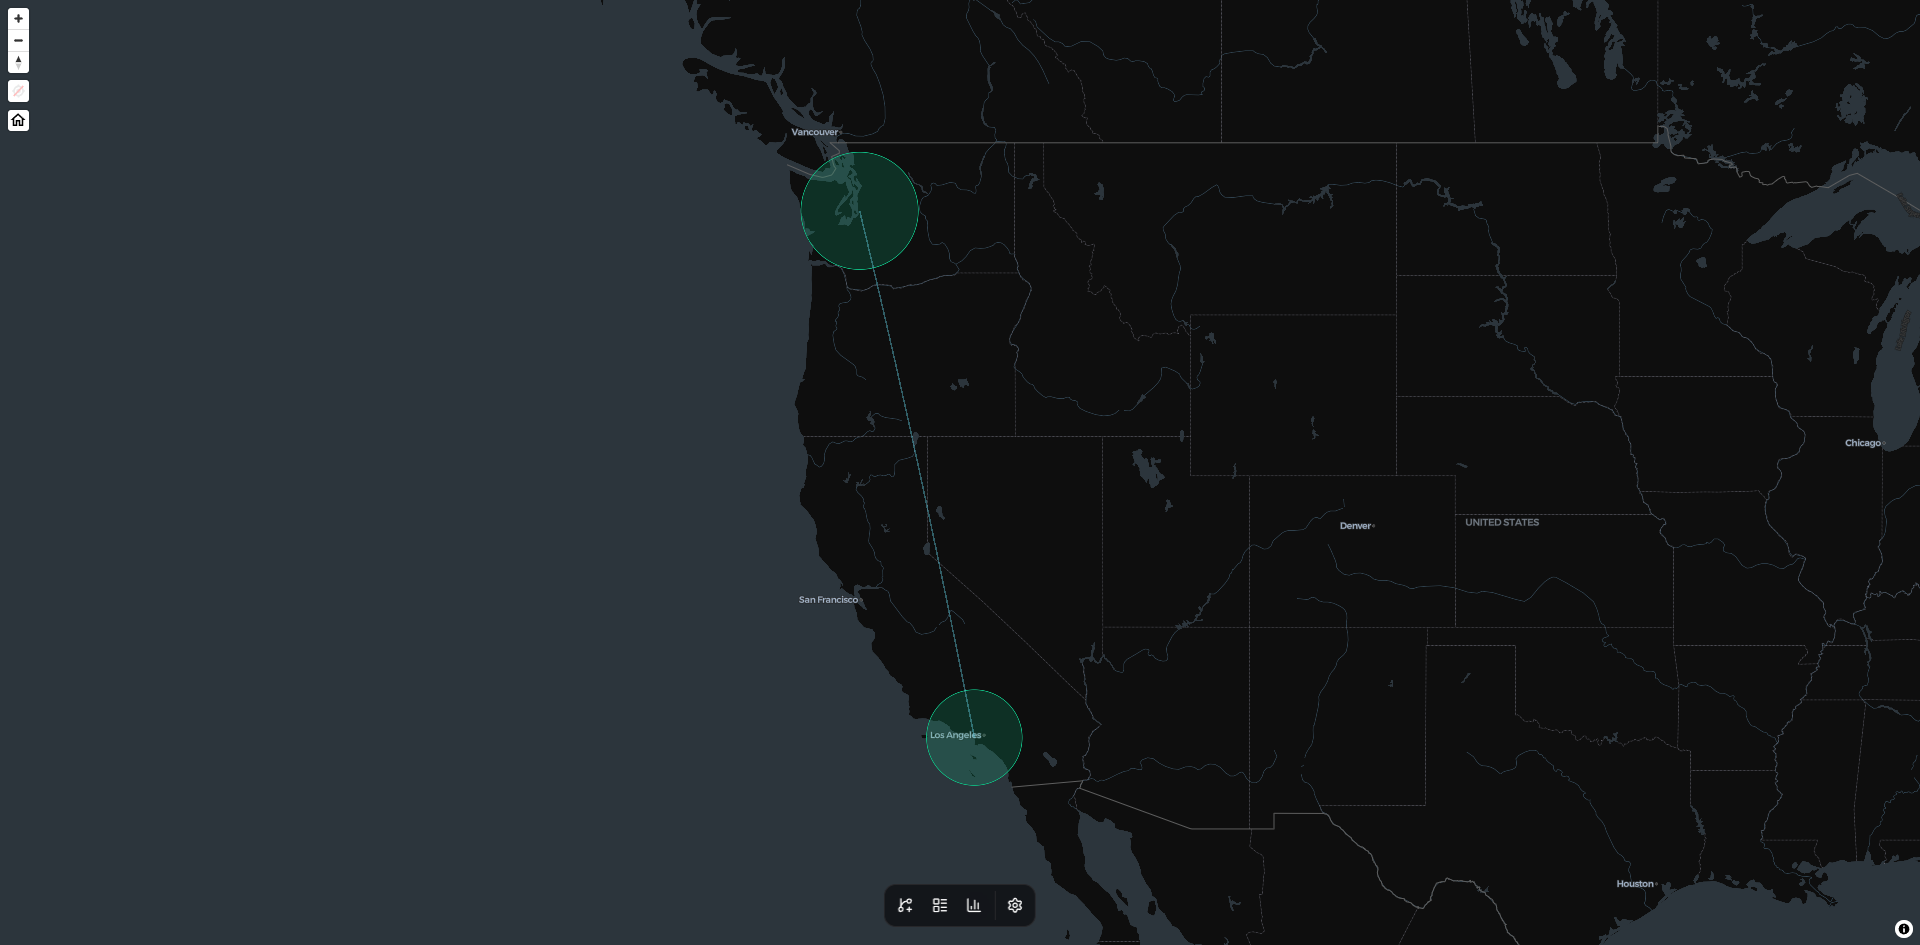
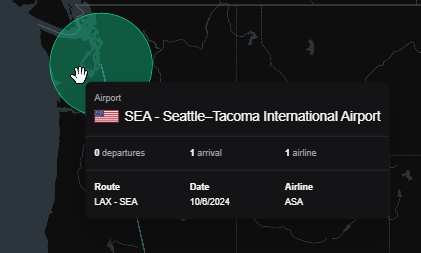
If you hover over the Green Circle for the Airport, it will give you some basic information like how many departures/arrivals you have had at this airport and some of the routes you have taken.
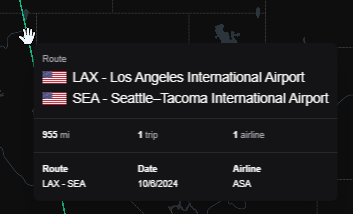
If you hover over the Route itself, you will see basic information on all the flights you have taken between those two airports.
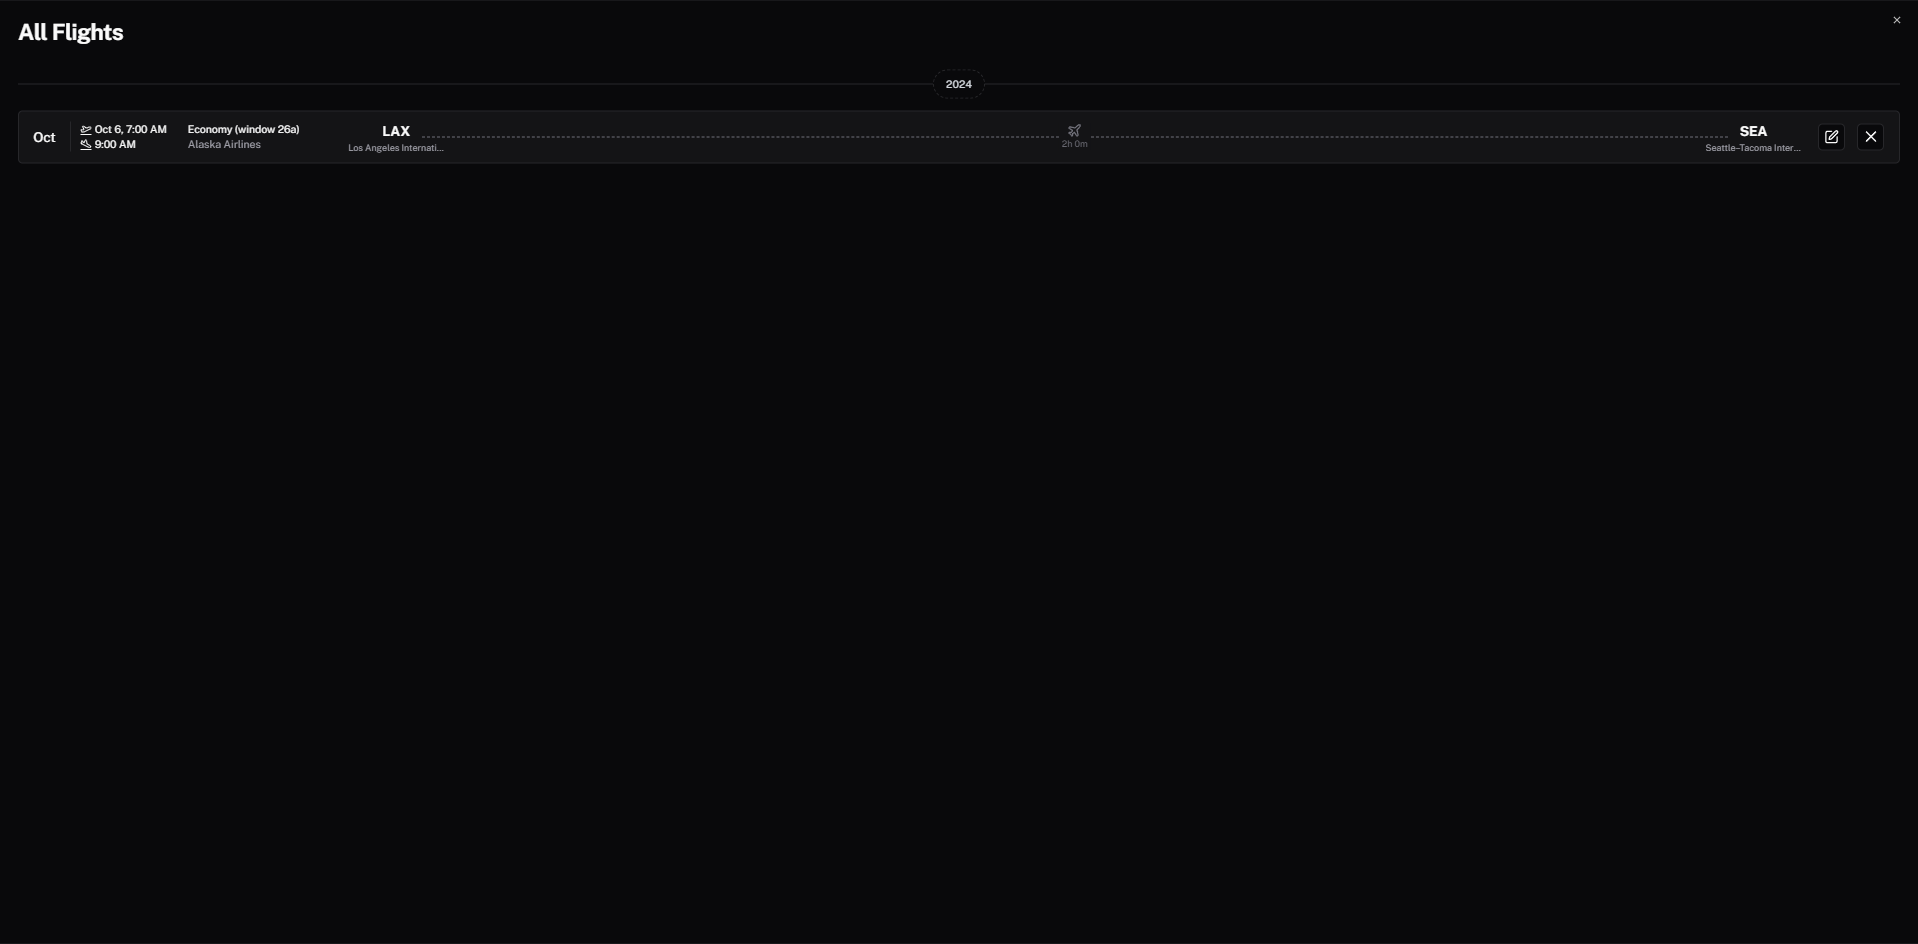
All Flights List
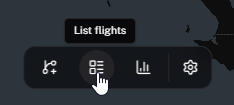
Once you start adding flights to your instance, you can view and edit these flights by clicking the “List flights” button next to the “Add flight” button.
On this page, it gives a list of all the flights in order (newest at the top). You can see basic information about the flight or edit the flight by clicking the pencil icon to the far right. When you are done, click the “X” in the top right corner to go back to the world view.
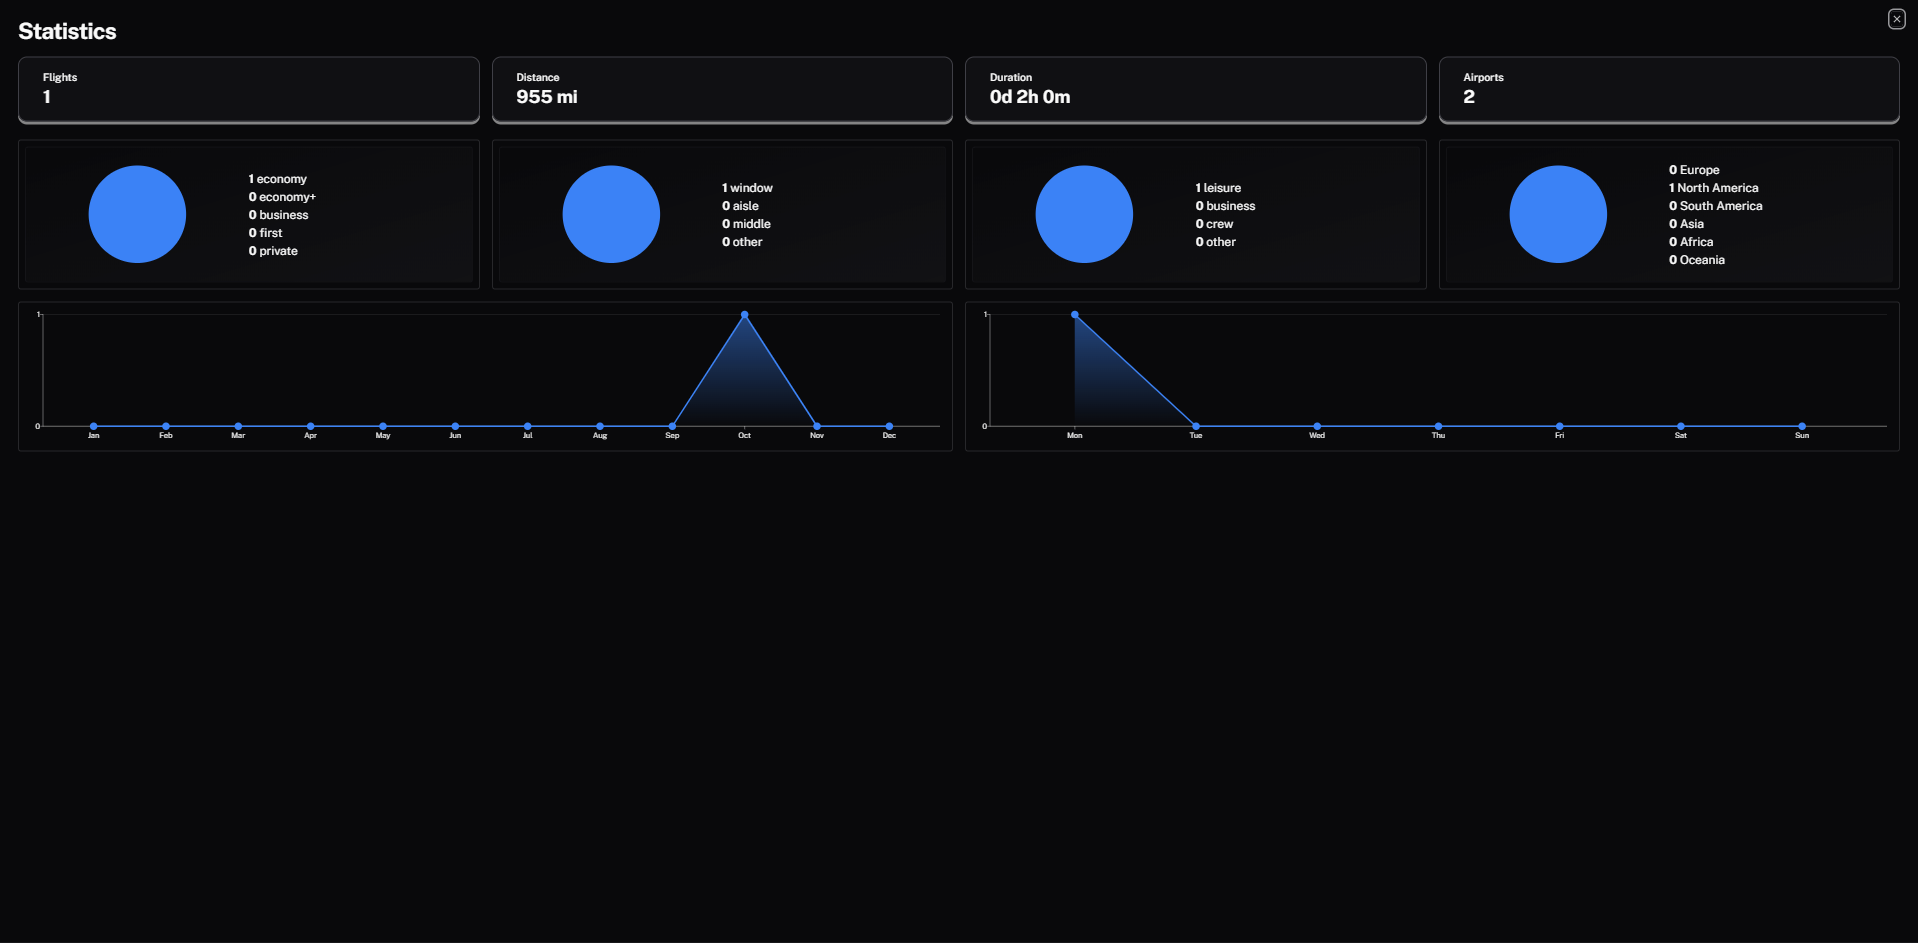
Statistics Page
Finally, the statistics page is where this application is really cool. It aggregates all your flight information and gives you a rundown of different stats. Click the “Statistics” button next to the “List flights” button.
Here you can see some cool things like total number of flights, distance traveled, duration, how many airports. This starts to get really cool the more and more flights you enter.
This application, even though it’s not a high use application, will live on my system for the foreseeable future. I really like the statistics and the visualization of all my trips. I have been really tracking my trips since early 2023 and plan on adding to this as my other half and I continue to travel and see the world. I’m excited to see where they take it and features they add, would be nice to be able to actively track flight information and use it as a sort of “Travel Hub”. We’ll see!
Thanks for reading this walk through, hope you got something out of it. If you did or would change something with my deployment, drop a comment below.