If you followed my Lidarr setup and deployed that container, you might notice that there isn’t a “Discovery” feature for new artists like there is with Radarr for movies. Lidify integrates with your Lidarr deployment to pull all the artists in your library and then gives you recommendations on artists missing from your library using a Spotify integration.
In this walk through, I’ll walk you through the deployment of Lidify container, integrating it with your Lidarr container and Spotify, and then using the system to add content to your library.
Prerequisites
I will be setting this up on Portainer utilizing Docker Containers running on Ubuntu 24.04. Here are my setup guides for all of those pieces of software:
- Install Ubuntu Server 24.04 LTS
- Things to do after installing Ubuntu Server
- Install and Configure Docker, Docker Compose, and Portainer on Ubuntu Server
You will also want to have your Lidarr application deployed and working for accessing your library. Here is the setup guide I created to do this a few weeks ago:
Setup “Spotify for Developers”
First thing we will want to do before deploying our stack is setup our account with Spotify to accept connections for searching. Here is the link to the Spotify Developers site we will use to get access:
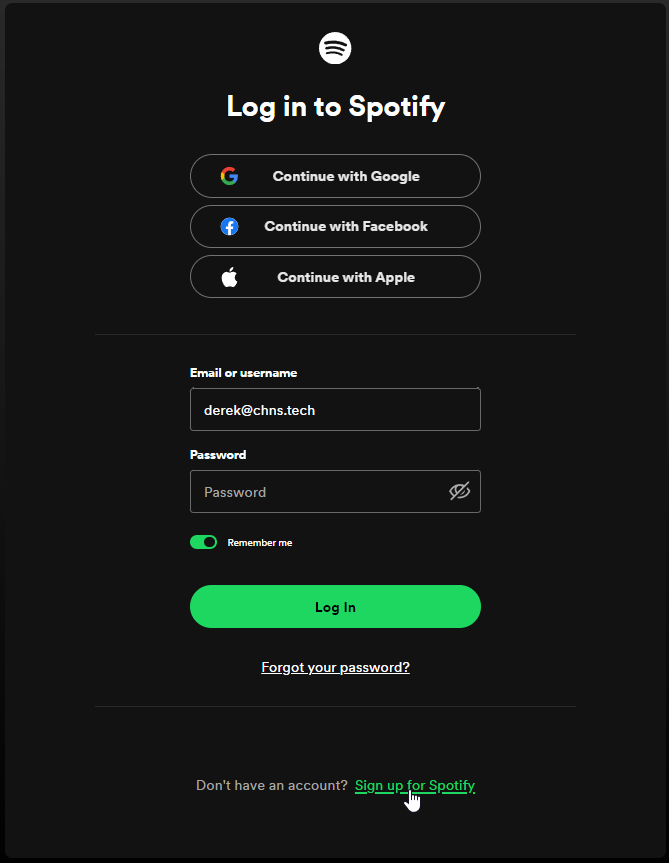
Click the “Log in” button in the top right corner.

If you already have a Spotify account, you should be able to login with that information. If you don’t have an account, you can Sign up at the bottom of the page.
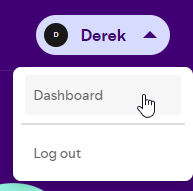
Once you are logged in, click your name in the top right corner where the Log in button used to be and then click on “Dashboard”.
Next, click the “Create app” button.

Enter the information you want for this app integration. Here is the settings I used:
- App Name – I just called it “Lidify”.
- App Description – I entered “Searching like artists”.
- Redirect URIs – I entered my main domain URL.
- Check the box next to “Web API”.
- Check the box to agree to the Spotify Terms of Service.
Then click “Save” at the bottom to create the App.

Back on the Dashboard, click on your newly created App. Then click the “Settings” button in the top right corner.
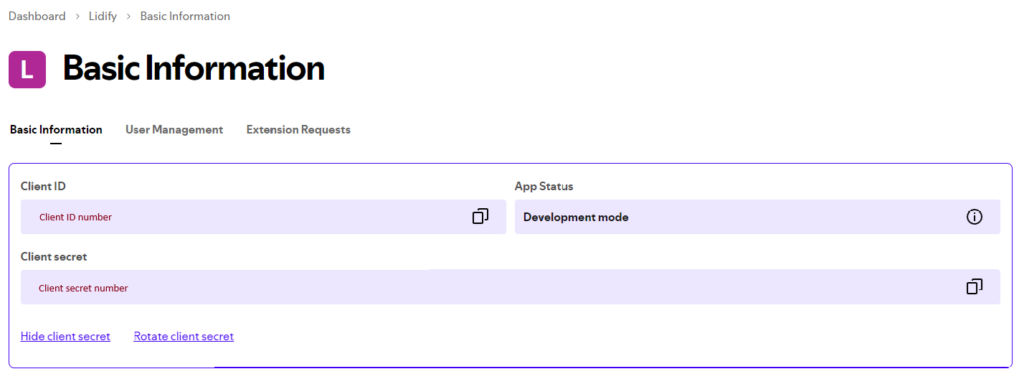
We need to grab two things from this page, the “Client ID” and the “Client secret”. Copy these values and save them to notepad or somewhere handy for adding to your stack configuration.
Lidarr API Key
We also need to grab the API key from our Lidarr deployment so we can create that link as part of the deployment.
Login to the web interface for your Lidarr deployment and go to “Settings” in the left menu. Then go to “General”.
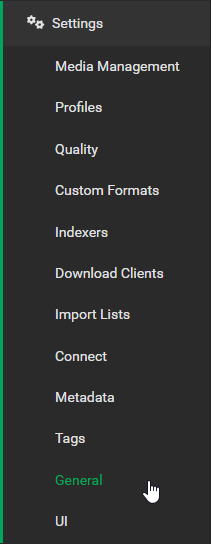
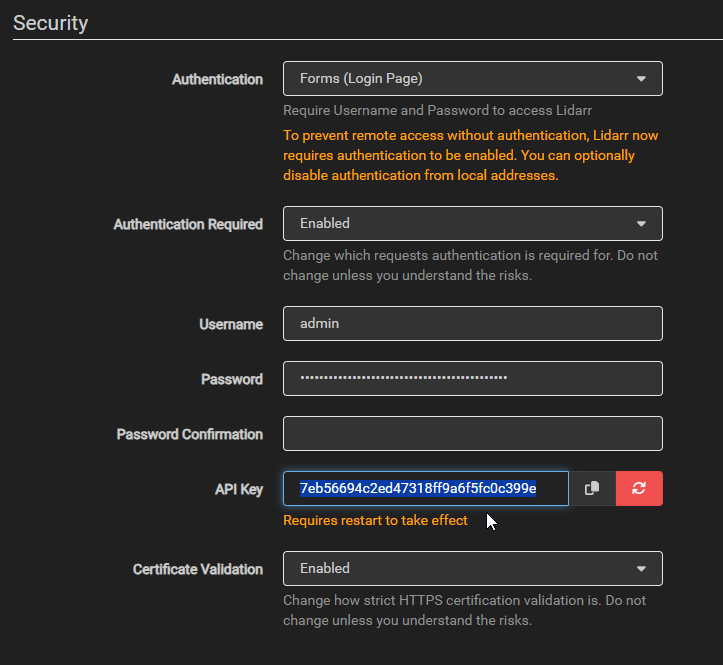
Scroll down to the “Security” section and you should see “API Key”. Copy this number to somewhere you can access it for the deployment.
Deployment
Copy this code to a new Stack on your Portainer. You can also copy this directly into a Docker Compose yaml file. Update the information for your deployment and deploy the Stack.
services:
  lidify:
    image: thewicklowwolf/lidify:latest
    container_name: lidify
    environment:
      - lidarr_address={main lidarr url}
      - lidarr_api_key={lidarr api key}
      - root_folder_path=/music
      - quality_profile_id=4
      - metadata_profile_id=4
      - search_for_missing_albums=true
      - spotify_client_id={spotify client id number}
      - spotify_client_secret={spotify client secret number}
    volumes:
      - data:/lidify/config
      - /etc/localtime:/etc/localtime:ro
    ports:
      - {port number}:5000
    restart: always

volumes:
  data:
Stuff to change for your deployment:
- Image – Usually I prefer to use a specific tagged image however this developer only updates the “latest” image so you have to use that for this container.
- Lidarr Address – You will want to set this to the main URL of your Lidarr deployment. (ex. http://{lidarr url}:{lidarr port number})
- Lidarr API Key – This is the key we copied from your Lidarr deployment.
- Root Folder Path – This is the path to the folder of your music from within Lidarr. You can find this value by going to “Settings > Media Management” and looking at your Root Folder Configuration.
- Quality and Metadata Profile ID’s – These numbers were a little hard for me to figure out and what delayed the writing of this article for a couple weeks. The default values for these env is “1” which is the default profile that comes out of the box in Lidarr. If you added profiles like I did, you have to figure out which number corresponds to the specific profile you want to use. There isn’t a great way to see this information so I just incremented the number by one (ex. 2 then 3 then 4) each time I launched and added an artist until it set the correct profiles I wanted. If you have a better way to find these number, drop a comment below.
- Search for Missing Albums – You will want to leave this on “True” if you want Lidarr to automatically search your indexer as soon as it adds it to the library.
- Spotify Client ID and Secret – These are the Spotify numbers we copied from the developers page earlier.
- Volumes – I switched to using Docker Volumes a little while ago in hopes of using it for a change I’m making to my infrastructure and how I’m storing and backing up data. You don’t have to use volumes if you don’t want to, just add a blind mount to the left of the “:”. Leave the second volume alone, the Lidify system needs access to this to pull time information.
- Ports – You will want to update this to a port that works well inside your environment. It will be the port that you connect to the web interface of the container.
- Restart – You will want to set this to the way you want docker to handle the restarting of the container. Here is a link to the Restart Policies to choose from. I prefer “always” so if it crashes or the server restarts, it will automatically restart the container.
Access and Use the Application
Now that your Lidify container is deployed, lets connect to the web interface and start using it.
Open your web browser and navigate to “http://{server name or IP}:{port you configured in the stack}”.
You should see a pretty plain interface that looks like this:
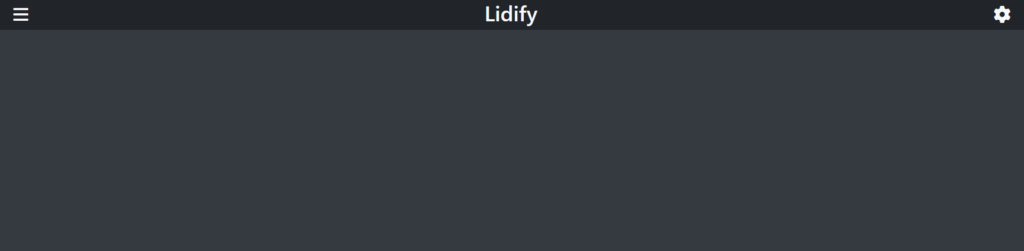
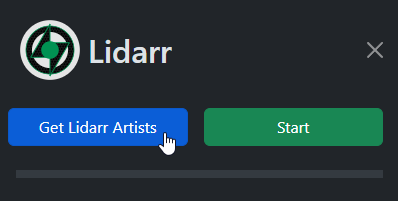
Click the “Hamburger” icon in the top left corner.
Click the “Get Lidarr Artists” button.
Assuming everything is working, you should see the list of all the artists you have in your Lidarr library.
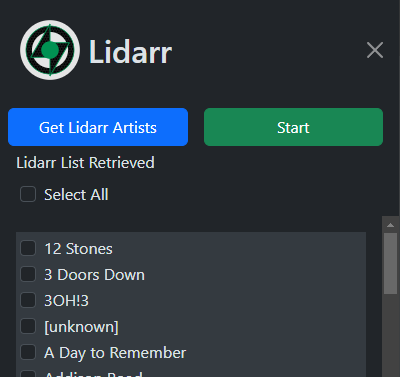
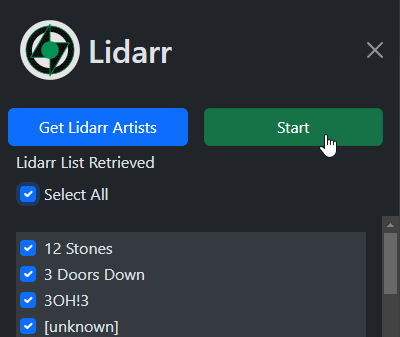
From here, you can select a single artist to search similar artist or you can check the box next to “Select All” which will look at your whole library and give you recommendations. When you are ready, click the green “Start” button.
Click the “X” in the top of the menu to go back to the main page.
The system should now populate with all the recommended artists based on your library.
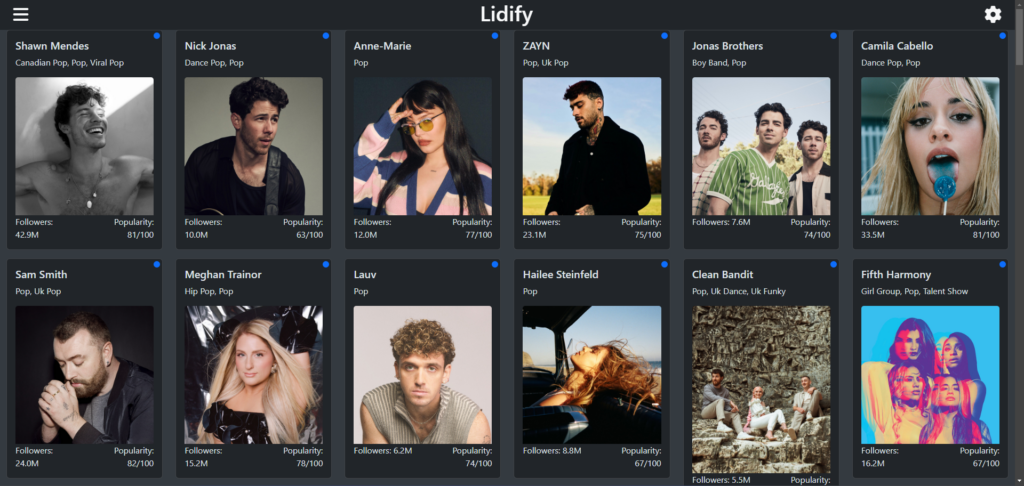
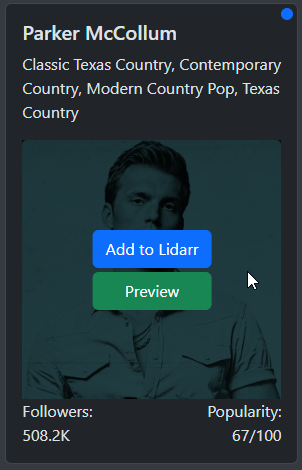
When you find an artist you want to add, you can hover over their picture and it gives you two options, “Preview” which will play a 30 second preview of the artist. I found this doesn’t always pull the correct artist, not sure if this is a Lidify or Spotify bug. The other option is “Add to Lidarr” which will automatically add the artist to your Lidarr library.
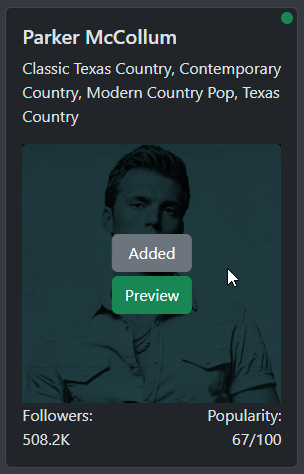
Assuming you have everything setup correctly, it should change to “Added”. If things aren’t setup correctly and there is issues, the button will turn Red and say “Failed”. You will need to check the logs in your Lidify container to see why this is happening. For me, I saw this when my Quality and Metadata Profile numbers were incorrect.
If you followed my stack and set it to automatically search for missing albums, Lidarr should now start its indexing process and send any available albums to your download client. Remember to check the first couple artist you add to make sure they are getting the correct profiles.
I have been using this system a lot over the last couple days to re-discover artists that I used to listen to and forgot about or new artists that are similar to other artists I really like.
Special thanks to MariusHosting for writing an article on Installing Lidify on Your Synology NAS so I could discover this container.
If you deployed this container on your system or have anything you would change with these instructions, drop a comment below.