Pinchflat is a self-hosted app for downloading YouTube content built using yt-dlp. It’s designed to be lightweight, self-contained, and easy to use. You set up rules for how to download content from YouTube channels or playlists and it’ll do the rest, periodically checking for new content. It’s perfect for people who want to download content for use in with a media center app (Plex, Jellyfin, Kodi) or for those who want to archive media!
I have been using it for a few month now to download new content from my favorite creators and make it available to watch on my Plex server with all my other Movies and TV Shows. Essentially making my Plex server my one stop shop for all of my media consumption.
In this article, I’ll go over the deployment I use to get this running on the same Docker Server as my other Media Aggregators. Then, I’ll go over the basic settings and setup inside the web application I have setup.
Prerequisites
I will be setting this up on Portainer utilizing Docker containers running on Ubuntu 24.04 LTS. Here are my setup guides for all of those pieces of software:
- Install Ubuntu Server 24.04 LTS
- Things to do after installing Ubuntu Server
- Install and Configure Docker, Docker Compose, and Portainer on Ubuntu Server
Next, you will need to mount your media folder shares onto the base servers so the container will be able to access them and save content. If you have followed one of my other walk throughs on Radarr and Sonarr, I would recommend you use the same docker server those are running on so you only have one mount. If you need a walk through on how to mount a file share onto a Linux server:
Deployment
Copy this code to a new Stack on your Portainer. You can also copy this directly into a Docker Compose yaml file. Update the information for your deployment and deploy the Stack.
---
version: '3.9'
services:
  pinchflat:
    container_name: pinchflat
    image: keglin/pinchflat:latest
    ports:
      - {port number}:8945
    volumes:
      - pinchflat:/config
      - /mnt/plex/Pinchflat:/downloads
    restart: always

volumes:
  pinchflat:
Stuff to change for your deployment:
- Version – This is be determined by the version of Docker you are running on your server. You can find this by entering the command “docker -v”. Here is a link to the Compatibility Matrix.
- Image – You can do “latest” and it will pull the current version. I prefer to look up the actual tag for the current version. This adds a little more management to updating however pinning it to a specific version adds reliability. Here is a link to the Pinchflat Tag page.
- Ports – You will want to update this to a port that works well inside your environment. It will be the port that you connect to the web interface of the container.
- Volumes – I started switching my persistent storage to built-in Docker volumes for some changes I will be making for my file system. Feel free to do what I did in deploying to a Docker volume or you can do a “blind map” directly to the file system on your server (ex. /home/{user name}/docker/pinchflat/config). You will also need to point the second mount for downloads at the location on your server you want it to download the content.
- Restart – You will want to set this to the way you want docker to handle the restarting of the container. Here is a link to the Restart Policies to choose from. I prefer “always” so if it crashes or the server restarts, it will automatically restart the container.
Web Interface and Configuration
Now that we have the docker stack deployed on our server, lets access the web interface and start customizing it.
Open your web browser and navigate to “http://{server name or IP}:{port you configured in the stack}”.
You should see a welcome page that looks like this:
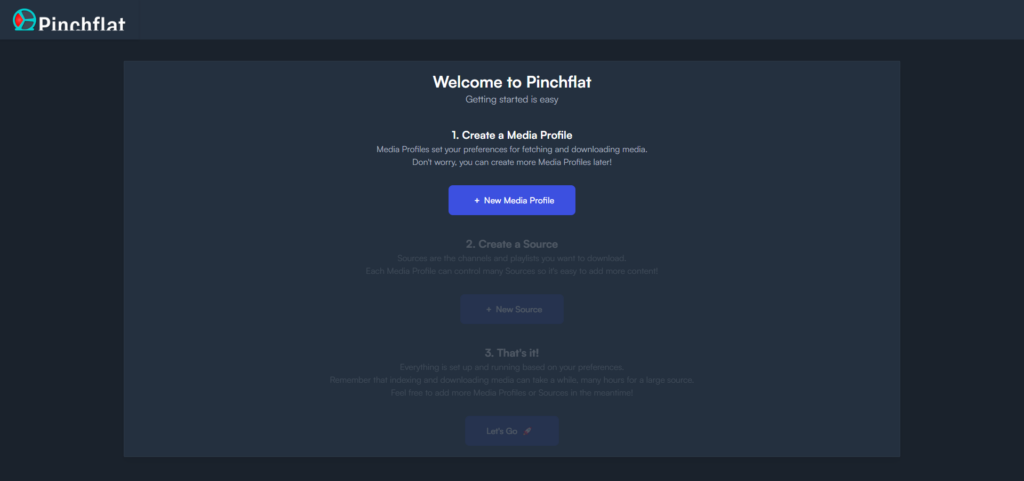
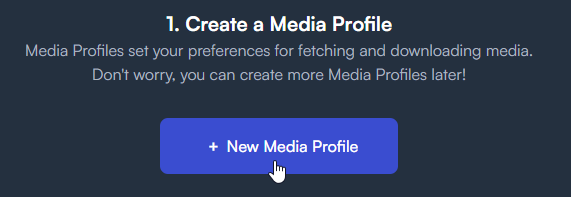
First thing we will need to configure is a “Media Profile”. This is basically a profile containing all of your specified settings for how you want it to download the content. Things like naming convention for the files, Subtitle Languages, Resolution, and Thumbnails. Click the “New Media Profile” button in the middle of the page.
I didn’t use a Preset to do my settings once I figured out what I wanted. Here are the settings I use for all of my content I grab from YouTube:
- Name – I just use “YouTube” as the name since that is the content I use it for.
- Output path template – This is the format you want it to organize and name the download files. Here is what I use:
/{{ source_custom_name }}/{{ upload_yyyy_mm_dd }} {{ source_custom_name }} - {{ title }}.{{ ext }}
This will create a folder under my downloads mount with the name I enter for the channel. Then it will download all files into that folder with the following naming convention: Date it was uploaded followed by the name I set for the channel followed by the title of the video. This is the most descriptive way I found that works for my Plex server and how it organizes videos.
- Embed Thumbnail – This will download the thumbnail the creator set for the video and embeds it into the video file. There is no extra image file with this enabled. I have found that it is hit or miss if the player honors the embedded thumbnail, even between different Plex players. However, with the way I remove content after watching, I don’t want a bunch of extra files to clean up later.
- Include Shorts – I actually exclude shorts here. I usually don’t watch the YouTube shorts so its not content I care about.
Those are all the settings I set for my Profile. You can customize these or other settings to your liking.
When you are finished, click “Save Media profile” at the bottom of the page.
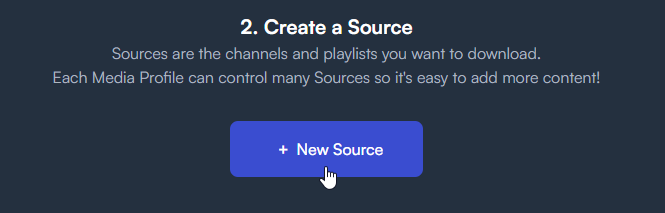
Back on the main welcome page, we want to click the next button to “Create a Source”. This will be a channel you want to setup to automatically download.
Here are the list of settings I use when creating a new source for most of my YouTube channels I monitor:
- Custom Name – This is the name of the source and doesn’t necessary need to be the name of the channel, it’s totally up to you. If you setup your Media Profile like I showed, this is the name it will use for its folder structure and name of the file.
- Source URL – This is the exact URL of the YouTube channel you wish to monitor and download. You need to include “https://www.youtube.com/" and then follow with the “@” name of the channel. You can find this by going to the main page of the channel in YouTube and looking at the URL.
- Media Profile – You will want to select the “Media Profile” you created in step 1.
- Index Frequency – I recommend keeping this the default “Daily” check-in. Most creators upload at most once a day so checking more then that would just be overkill. If you really wanted some Creators content as soon as it comes out, you could shorten this down however it also increases resources needed and could trigger YouTube that you are a Bot.
- Download Cutoff Date – This is the furthest it will go back and try to download content. If you add a creator that has been making videos for a long time, you want to set the date of the most recent video you watched otherwise it will go through the entire catalog of videos and fill up your server storage. Note that the format of this date has a very specific format so make sure you do YYYY-MM-DD with the dashes for it to work.
- Retention Period (days) – If you don’t really care about catching every video the creator uploads or having to delete content after you watch it, I recommend setting this setting. It will automatically delete the videos after the entered amount of time so you don’t fill up your server storage with videos you will never go back and watch. Example of this is a daily news show.
Those are all the settings I set for my Media Sources. You can customize these or other settings to your liking.
When you are finished, click “Save Source” at the bottom of the page.
Back on the main welcome page, you will see that is it for the customizations and setup of the server.
Click the “Let’s Go” button at the bottom of the page to be taken to the main management page.

Once it takes you to the Home page, you should see that the system was already hard at work indexing the source you setup and downloading any content that met the requirements. The Indexing process for a full channel does take some time so allow it to finished before adding more Sources.
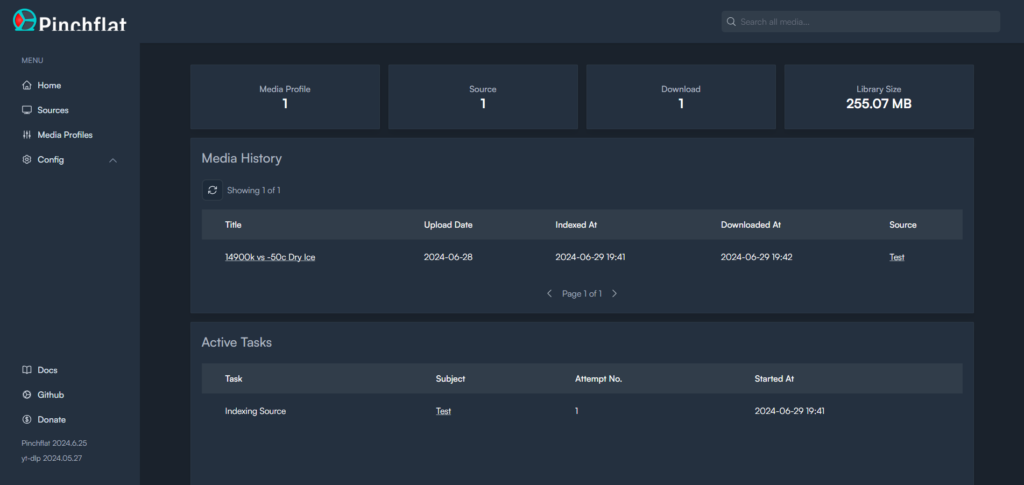
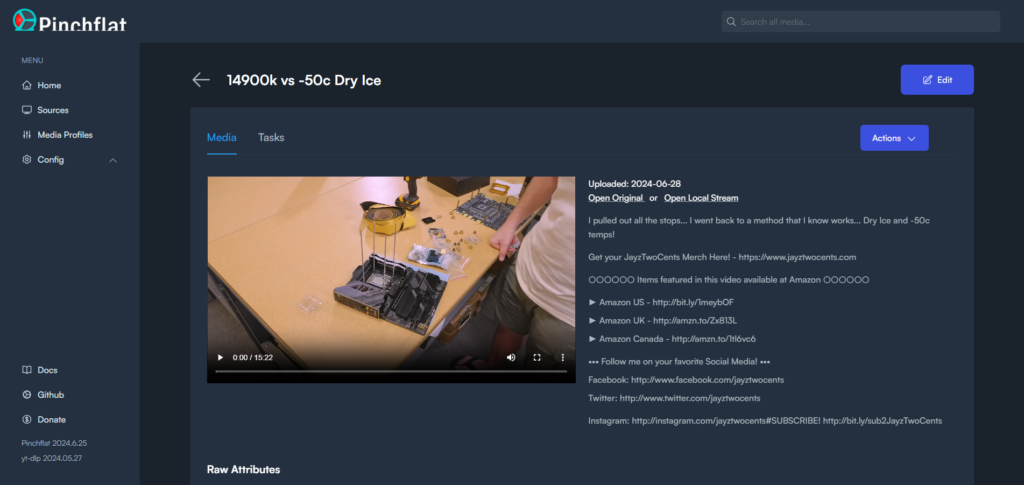
Clicking on a video it downloaded should take you to the media page showing all the information it was able to pull about that video. It also gives you a built in viewing player however this system isn’t meant to be used as a player.
To add more channels as Sources, simply click the “Sources” in the Menu on the left. Then click “New Source” on the right side of the screen.

This will take you to the same screen we used to setup the first source in step 2 of the setup. Simply enter the information for the new channel and save it. It will automatically start downloading content when you save.
Now that you have automatic media downloading in the background. I recommend adding the root folder to a Media Library in your Plex server and enabling “Scan my library automatically” so as soon as Plex see’s new content available, it adds it to your player. That is outside the scope of this article, I might do a Plex Media Server setup article in the near future so stay tuned for that.
I have been wanting a system like this to get all my content in one place for a while and this really works well. Stripping out ads is also a big plus.
If this article helped you deploy Pinchflat or give you ideas of media server systems to setup, leave a comment below.