I’ve been spending a lot of time away from my home network recently. Between traveling for vacation or staying at my Girlfriends house, I probably access my network more off net then on. If you read last weeks article on WireGuard Server – VPN Docker Container, you will know I’ve been running a VPN server for external connection for a while now. With that setup, each device had to be configured to connect manually and the ease of use and reliability wasn’t good.
A little while ago, I was watching some of my favorite tech YouTube channels, and all of them did a review around the same time for a “travel router” from a company I had never heard of…GL.iNet. They specialize in a few networking products, including home routers, IoT Gateways and Travel Routers.
“What is a Travel Router?”
Google defines it as a small device that allows you to connect multiple devices to the Internet while on the go. The idea that you can connect one device to the hotel WiFi or tether it to your cell phone, and then that device proxy’s all your device connections through it. This gets even better because you can setup a VPN on the router so all of your device traffic is securly communicated from a potentially unsecure network to somewhere you trust.
What’s great about the GL.iNet routers for this is they take the OpenWRT Linux Router Operating System, which has all the features you could want, and puts a user friendly skin over it to make management super simple. Making it even better, you can still access the OpenWRT interface and tweek things the way you want if you want to go deeper.
For this article, I’m going to take a deep dive into the router I chose, walk through the initial power on and setup, configuration of the VPN client to connect to WireGuard server, then I’ll finish with my thoughts and “review” of the setup.
GL-AXT1800
The model I chose to purchase is the GL.iNet GL-AXT1800 / Slate AX Travel Router. At the time of writing this article, this is the top of the line specs they offer for a Travel Router. HERE is the full list of specification for the device on their site. I will just point out a few feature I really like:
- WiFi 6 – Super fast WiFi speeds for all my devices. This includes a/b/g/n/ac/ax WiFi standards.
- 2 Gigabit LAN Ethernet Ports – allowing me to hardwire a device for faster speeds or connect to another networked device.
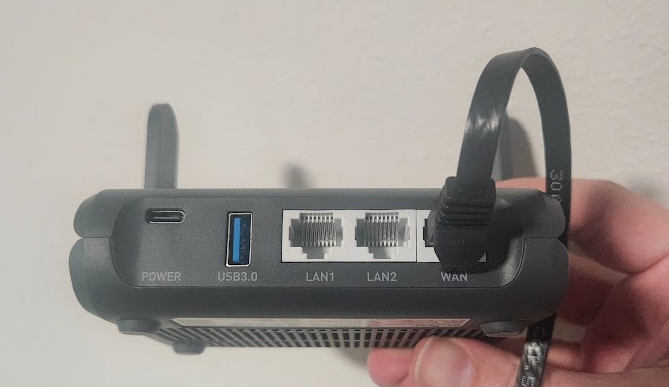
- USB Type C Power Port – This will be great for connecting directly to a battery pack while on the go (pulls about 4 watts of power while working).
- USB 3.0 Type A Port – You can use this for connecting USB storage directly to the device and providing network storage or you can connect a Cellular dongle for Internet connection.
- MicroSD card slot – used for more network storage, up to 512GB cards currently.
- Many different VPN Clients and Servers – not only can you connect this to a VPN network but you can also serve up the network from this device using different providers and protocols.
- AdGuard Home – Built in Ad Blocking DNS Server.
- Physical Toggle Button – this is a physical switch on the outside of the device you can customize to do different functions of the router. I will be showing how I use mine to enable/disable the WireGuard VPN client.
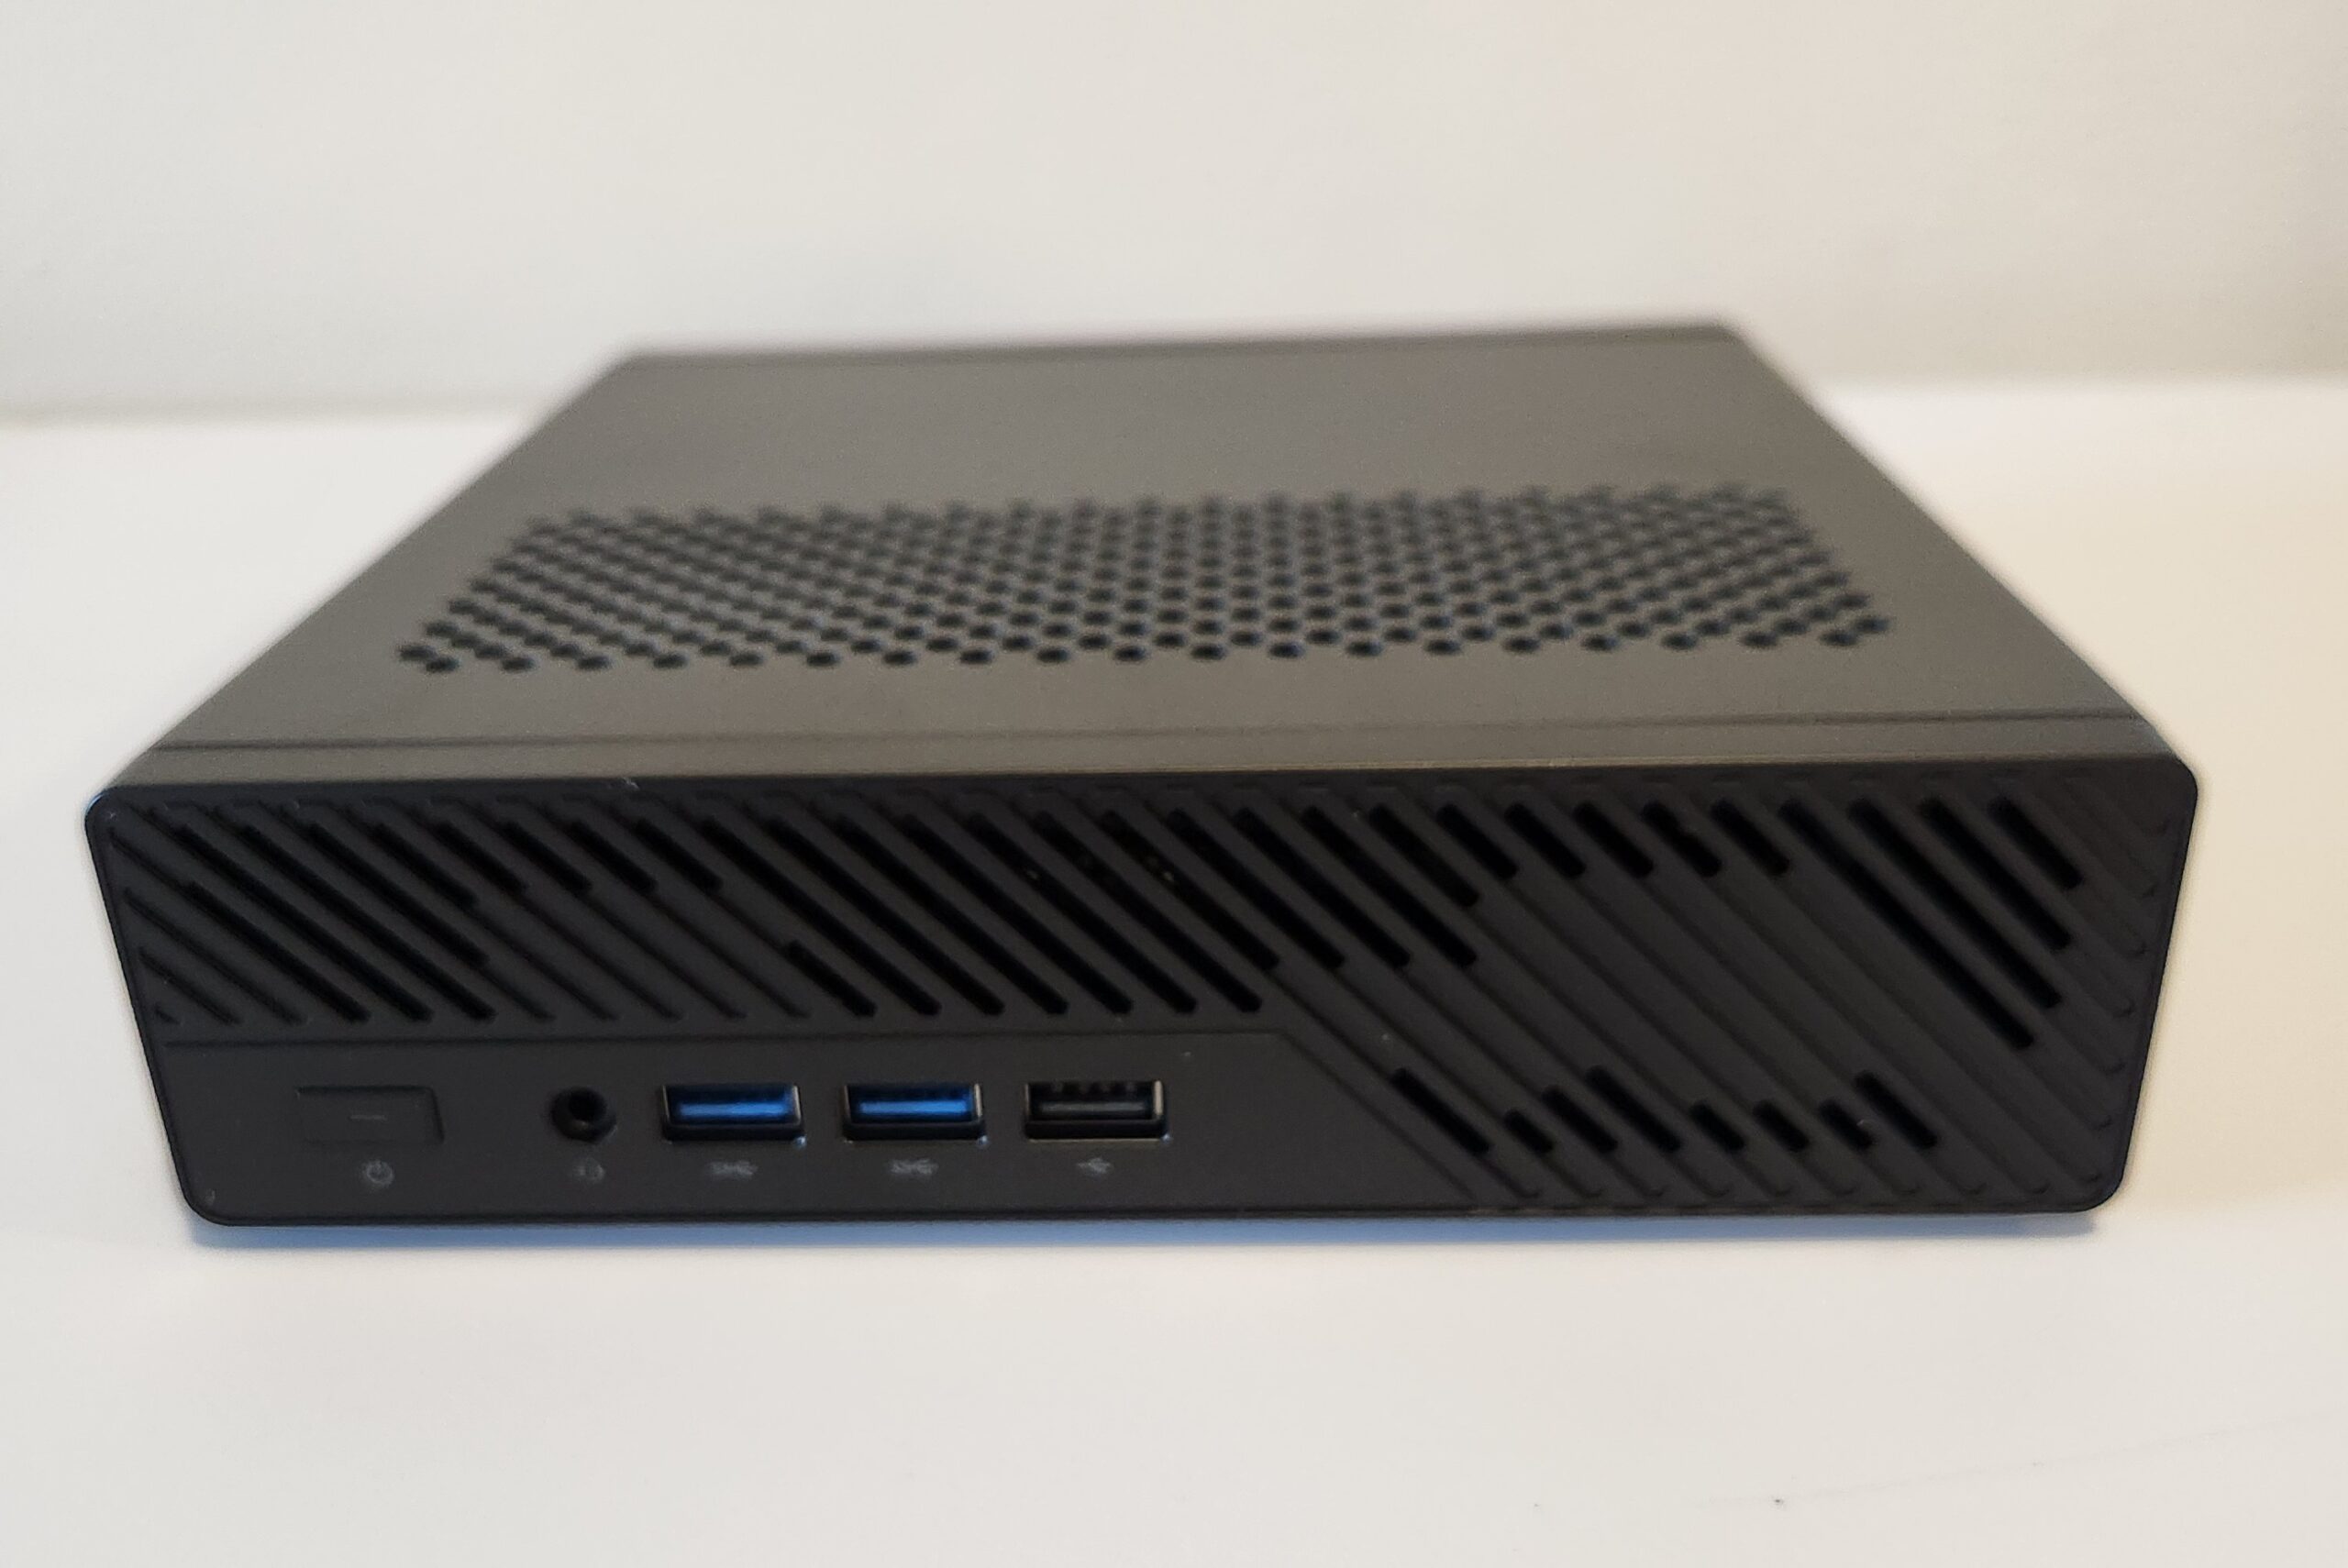
I absolutely love the small footprint of this device. About the same size as a RaspberryPi board or a little bigger than a deck of cards, you can easily throw this in a backpack or a suitcase and take it anywhere. Start-up time for me is about what I would expect for a home router, about 30 seconds.
Things I would change about the package…not much. It would be nice if it had more of what it already has: more ethernet ports, more USB ports, more toggle switches but for what it is and the price point, I’m happy with it. It would be cool if it had a little built in LCD screen that gave you like a little dashboard for the device similar to what Anker is doing with their new battery packs.
When I purchased it, it was on Amazon for $130. The lowest it has ever been was on black friday in 2022 for $103 so the current price of $113 is a pretty good deal!
Initial Power On & Setup
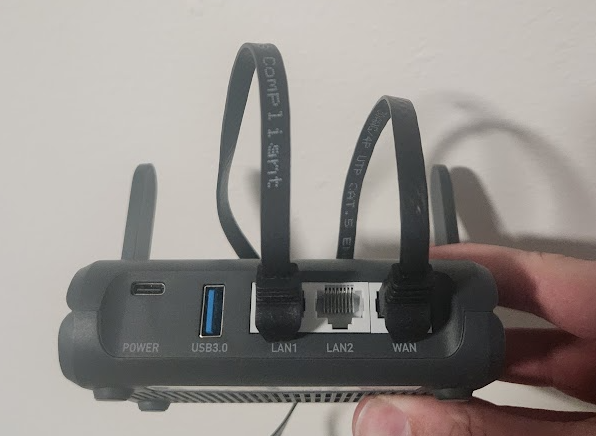
If you are planning on plugging this directly into an internet source with an ethernet cable, like your home router, connect that cable to the WAN port.
There are two options for connecting to the router and setting it up. First, plug an ethernet cable directly into your PC and connect it into the LAN port. This is the easiest and quickest way to get connected. If you want to connect to the WiFi on the router, you will need to wait until you power it on.
Start by plugging in the Power Brick that came with the device. If you plan on using a battery pack or a different power source in the future, that’s fine but for the first power on, I recommend using the include cable just to remove any possible issue with the initial setup.

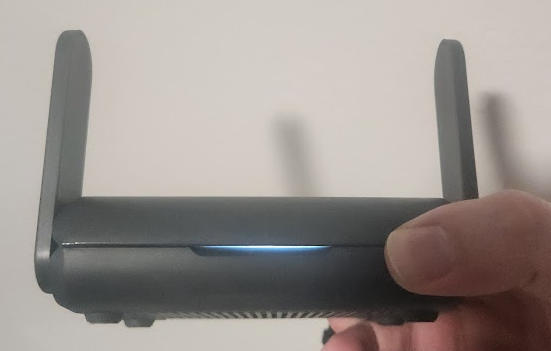
Once the router is powered up, the LED on the front of it should be a solid light blue color.
If you didn’t connect using an ethernet cable, you will need to connect to the default WiFi the router broadcasts. The SSID and Password is on a sticker on the the underside of the router. Connect to the WiFi just like connecting to any other wireless before continuing.
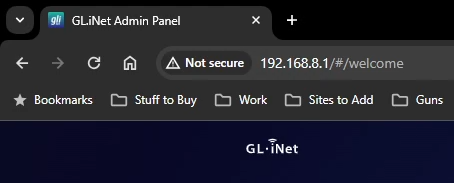
Open your web browser and navigate to “http://192.168.8.1”.
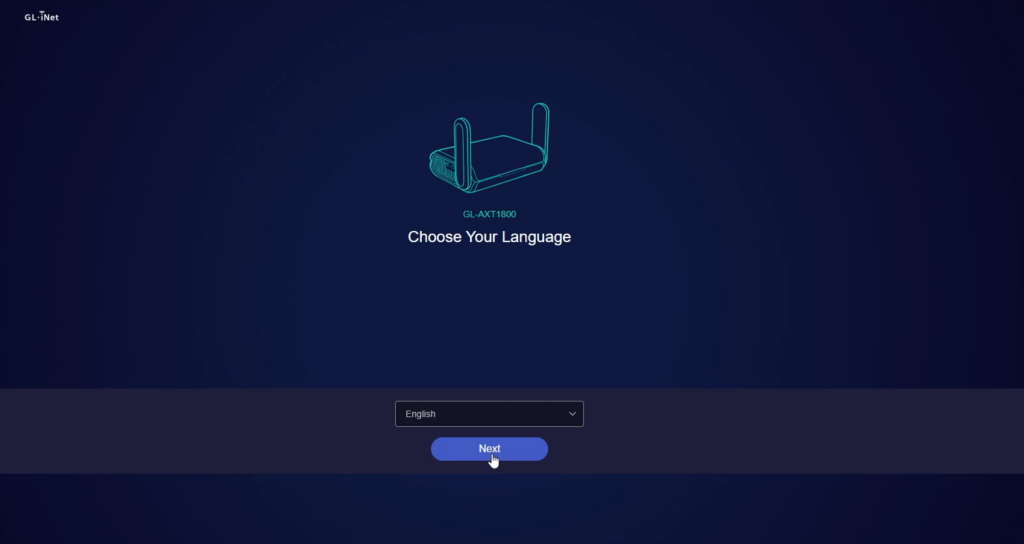
You should see the Welcome page. Select your language and click “Next”.
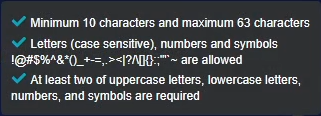
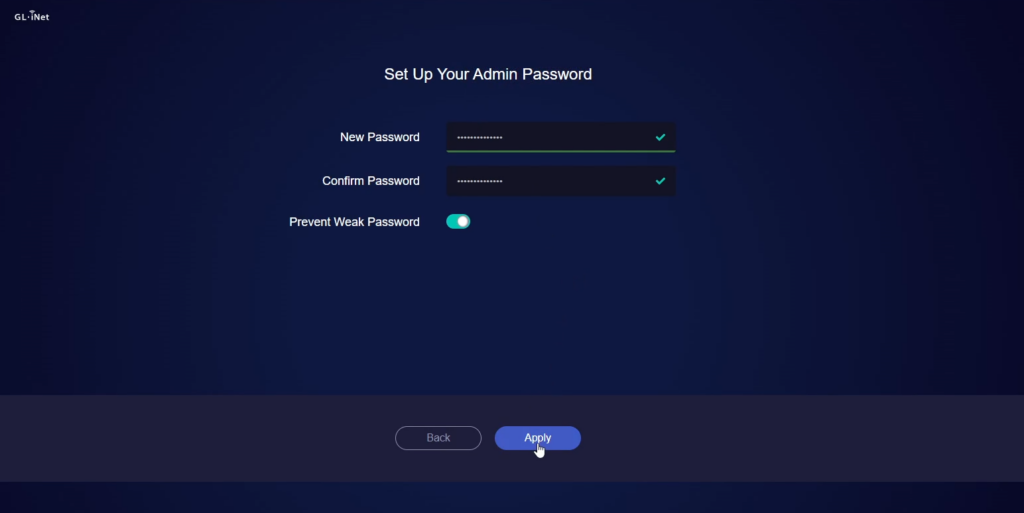
Next you will need to set your password. Make sure it follows the minimum strangth password settings or disable the “Prevent Weak Password” toggle.
Once you confirm your password, click “Apply” to continue.
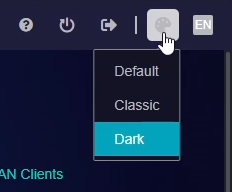
First thing I encourage is to switch it to Dark Mode using the button in the top right corner. The Dark Mode gives the custom skin a really nice look and feel.
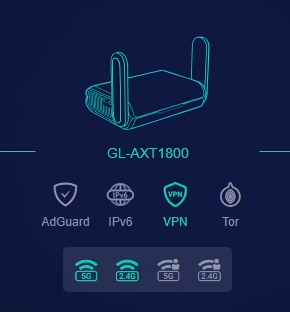
Welcome to the dashboard. At the top of the screen, you will see at a glance the system status and the connections.
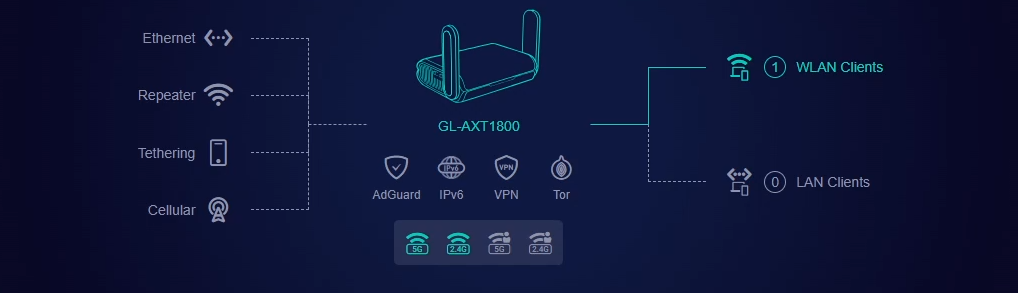
On the left, you will see all of the “WAN” connections avalible. I plan on connecting mine through “Repeater” mode next so that’s why nothing is green and the router doesn’t have Internet connection.
On the right, you will see all of the “LAN” devices connected. I am connected over the WiFi so that’s why its green with a “1”.
In the center, under the image of the router, you will see some of the services and their status. Obviously, non of these are setup so non will be green.
Under that, you will see the status of the different WiFi Broadcasts. From left to right, you have 5G, 2.4G, 5G Guest, and 2.4G Guest.
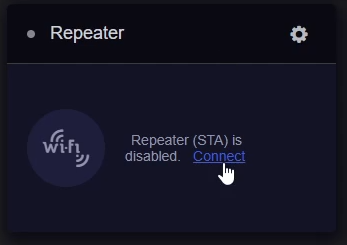
At the bottom of the page, you will see the 4 different Internet connection options and where to configure them. I will be setting up the router as a “Repeater” which means it will connect to another wireless as a client and then route everything over that connection.
Click the “Connect” button to start this process.
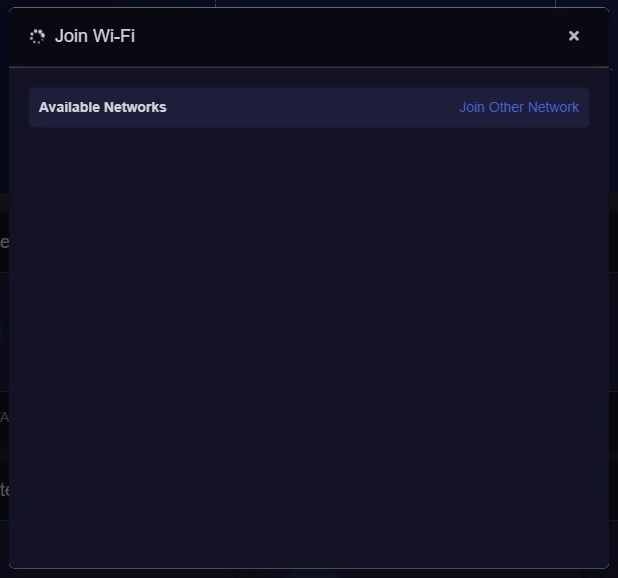
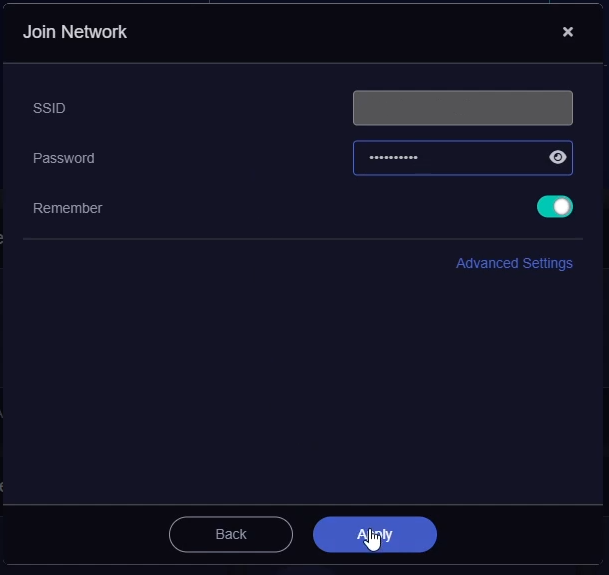
You should see a window open and it will scan for any SSID’s in your area. Click on your SSID when it appears in the list.
Enter in your password and then click “Apply” at the bottom of the page.
Once the router connects to your wireless, you should see all the client specification on the main screen. This is the IP address information you router handed out to the travel router.
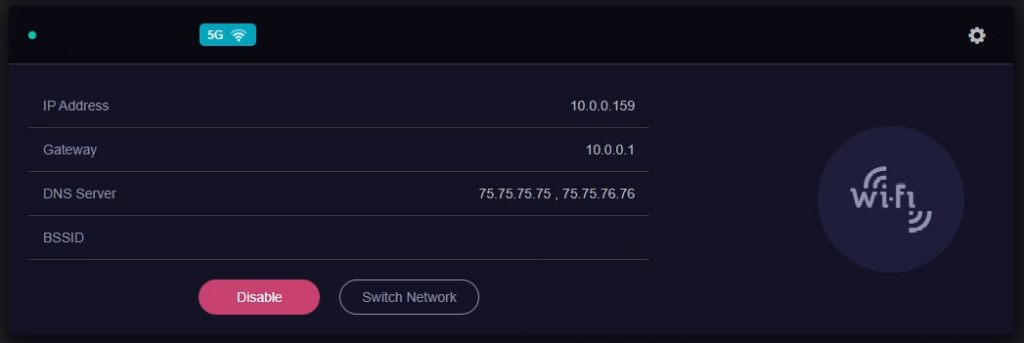
You should now have Internet! Test it by opening up another tab in your browser and search for something or go to an external website.
A few more things we want to look at before wrapping up the initial setup.
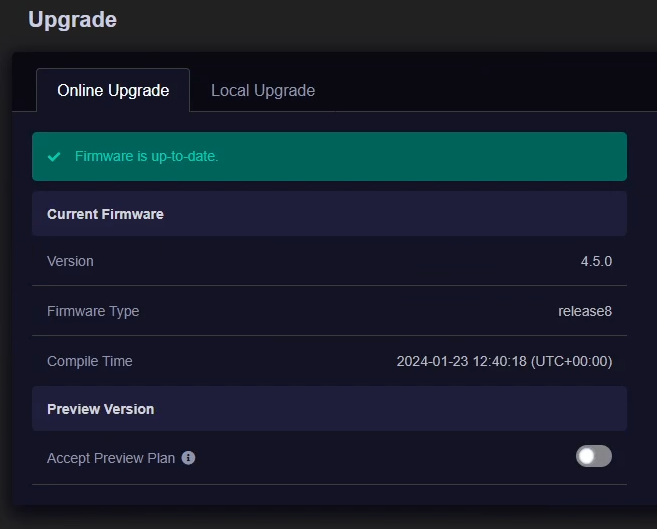
Navigate to “System” and then to “Upgrade”.
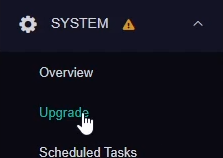
Here you can download and install any upgrades that are avalible for your router.
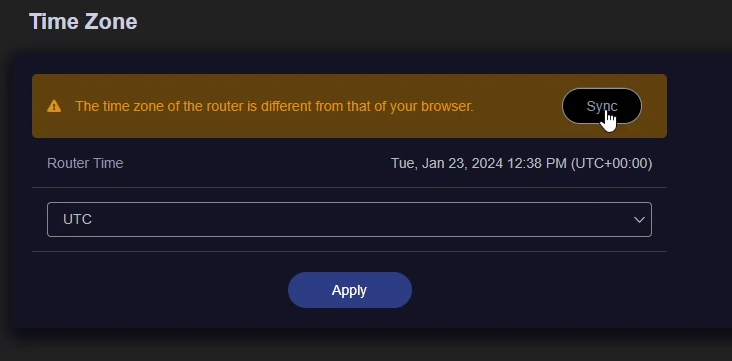
Next, navigate to “System” and then to “Time Zone”.
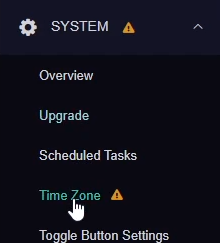
You will want to click the “Sync” button at the top or manually select your current time zone.
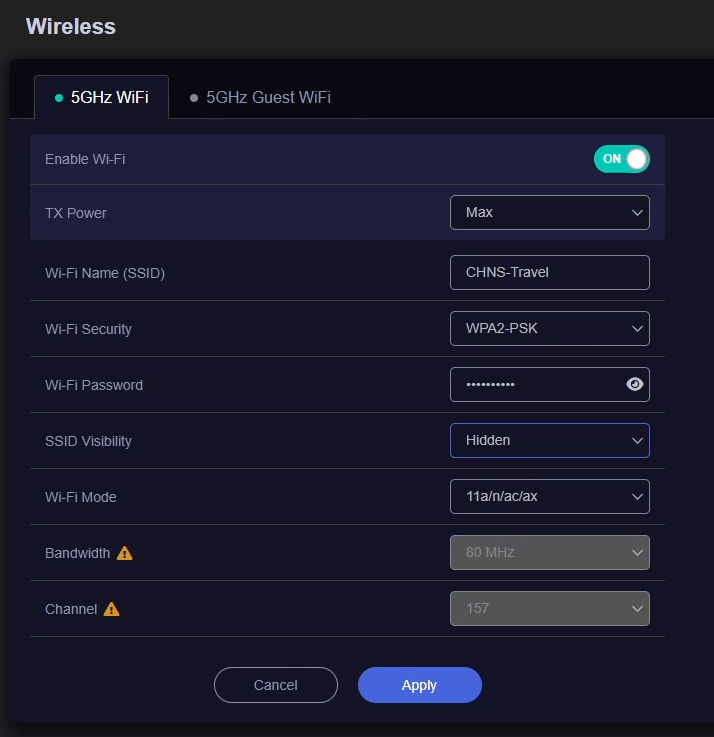
Next, I wanted to change the default SSID to something that is personal and fits my Network.
To change it, click on the “Wireless” menu on the left.

The top has the 5GHz SSID and the bottom has the 2.4GHz SSID. Find the one you want to edit and click “Modify” at the bottom.
Edit the settings you want to change and click “Apply” at the bottom.
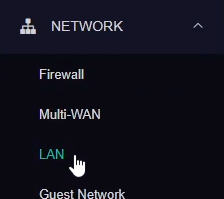
Lastly, we will want to configure the LAN IP addresses the router will give out to your clients that you connect to it. Navigate to “Network” and then to “LAN”.
If you are fine with the default “192.168.8.0/24” subnet, feel free to leave this setting alone. I want my remote clients to fall more inline with my home network VLAN setup so I’m going to assign a new network. You do this by setting a new IP address for the router and the Netmask. Click “Apply” when the settings are correct.
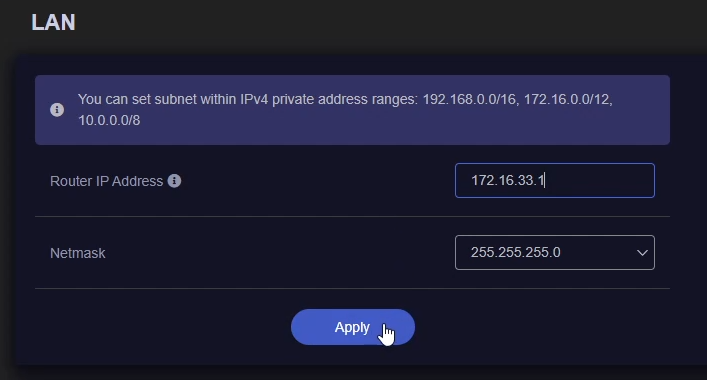
It will take about 15 seconds to apply the new settings and then it will pop-up a notification at the top of the screen letting you know it successfully changed.

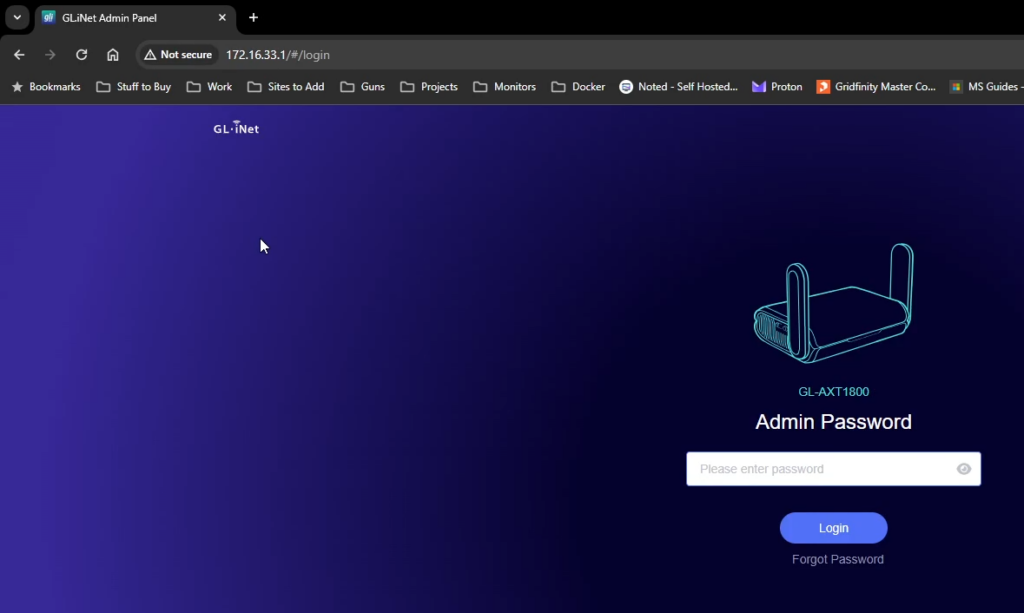
The page will then refresh after it issues your device a new IP address that works with the new subnet. If everything works correct, you should be prompted to enter your password for the router again and the URL for the page will be the new IP address you set.
That’s it for the initial setup. Everything should be working now for traveling and connecting your devices. When you get to a Hotel or Airport or different WiFi, just power on the device, connect to it via wired or wireless, login to the web interface and then connect it to the network.
This is great and all but kind of the whole point of the “Travel Router” is to secure your internet traffic by way of a VPN so that is what I will cover in the next section.
WireGuard Client Setup
If you checked out my article last week, you will hopefully have your WireGuard Server all setup and ready to accept connections. If you haven’t, HERE is the link.
For this section, I’ll be setting up the Client side of the connection. This way all your clients that connect to the router will automatically route their traffic to your home network.
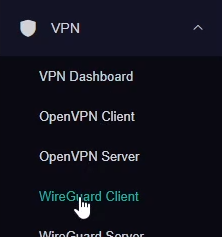
Start by navigating to “VPN” and then to “WireGuard Client”.
At the bottom of the page, click on “Add Manually”.

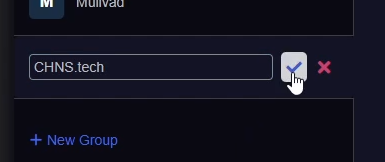
Change the name of the “Provider” to something that makes sense for your network. Then click the checkmark to save it.
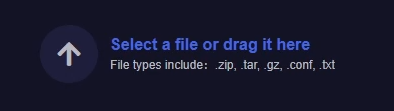
If you saved your configuration file as a .conf text file, you can click the “Select a file or drag it here”. Navigate to it and load the config file.
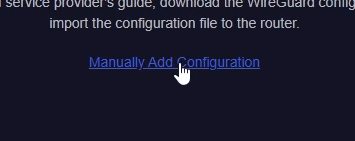
If you are copying the configuration directly off your server, you can click on “Manually Add Configuration”.
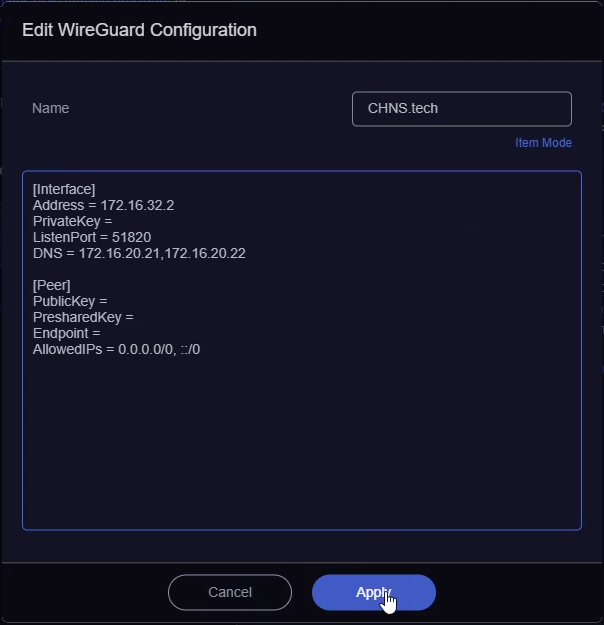
Add a “Name” for the server at the top and then paste in your configuration into the body of the window. Then click “Apply” to save the config.
Click the three dots next to your server and then click “Start” to start the connection.
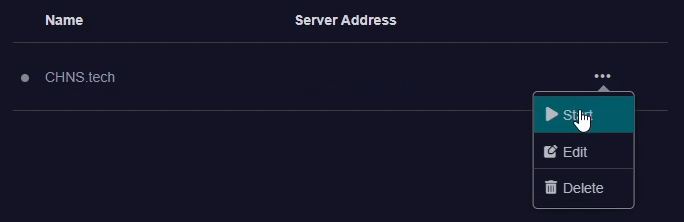
Once it starts, the dot next to the server will turn Yellow while its trying to connect and then once it does connect, it will turn Green. This should only take about 10 seconds if it’s setup correctly so if it stays Yellow, go back and check your config and your server.

Going back to the Internet page (the dashboard) and you will see that the “VPN” icon is now green.
That’s it for the setup, if you look up your public IP address, it should now match your home network even if you leave the network and connect to a different internet connection.
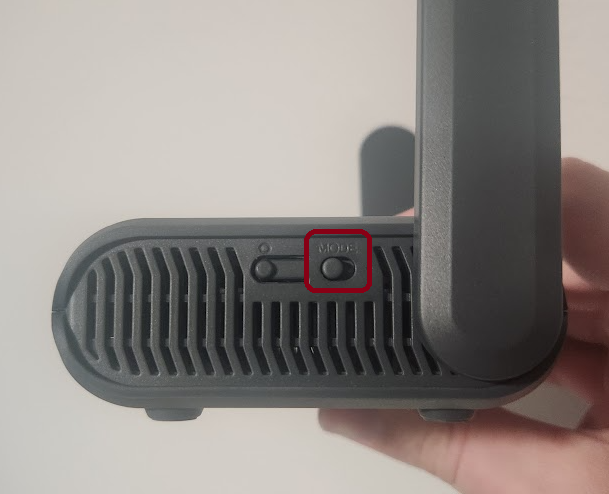
Bonus – Physical Toggle VPN Connection
One really cool feature of this travel router is a physical toggle switch to turn on and off services. I am going to use it to enable/disable the VPN connection. This will be super helpful when it comes to troubleshooting the connection or just allowing traffic to flow out the native internet connection.
To set this setting, navigate to “System” and then to “Toggle Button Settings”.
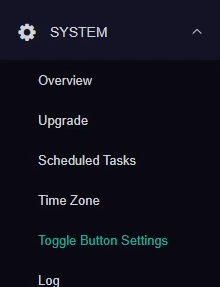
On the main page, click the drop down menu and select “WireGuard Client (On/Off)”. Then click “Apply”.
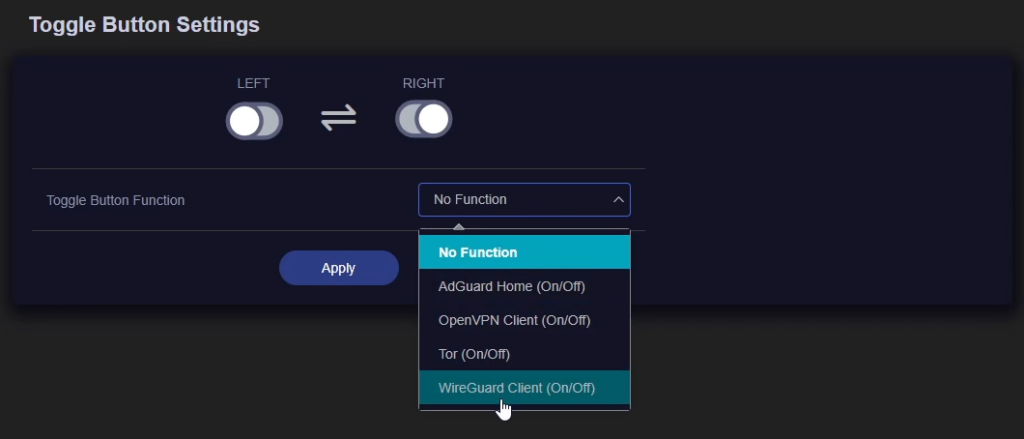
Now when the toggle is in th Left position, the VPN will be enabled and when its in the Right position, disabled.
I have been using this router pretty consistently for about a month now and I really like it. I haven’t had any of the dropped connections I had with the Windows client. On top of that, having my devices just automatically have communication to the home network over the network without launching a client is really convenient.
I definitly recommend this router to anyone that travels or spends more then a few days a week away form your home network.
If you purchase a router and do your own setup, leave a comment below and let me know your experience and if this article helped you. I may do more content on this router in the future, I have a few ideas for stuff I want to add to my travel setup so stay tuned for that.