LinkStack is a highly customizable link sharing platform with an intuitive, easy to use user interface. These systems have become very popular with anyone that has a social media presence to make sure followers find all the different content people put out. Even if you aren’t an “Influencer”, they are still a great simple way to get information out to people for events.
Prerequisites
I will be setting this up on Portainer utilizing Docker containers running on Ubuntu 22.04.1. Here are my setup guide for all of those pieces of software:
- Installing Ubuntu Server 22.04 LTS
- Things to do after installing Ubuntu Server
- Install and Configure Docker, Docker Compose, and Portainer on Ubuntu Server
Since the point of this is to share you links with the public, the server will need to be accessible from outside your network. To do this safely, I recommend setting up a reverse proxy system and Cloudflare to access from the internet. I will hopefully be releasing a walk through on Nginx Proxy Manager soon.
Deployment
Copy this code to a new Stack on your Portainer. Update the information you can change for your deployment and deploy the Stack.
---
version: '3.8'
services:
  linkstack:
    hostname: linkstack
    image: linkstackorg/linkstack:latest
    environment:
      TZ: America/Los_Angeles
      SERVER_ADMIN: {admin email address}
    volumes:
      - linkstack_data:/htdocs
    ports:
      - {port number}:443
    restart: always

volumes:
  linkstack_data:
Stuff to change for your deployment:
- Version – This is be determined by the version of Docker you are running on your server. You can find this by entering the command “docker -v”. Here is a link to the Compatibility Matrix.
- Image – You can do “latest” and it will pull the current version. I prefer to look up the actual tag for the current version. With this docker image hosted on GitHub, the tag system works a little different than Docker Hub. The admins of this container also don’t publish version, so I would recommend just sticking with “latest”.
- TZ – Update this to be your Time Zone. Here is a link to a list of all Time Zones.
- Server Admin – You will want to enter the email address here for the main Admin account of the container.
- Volumes – This is where all the persistant configuration files for the LinkStack container will be stored. I had issues with saving to the folder structure of the server so I suggest that you use a Docker Volume.
- Ports – You will want to update this to a port that works well inside your environment. It will be the port that you connect to the web interface of the container.
- Restart – You will want to set this to the way you want docker to handle the restarting of the container. Here is a link to the Restart Policies to choose from. I prefer “always” so if it crashes or the server restarts, it will automatically restart the container.
Configure LinkStack
Now that your LinkStack container is deployed, lets connect to it and go through the setup process.
Open your web browser and navigate to “http://{server name or IP}:{port you configured in the stack}”.
You should see a welcome page that looks like this:
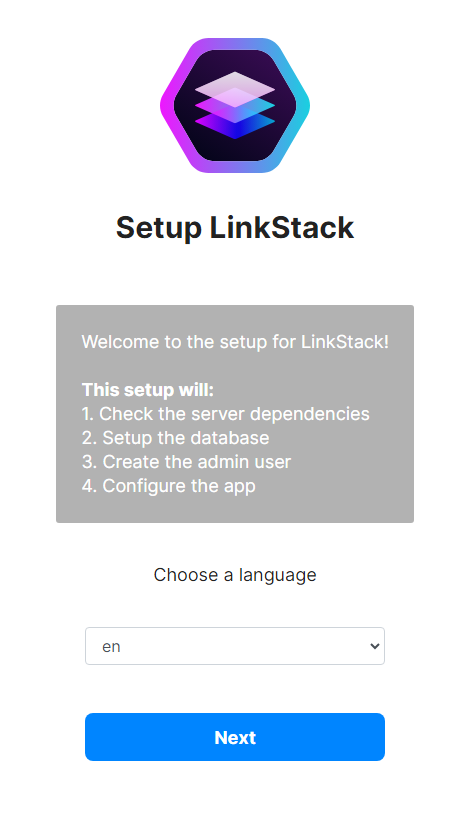
Select your language or leave it on the default of English and click “Next” to continue.
The system will then go through and check to make sure all expected running process are actually running:
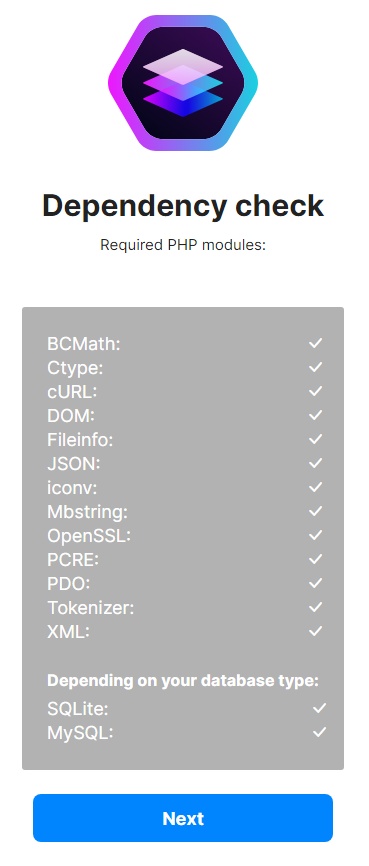
You should see all check marks next to the services. Click “Next” to continue.
You will then be prompted to select your Database deployment.
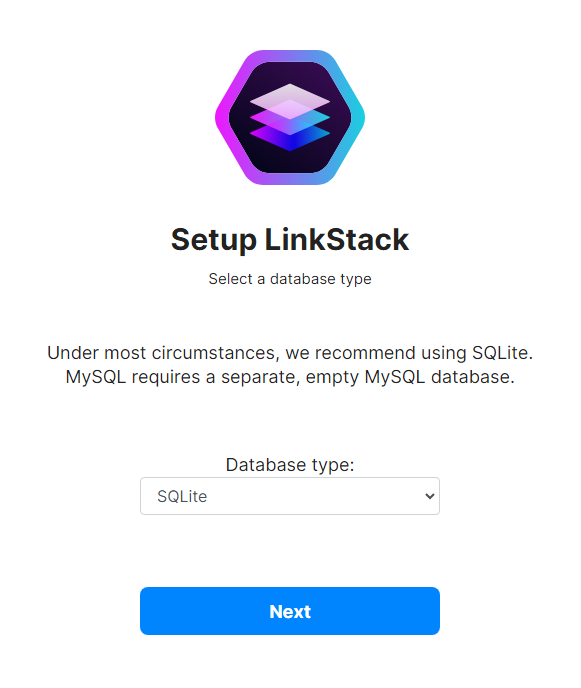
For most people, “SQLite” will work fine. If you know what you are doing for configuring a MySQL database outside the container, you can choose to use that but that is overkill for most, we just need a simple database. Click “Next” to continue.
You will then be prompted to enter the Admin account information:
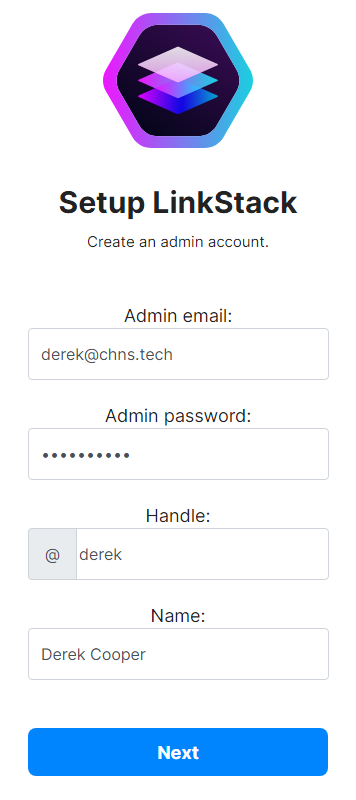
Enter your account information and click “Next” to continue.
You will then be asked some questions about the functionality of the system:
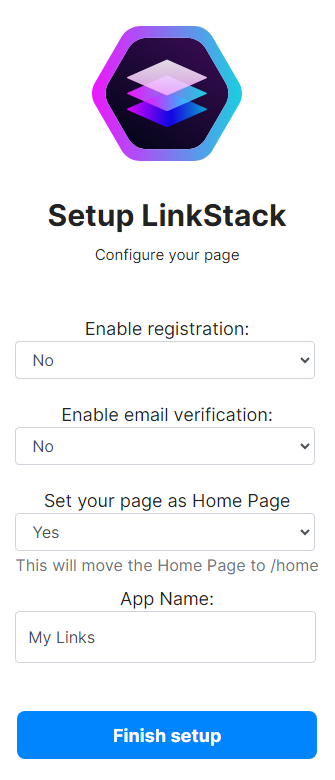
If you are going to be opening these system up to the outside world and allowing other people to use it for their own links, you can leave it with the default settings. If you are only deploying this system for your own personal self-hosted links, I recommend changing to the settings in the screenshot above.
Click “Finish setup” to complete the configuration and be redirected to your page.
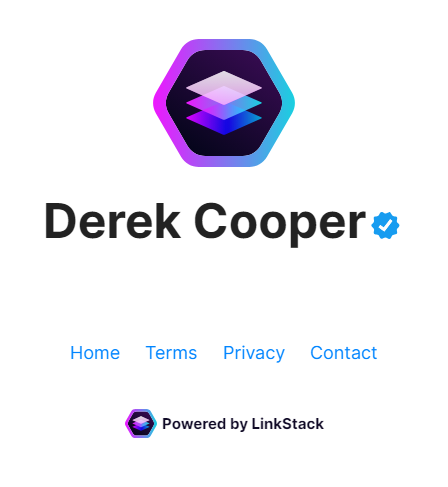
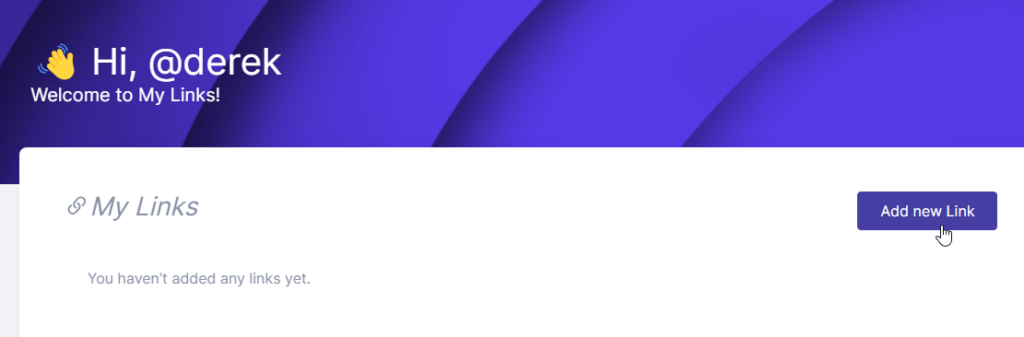
If you changed the “Set your page as Home Page” to “Yes”, you will be taken to the default layout page for your links:
Since you don’t have it open to the outside for registration, getting to the admin side will be a little confusing at first because there isn’t a link anywhere on the page. What you will need to do it go up to the URL for the page and add “/login” to the end of the URL and press “Enter”.
You will then be taken to the Admin login screen where you can enter the Admin information you entered during the setup process:

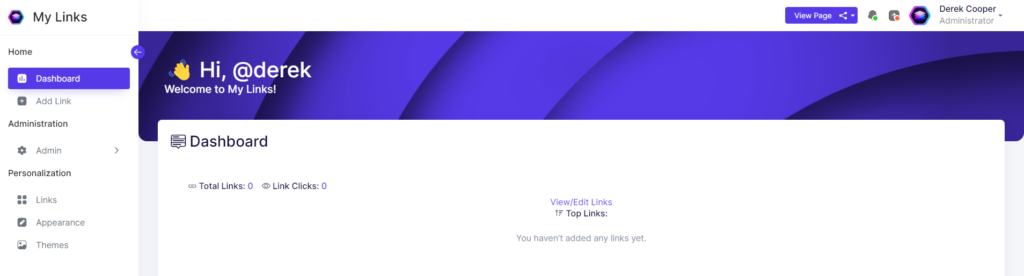
Once you click “Sign In”, you will be taken to the main Admin Dashboard for the system:
Setup Your Link Page
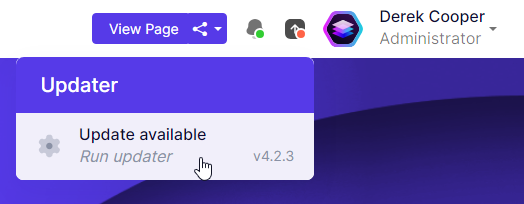
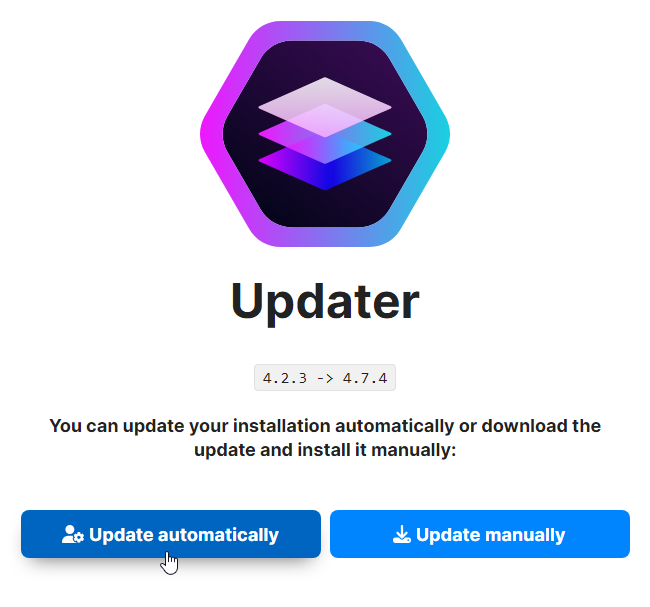
First thing you will want to do after login is use the built in updater system to make sure you are on the newest version. Even if this is a brand new deployment with a freash pull on the Docker image, you will still probably have updates available as they seem to update the application outside the container system more frequently. You can find this in the top right corner of the screen, next to your account information:
Click the “Update automatically” button and wait for it to finish:
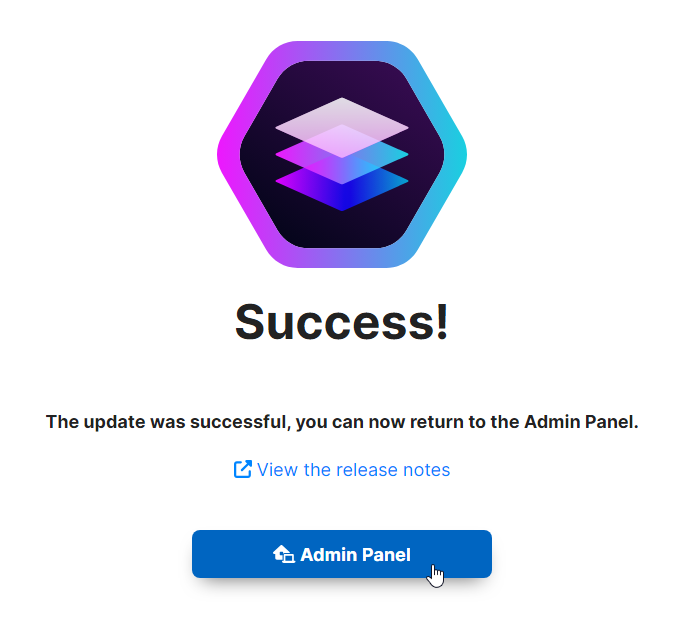
Once you get the “Success!” screen, you know you are on the newest version. Click the “Admin Panel” button to go back to the Dashboard:
Before we jump right to setting up links, you will want to start by customizing the site as a whole with all the different functionality options, then move to the smaller stuff like Themes and then add your links. I found working from the top down a lot easier since the options can be confusing and if you don’t like how its going, you can always delete the container and start over.
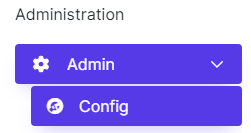
First we will want to click on “Admin” in the left hand panel and then click “Config”:
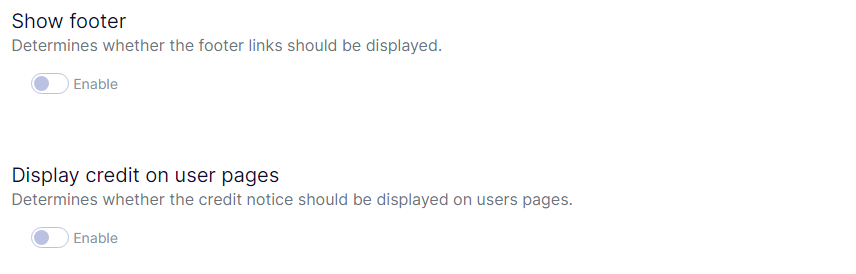
On the main panel, scroll down and edit the settings to fit your needs and wants for the system as a whole.
Here are some noteable settings I configured for my server:


This last one is important once you get your site up and running and configured the way you like it:

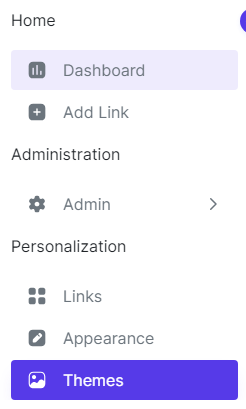
Next, we will want to configure the “Theme” for your page. On the left panel, go all the way to the bottom and click “Themes”:
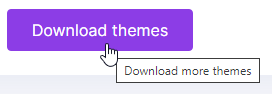
On the main panel, scroll all the way to the bottom and click “Download themes”. This will open a new browser tab and take you to the Themes page:
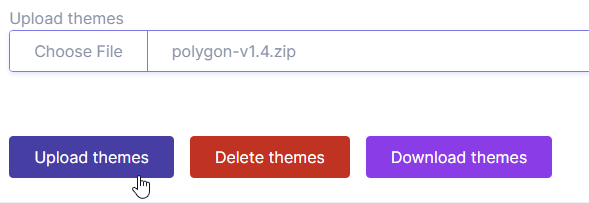
Checkout all the different free themes and download the .zip file for the one you want to use. If you want to upload more than one to your server, its totally fine and this will allow you to switch between them.
Switch back to you server and next to the “Upload themes” area, click “Choose file”. Find the .zip file for the theme you want to upload. Next click “Upload themes”.
Once it uploads, it should refresh the page automatically. Click “Select theme” at the top:
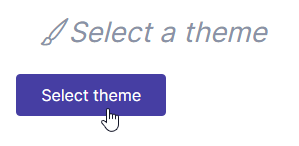
Then just click on the theme you uploaded and it will apply to your site.
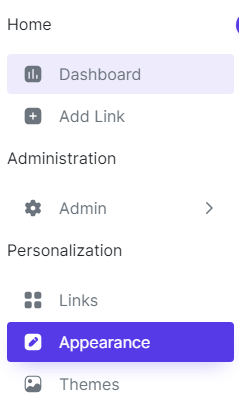
Next, we will want to start customizing the site for you. On the left panel, click “Appearance”:
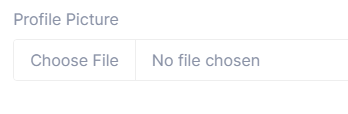
First thing to change is your Profile Picture. Under Profile Picture, click “Choose File”. Find the picture you want to use for your picture and select it.
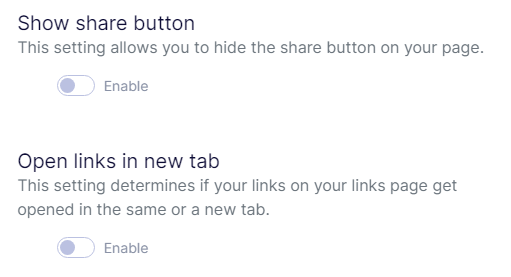
Here are a few other settings I changed on my personal page:
Now we have made it to the point where we start setting up Links to everything you want followers to have access to. On the left panel, click the “Links”:

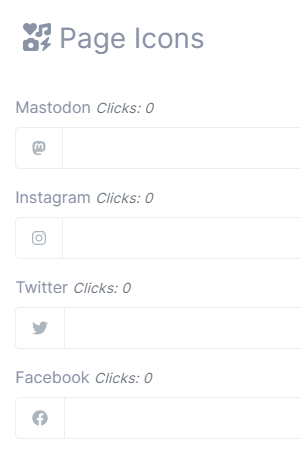
Start by scrolling down to the “Page Icons” section of the page. These are pre-definded links for systems that everyone knows just based on looking at the Icon (ex. Instagram, Twitter, Facebook). You will want to enter the full URL for the link to your profile, including the site URL (ex. https://www.facebook.com/derekcooper).
Once you finish entering all the predefined links, scroll back up to the top of the page and click “Add new Link”.
This is where the customization really starts to take shape. Play around with the different “blocks” and added all your custom links to the page. There are a Ton of Predefined sites in the list which will not only show the link to the location but also the custom icon for the service you are linking.
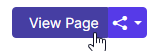
Once you finish adding all your links, on the right of the main Links panel you will see a preview of what your page looks like for mobile. If you want to see the full desktop size page, click the “View Page” button at the top of the screen:
That’s it for this walk through.
Don’t forget, after you are happy with the way your site looks, go back into the “Config” page and turn off “Debug” mode and link it through your reverse proxy setup.
Note: I am going to have a follow up article posting next week, Feb 11. This is technically Part 1 of a pretty cool idea I had which inspired me to setup this links page in the first place. Come back next week to see Part 2!