Overseerr is a request management and media discovery tool built to work with your existing Plex ecosystem. If you are like me and host media for your close friends and family, this system is a great way to allow them to request content they want to watch without having to send messages and you maintaining a list of stuff to find. There is also integrations, which I will cover, with Radarr and Sonarr which will go out and automatically find the content if you choose to go the, lets call it, “automated” route.
Prerequisites
I will be setting this up on Portainer utilizing Docker containers running on Ubuntu 22.04.1. Here are my setup guide for all of those pieces of software:
- Installing Ubuntu Server 22.04 LTS
- Things to do after installing Ubuntu Server
- Install and Configure Docker, Docker Compose, and Portainer on Ubuntu Server
Optional: You will need to go through the process of setting up Radarr and Sonarr before deploying this server as the integrations will come during the setup process. You can integrate them after the fact but I recommend doing it first if that is the route you are going. Here is the article’s I’ve already written for both of those systems:
Deployment
Copy this code to a new Stack on your Portainer. Update the information you can change for your deployment and deploy the Stack.
---
version: "3.8"
services:
  overseerr:
    image: linuxserver/overseerr:latest
    container_name: overseerr
    environment:
      - PUID=0
      - PGID=0
      - TZ=America/Los_Angeles
    volumes:
      - /home/{username}/config/overseerr:/config
    ports:
      - {port number}:5055
    restart: always
Stuff to change for your deployment:
- Version – This is be determined by the version of Docker you are running on your server. You can find this by entering the command “docker -v”. Here is a link to the Compatibility Matrix.
- Image – You can do “latest” and it will pull the current version. I prefer to look up the actual tag for the current version. This adds a little more management to updating however pinning it to a specific version adds reliability. Here is a link to the Overseerr Tag page.
- PUID and PGID – These numbers are specific to the user account you are running the container under. The Root user is “0” for both. You can find this for your user by logging into your server and running the “id” command.
- TZ – Update this to be your Time Zone. Here is a link to a list of all Time Zones.
- Volumes – This is where all the persistant configuration files for the Overseerr container will be stored. Update the information with your username or change the location before the “:” to a location of your choosing.
- Ports – You will want to update this to a port that works well inside your environment. It will be the port that you connect to the web interface of the container.
- Restart – You will want to set this to the way you want docker to handle the restarting of the container. Here is a link to the Restart Policies to choose from. I prefer “always” so if it crashes or the server restarts, it will automatically restart the container.
Configure Overseerr
Now that your Overseerr container is deployed, lets connect to it and go through the setup process.
Open your web browser and navigate to “http://{server name or IP}:{port you configured in the stack}”.
You should see a welcome page that looks like this:
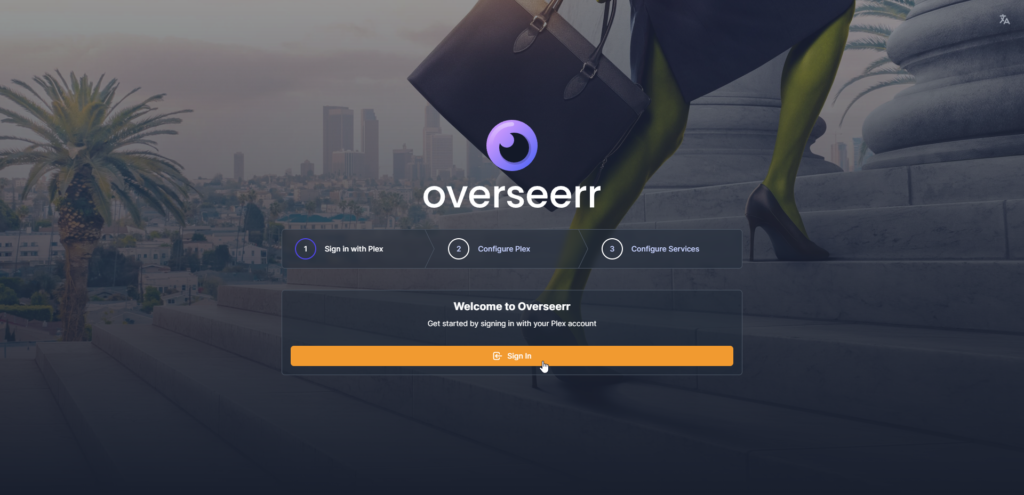
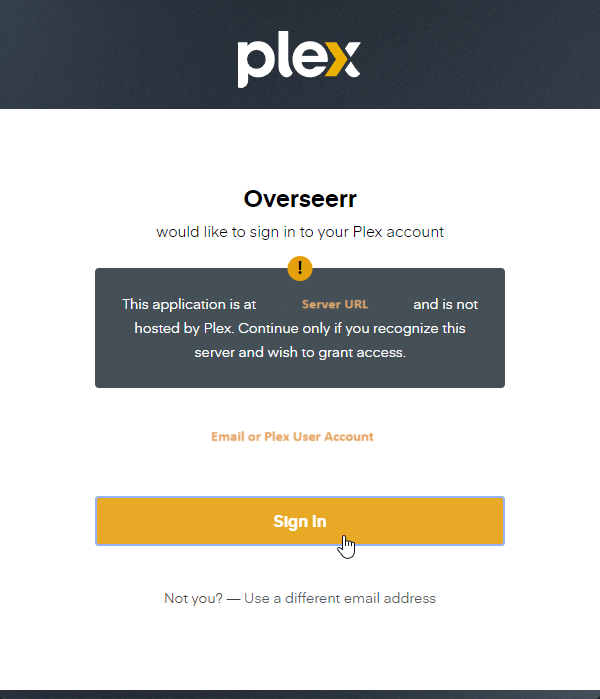
Click the “Sign In” button to link to your Plex account. If you are signed into Plex on this browser already with the admin account for your server, it should automatically pull that information and you should see your email and/or your plex username. Click “Sign In” to link. You should get a email notification from Plex that your account was accessed by a new device.
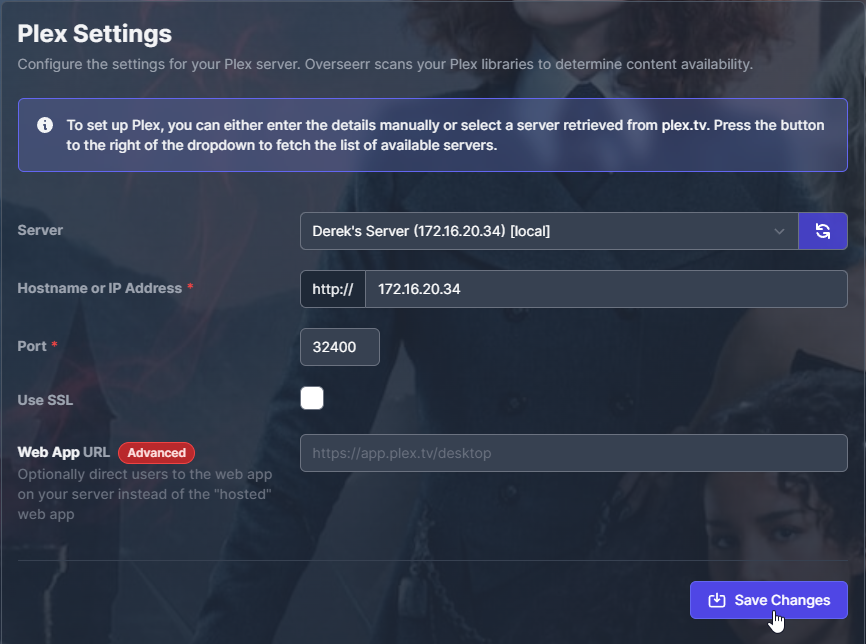
Once it logs into your account, you should see a screen that has your server information on it. If you Overseerr server is running on the same network as your Plex server, you will want to use the “[local]” server with the local IP Address for the server. This will ensure that the communication not only is secure on your network but also is as fast as possible. Confirm the url and port are correct for your system and click “Save Changes”.
You will want to enable the libraries that you want Overseerr to see and manage. This will pull in your full list of media so if you already have something in your library it won’t show up as an option to add. Once you enable the Libraries you want, click “Start Scan”.
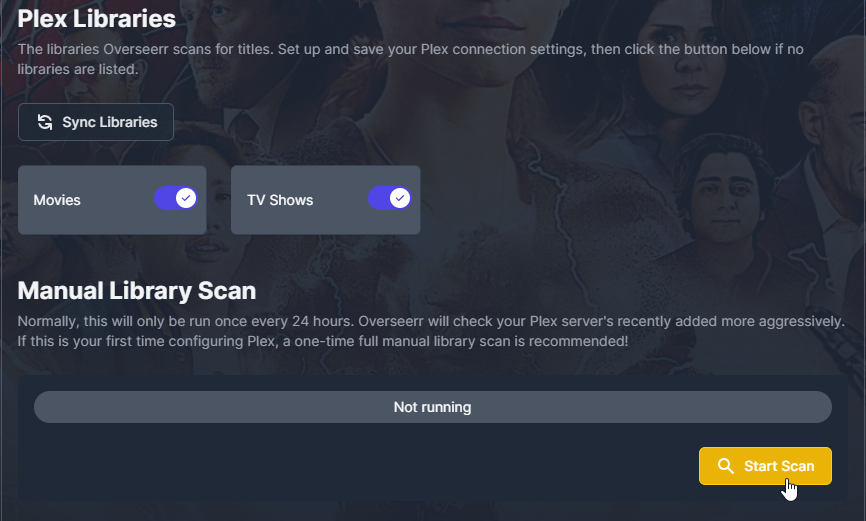
Wait for it to finish processing all your media. If you have a large library already, this can take some time.

If you are choosing to not integrate Radarr and Sonarr into this system, simple click “Finish Setup” on the page prompting for them and you will be taken to the homepage of your server.
Optional Configuration
If you are choosing to integrate Radarr and Sonarr for a fully “Automated” setup and you already setup these systems, start by clicking “Add Radarr Server”.

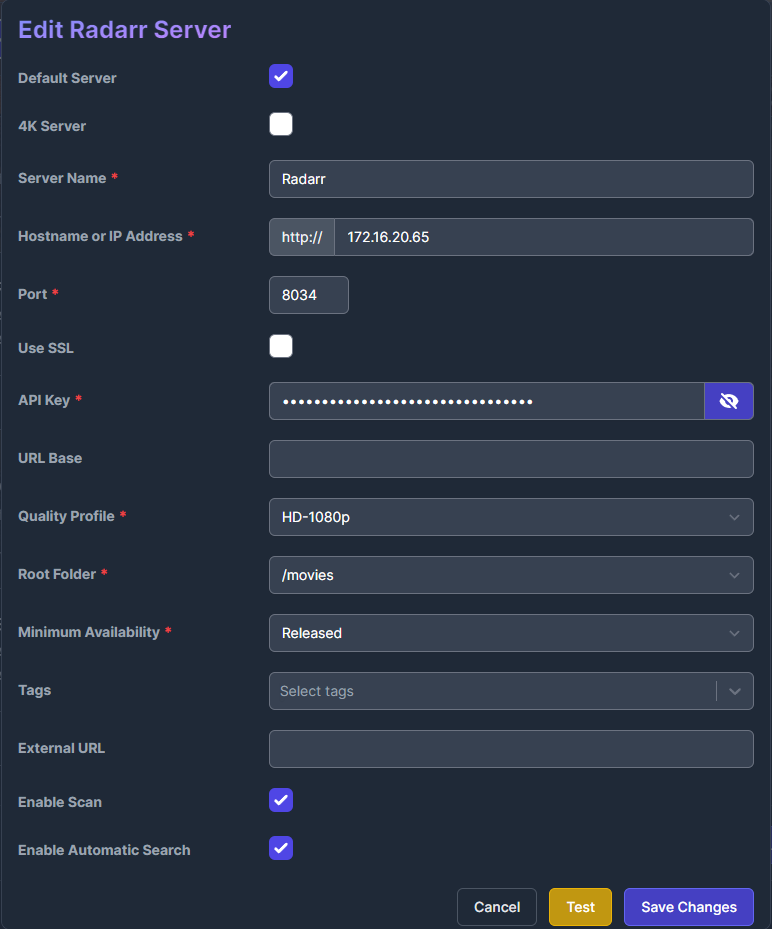
Enter the settings for your Radar server. I suggest using the IP address for the server you have the containers running and the externally accessible port you assigned to the system. You will need to copy and paste your “API key” from your Radarr server. This can be found by logging into the Radarr web interface, going to “Settings” and then “General”. In the security section, under Username and Password, you should see API Key. Scroll down and click “Test”. This should then reach out to Radarr and confirm it connects. Once you get a good connection, set your default “Quality Profile”, “Root folder” for your movies, and “Minimum Avalibility” settings. Then check the box next to “Enable Scan” and “Enable Automatic Search”. Click “Save Changes” to finish.
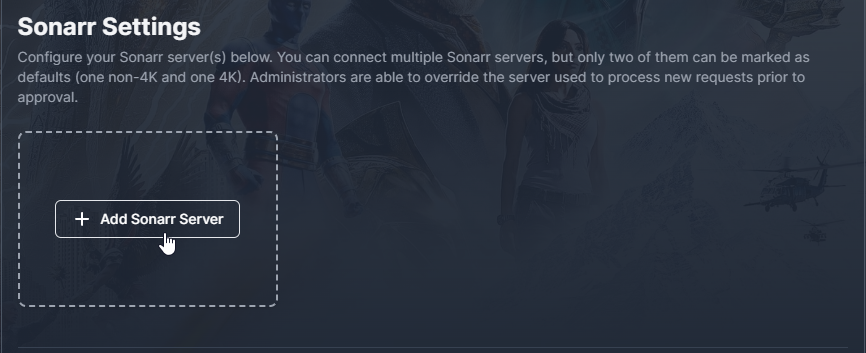
Next for the Sonarr server, click “Add Sonarr Server”.
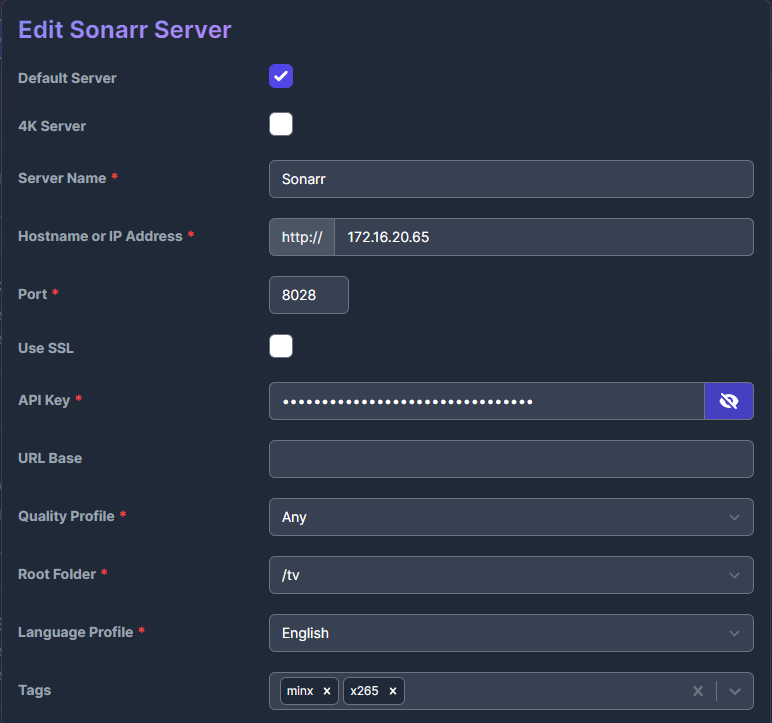
Enter the settings for your Sonarr server. Like the Radarr server, I suggest you enter the IP address of the server you are running the container on and the externally accessible port you assigned to the system. You will need to grab the “API Key” for this system as well in the same way as Radarr, going to the web interface and clicking “Settings” and then “General”. Scroll down and click “Test”. This should then reach out to Sonarr and confirm it connects. Once you get a good connection, set your default “Quality Profile”, “Root folder” for your tv shows, the “Language Profile” you want it to use and any “Tags” you have preset on your Sonarr system.
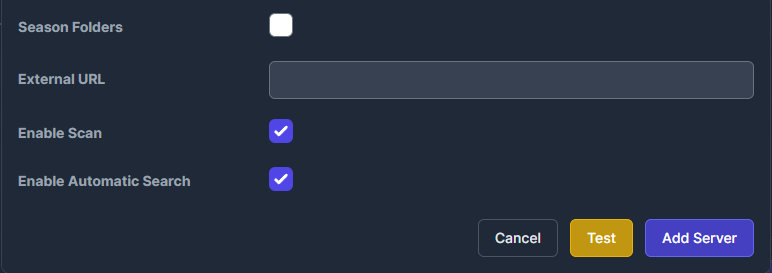
Check the box next to “Enable Scan” and “Enable Automatic Search”. Then click “Add Server”.
Once both system are added, you should see a window like this:
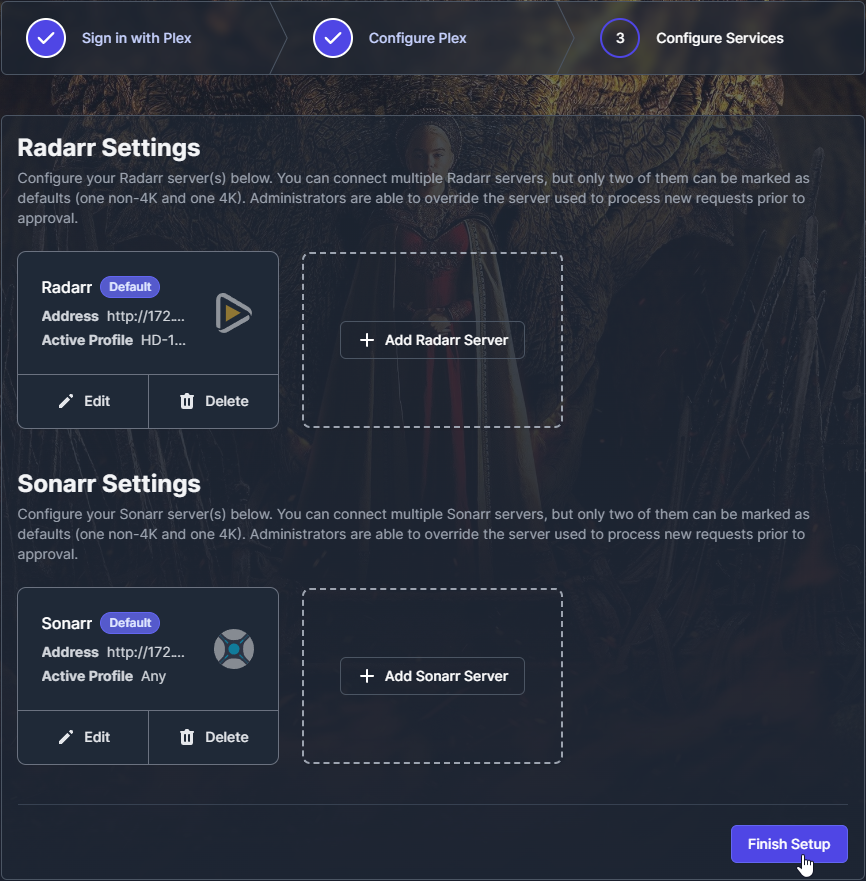
Click “Finish Setup” to finalize the setup and be taken to the main user interface.
Now that it’s deployed, check out the interface and see all the recommended Movies and TV Shows that are missing from your collection.
Another great thing this enables is the ability to have anyone that has an account on your Plex server, can login and request new content. You will want to setup Overseerr behind a Reverse Proxy with HTTPS support (Nginx Proxy Manager walk through coming soon!) to get them external access to the system. Once you get that setup, they simply login to Overseerr with their same Plex account login. By default, when others add request, it goes into a queue and you can approve or decy them. Or you can change the settings so some users can “Auto Approve” their requests.
With the requests, there are plenty of notification options if you want to be notified as soon as someone makes a request. I would recommend setting up at least one of them so you don’t miss anything.