Tautulli is a 3rd party application that you can run alongside your Plex Media Server to monitor activity and track various statistics. Most importantly, these statistics include what has been watched, who watched it, when and where they watched it, and how it was watched. All statistics are presented in a nice and clean interface with many tables and graphs, which makes it easy to brag about your server to everyone else.
This walk through will consist of the stack deployment and some basic configuration of the interface.
Prerequisites
I will be setting this up on Portainer utilizing Docker containers running on Ubuntu 22.04.1. Here are my setup guide for all of those pieces of software:
- Installing Ubuntu Server 22.04 LTS
- Things to do after installing Ubuntu Server
- Install and Configure Docker, Docker Compose, and Portainer on Ubuntu Server
Deployment
Copy this code to a new Stack on your Portainer. Update the information you can change for your deployment and deploy the Stack.
---
version: "3.8"
services:
  tautulli:
    image: lscr.io/linuxserver/tautulli:latest
    container_name: tautulli
    environment:
      - PUID=0
      - PGID=0
      - TZ=America/Los_Angeles
    volumes:
      - /home/{username}/config/tautulli:/config
    ports:
      - {port number}:8181
    restart: always
Stuff to change for your deployment:
- Version – This is be determined by the version of Docker you are running on your server. You can find this by entering the command “docker -v”. Here is a link to the Compatibility Matrix.
- Image – You can do “latest” and it will pull the current version. I prefer to look up the actual tag for the current version. This adds a little more management to updating however pinning it to a specific version adds reliability. Here is a link to the Tautulli Tag page.
- PUID and PGID – These numbers are specific to the user account you are running the container under. The Root user is “0” for both. You can find this for your user by logging into your server and running the “id” command.
- TZ – Update this to be your Time Zone. Here is a link to a list of all Time Zones.
- Volumes – This specifies where all the persistant configuration files for the Tautulli container will be stored. Update the information with your username or change the location before the “:” to a location of your choosing.
- Ports – You will want to update this to a port that works well inside your environment. It will be the port that you connect to the web interface of the container. The default is port 8181 which is fine if you don’t already have something on that port.
- Restart – You will want to set this to the way you want docker to handle the restarting of the container. Here is a link to the Restart Policies to choose from. I prefer “unless-stopped” so if it crashes or the server restarts, it will automatically restart the container but if you stop the container manually, it won’t try to start it on the next server restart.
Configure Tautulli
Now that your Tautulli container is deployed, lets connect to it and make some configuration changes.
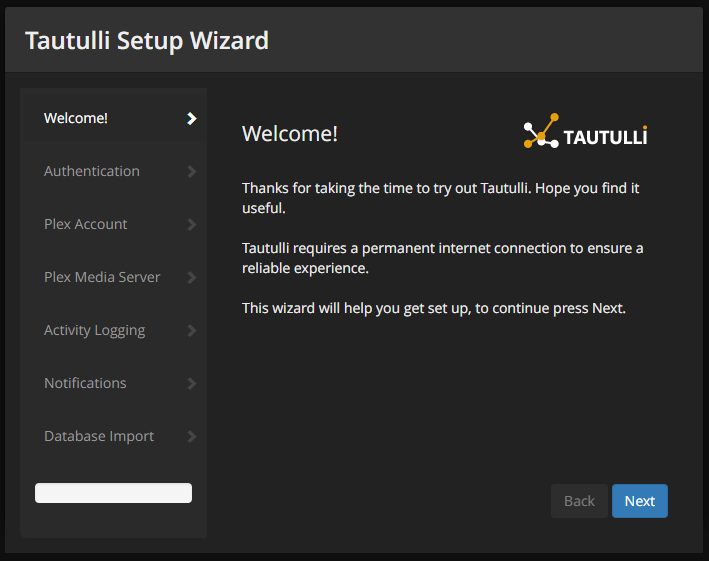
Open your web browser and navigate to “http://{server name or IP}:{port you configured in the stack}”.
You should see a welcome page that looks like the image below:
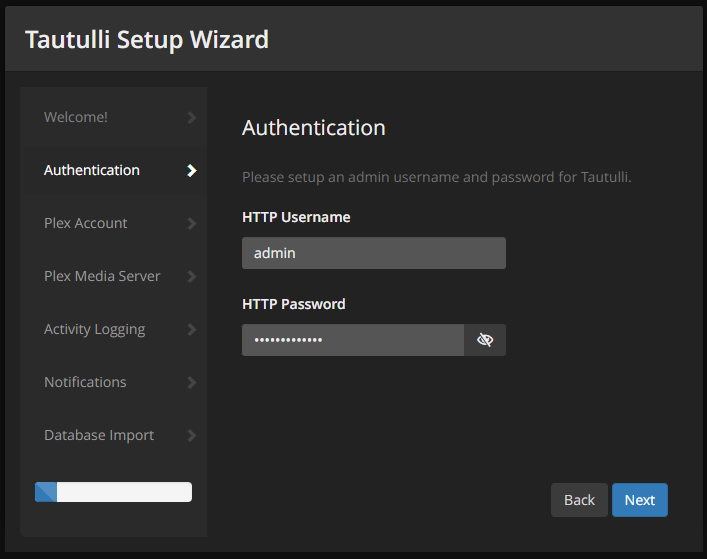
On the “Authentication” information page, configure a admin username and password you will use to login to the website.
On the “Plex Account” page, click the “Sign In with Plex” button.
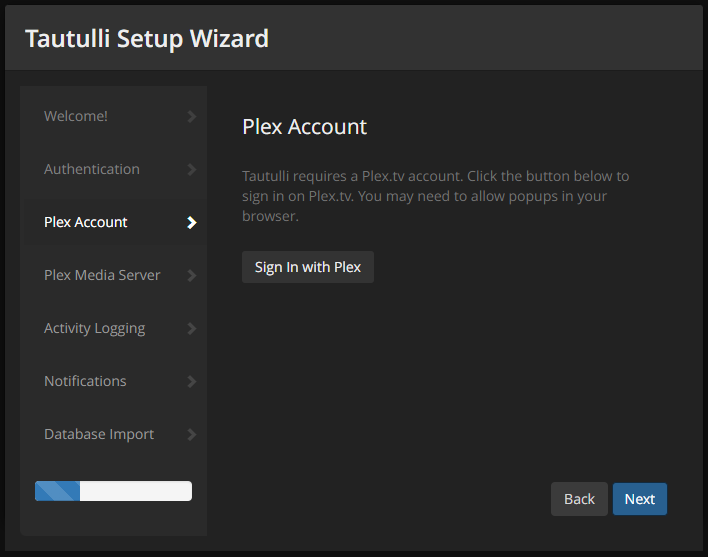
Sign-in with the plex account you have configured to administrate your Plex server.

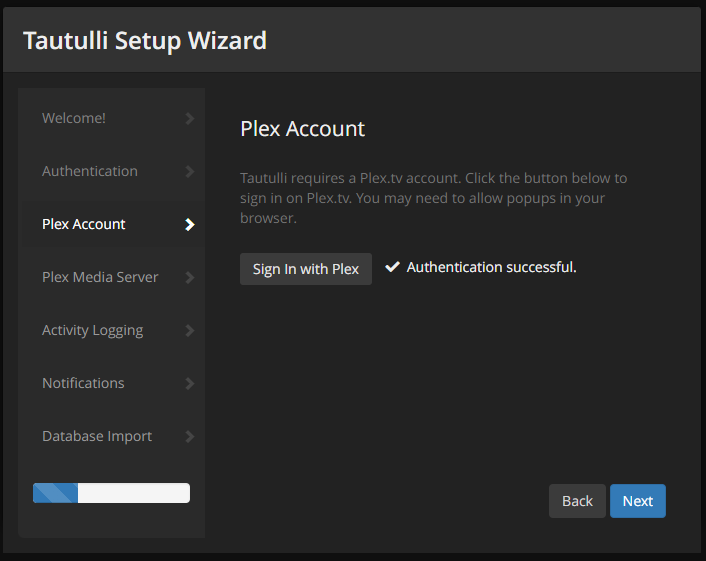
As long as you get the checkmark and the “Authentication successful.” message, you are good to proceed.
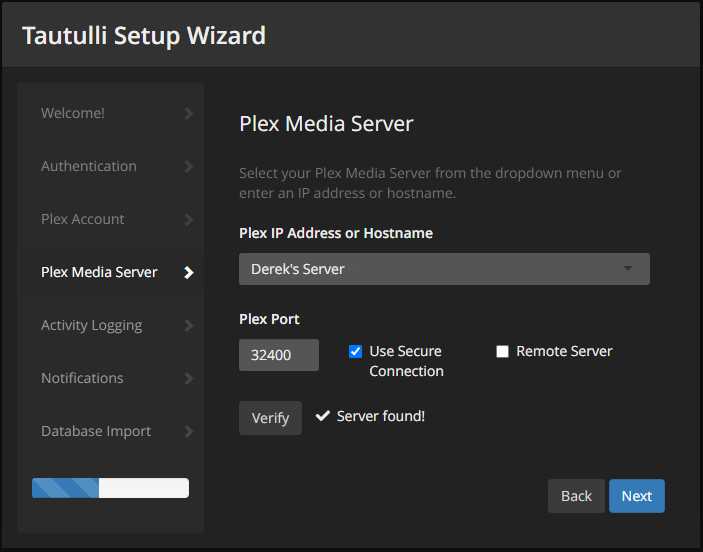
On the “Plex Media Server” screen, click the drop down and select your servers main IP address. If your plex server is on the same network as your Tautulli server, select that networks IP address. Otherwise you will need to select the external address of your network.
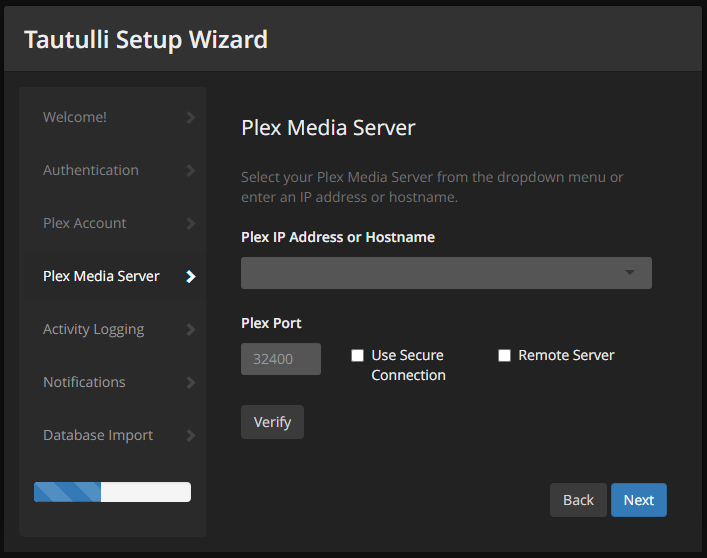
For the Plex Port information, you can leave with the default “32400”, which is the default port for plex, unless you changed it to something else. I would recommend you try to “Use Secure Connection”, if it doesn’t work during verification, just uncheck the box. If its a “Remote Server”, as in its on a different network, check the box. Click “Verify” to confirm you can communicate with the server correctly.
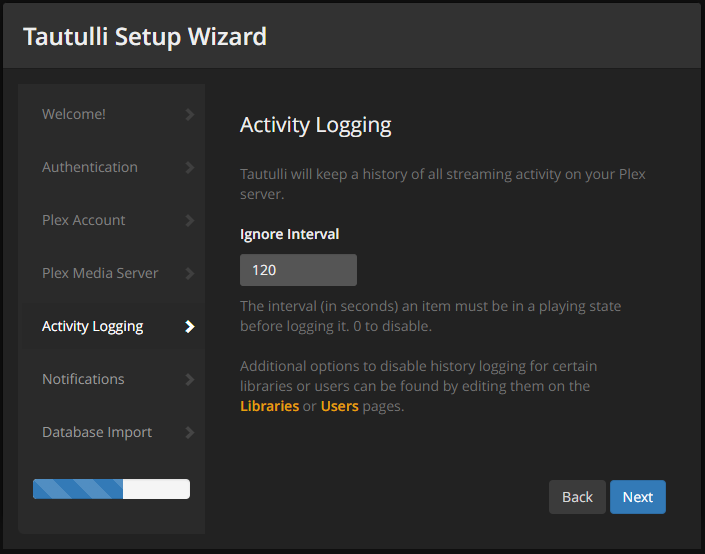
On the “Activity Logging” screen, you can change the amount of seconds a play needs to run before its counted in the statistics. I leave mine at the 2 minute (120 seconds) mark.
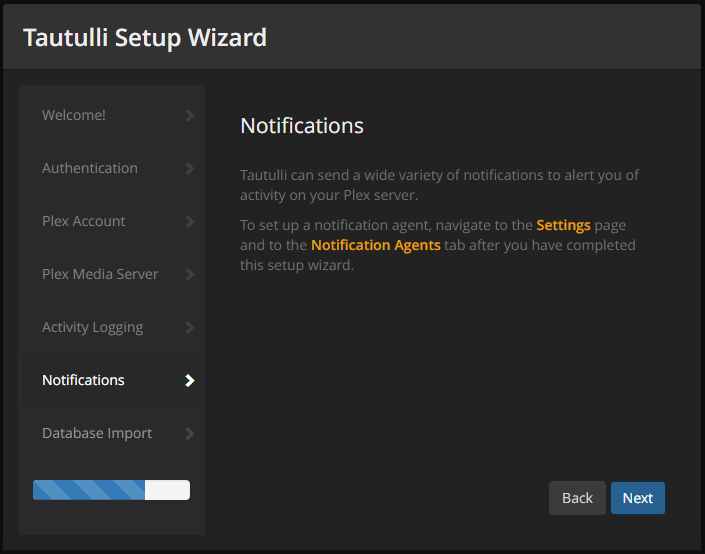
On the “Notifications” page, read through the information and click “Next”.
If you have an old database from a previous installation, read through the “Database Import” information and click “Finish”.
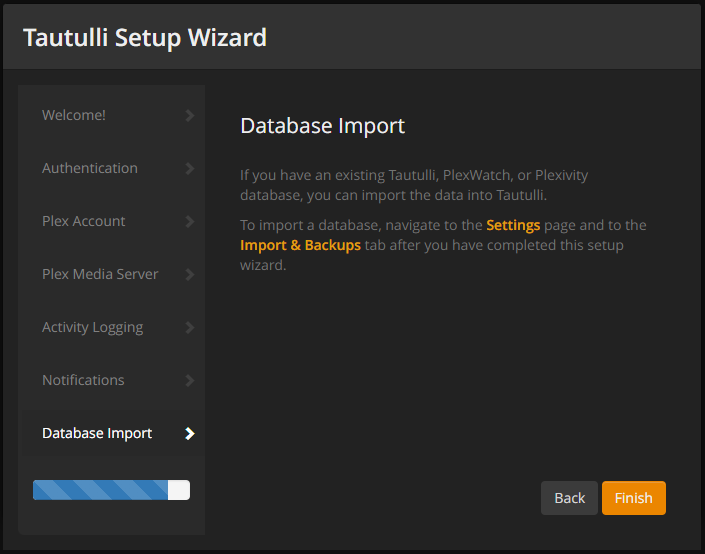
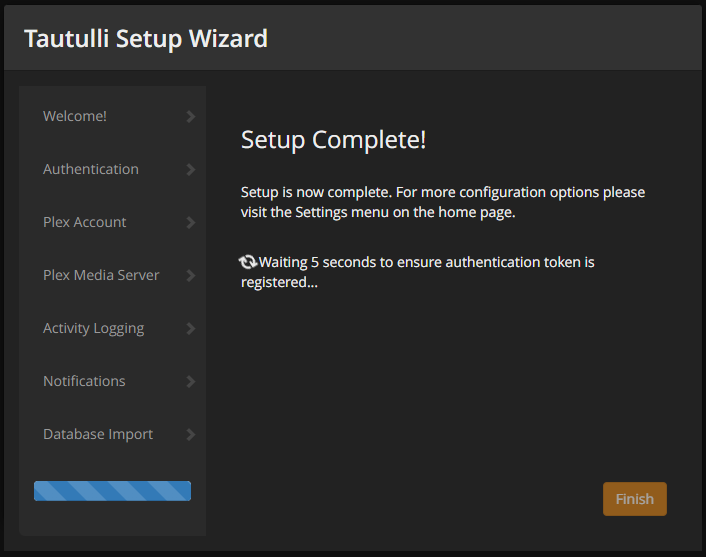
Once complete, wait for the recommended time and click “Finish”.
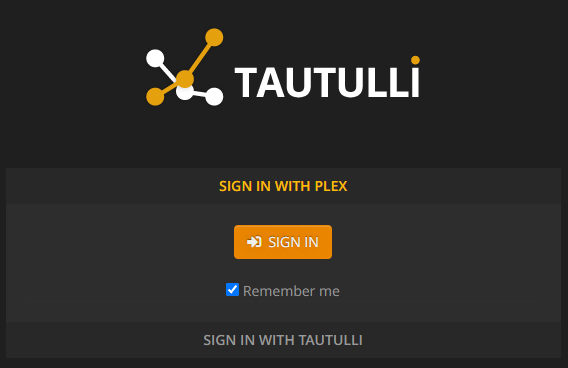
At the Sign In page, click “Sign In With Tautulli” button and sign in with the same admin username and password at the beginning of the setup.
As your plex users start streaming content, it will start capturing any information it can. The server will retain all information as long as it has drive space.
For the full list of features and information collected, please refer to the official Tautulli website.
Tautulli | Docker Hub | GitHub