Sonarr is a PVR for Usenet and BitTorrent users. It can monitor multiple RSS feeds for new episodes of your favorite shows and will grab, sort and rename them. It can also be configured to automatically upgrade the quality of files already downloaded when a better quality format becomes available.
This walk through will consist of the stack deployment and some basic configuration of the interface.
Prerequisites
I will be setting this up on Portainer utilizing Docker containers running on Ubuntu 22.04.1. Here are my setup guide for all of those pieces of software:
- Installing Ubuntu Server 22.04 LTS
- Things to do after installing Ubuntu Server
- Install and Configure Docker, Docker Compose, and Portainer on Ubuntu Server
Next, you will need to mount your folder shares onto the base servers so the container will be able to access them. You will need the main folder where your TV Shows are stored and if you use a server to download content, you will need access to the folder where the downloader stores the finished files. Here is a guide for mounting the shared folders.
(Optional) You will need to setup a indexing server and a download client server to link to the Sonarr server. Here are my walk throughs for setting up Jackett and Transmission.
- Jackett – Indexer for Tracker Sites
- Transmission over Private Internet Access (PIA) – Bittorrent Client over VPN
Deployment
Copy this code to a new Stack on your Portainer. Update the information you can change for your deployment and deploy the Stack.
---
version: "3.8"
services:
  sonarr:
    image: linuxserver/sonarr:latest
    container_name: sonarr
    environment:
      - PUID=0
      - PGID=0
      - TZ=America/Los_Angeles
    volumes:
      - /home/{username}/config/sonarr/config:/config
      - /mnt/plex/tv shows:/tv #tv show directory
      - /mnt/torrent:/downloads #downloads directory
    ports:
      - {port number}:8989
    restart: always
Stuff to change for your deployment:
- Version – This is be determined by the version of Docker you are running on your server. You can find this by entering the command “docker -v”. Here is a link to the Compatibility Matrix.
- Image – You can do “latest” and it will pull the current version. I prefer to look up the actual tag for the current version. This adds a little more management to updating however pinning it to a specific version adds reliability. Here is a link to the Sonarr Tag page.
- PUID and PGID – These numbers are specific to the user account you are running the container under. The Root user is “0” for both. You can find this for your user by logging into your server and running the “id” command.
- TZ – Update this to be your Time Zone. Here is a link to a list of all Time Zones.
- Volumes – The first mapping you need for sure, this is where all the persistant configuration files for the Sonarr container will be stored. Update the information with your username or change the location before the “:” to a location of your choosing. The next mapping is the location of your media library. You will want this mapped to the root location of all your TV Show folders. The final mapping will be to your download directory if you choose to do automatic downloading.
- Ports – You will want to update this to a port that works well inside your environment. It will be the port that you connect to the web interface of the container.
- Restart – You will want to set this to the way you want docker to handle the restarting of the container. Here is a link to the Restart Policies to choose from. I prefer “always” so if it crashes or the server restarts, it will automatically restart the container.
Configure Sonarr
Now that your Sonarr container is deployed, lets connect to it and make some configuration changes.
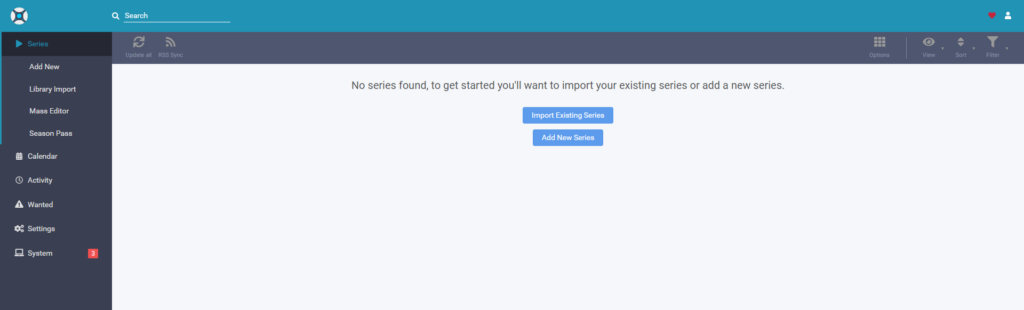
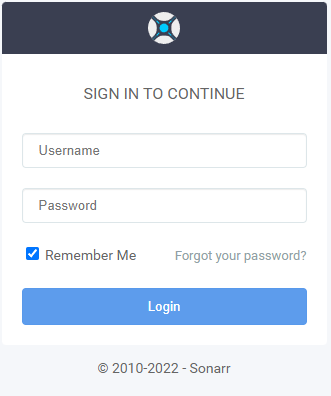
Open your web browser and navigate to “http://{server name or IP}:{port you configured in the stack}”.
You should see a page that looks like this with 3 “errors” under the system status:
Import Your Media
Lets start by importing your current TV Shows. If you followed my instructions to mount your media library onto the server, we will now point Sonarr at that mapped path.
Click on “Import Existing Series”

Read over the tips for importing your content and click on “Start Import”

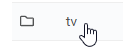
Because we mapped our media folder to the “/tv” folder inside the docker container, we will want to find that folder, not the mnt folder. Click on it and you should see the full folder structure of all your TV Shows. If that is what you see, click “Ok” in the bottom right corner.
Back on the main Library Import page, we want to click on the new “/tv” root folder. This will take us to the import page. Let it process all your TV Shows, this will take a little time based on how many you currently have. If everything looks good, you can review all your shows and make sure the “Series” column matches the expected show (year and platform). You can also mass edit settings at the bottom. For example, you can uncheck the “Season folders” box. Click “Import xx Series” to start the import process.

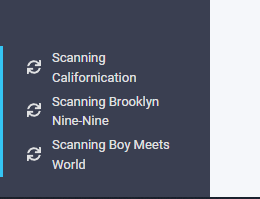
After it finishes importing, you should be taken to a screen that says “All series in /tv have been imported”. The server will then scan all your shows which you can see in the bottom left corner. This will take some time depending on how many shows you have. Verify all the correct information was pulled. If a show pulled incorrect information, delete it without deleting the files and then re-import it with the correct information.
Change Settings
We need to go through and change a bunch of quality of life settings so the server behaves the way we want. Start by going to “Settings > Media Management”.
We want to check the box next to “Renames Episodes”. This will allow us to tell the server how to name new files based on episode number and title. Here is an example of what I use for my file names:
Standard Episode Format:
{Series Title} - S{season:00}E{episode:00} - {Episode Title}
Daily Episode Format:
{Series Title} - {Air-Date} - {Episode Title}
Anime Episode Format:
{Series Title} - S{season:00}E{episode:00} - {Episode Title}
You will also want to change “Multi-Episode Style” from Extend to Range.
Thats all I change under Media Management. Click “Save Changes” at the top to continue.
Next, we will go to “Settings > General”. Scroll down to the “Security” section. We will change the “Authentication” to “Forms (Login Page)”. Enter a Username and Password to be used to authenticate to the web interface. Since this is an internal server, I also Disable the Certificate Validation. You can also uncheck the box to “Send Anonymous Usage Data” if you choose to. Click “Save Changes” at the top to continue.
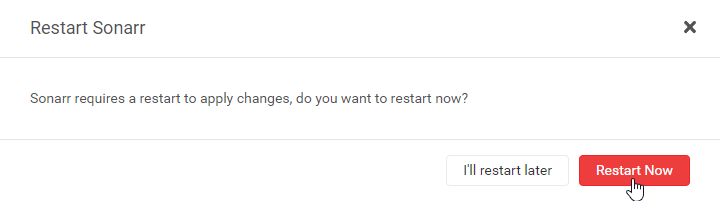
A pop-up will prompt that Sonarr requires a restart. Click “Restart Now”. Wait approximately 10 seconds and refresh your browser. It should take you to the login screen. Enter the username and password you just set to login.

Configure Indexer
If you are wanting to use this to automatically download new episodes and followed my instructions on deploying Jackett as a Indexer, we will now connect Sonarr to it. If you setup multiple sites to pull information from, you will need to setup each one even if they are on the same Jackett server.
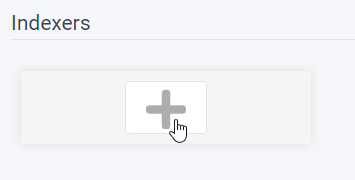
Navigate to “Settings > Indexers” and click on the + under the list of Indexers.
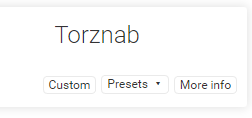
For Jackett, we are going to select “Torznab”.
Enter the “Name” to describe the indexer. (ex. The Pirate Bay (Jackett))
For the “URL”, we need to go over to our Jackett server and click “Copy Torznab Feed” next to the Indexer you setup.
For the “API Key”, this is located in the top right corner of the Jackett page.
If you are using multiple Indexer sites, you can set the “Indexer Priority” to better narrow down searches. 1 is highest priority, 50 is the lowest.
At the bottom of the page, click the “Test” button. As long as you get a green check mark, you are good to click the “Save” botton to continue. If you get a Red “!”, scroll up to see what the error is. I had some issues with using a FQDN for the url. If you get this same error, try putting the IP address of the server instead.
Configure Download Clients
If you are wanting to use this to automatically download new episodes and followed my instructions on deploying Transmission as a Download Client, we will now connect Sonarr to it.
Navigate to “Settings > Download Clients” and click on the + under the list of Download Clients.
Scroll down and click on “Transmission”.
Enter the “Name” to describe the client. (ex. Transmission over PIA)
Enter the “Host” address of the server running the Transmission container. I use IP address instead of FQDN to make sure I don’t have any issues.
Enter the “Port” which will be the web UI port number.
Enter the Username and Password you configured for the web UI.
Change “Recent Priority” to “First”. This will make any new shows aired the highest priority. This works well if you are using this server to download old shows that are harder to get seeded.
At the bottom of the page, click the “Test” button. As long as you get a green check mark, you are good to click the “Save” botton to continue. If you get a Red “!”, scroll up to see what the error is.
If you followed my instructions and deployed my stacks, there is one other thing we need to set for the Download Client to work. We need to add a “Remote Path Mapping” at the bottom of the Download Client page. This will insure that the folder structure that Sonarr sees is the same folder structure that Transmission uses. Here is what I add to my setup to get everything to work:

The paths reflect the mapped paths inside each container to the /mnt/torrent folder.
Optional Improvements
H.265 Encoding Quality Fix
Navigate to “Settings > Quality”. Find “WEBDL-720p” and “WEBDL-1080p” and change the “Min” level to “1”. This fixes errors from compressed h.265 files that fall below the default minimum level. Adjust other profiles if you continue to have issues.
Release Profiles for H.265 Format
You can set up “Release Profiles” for automatic indexer searches using keywords. My personal preference is h.265 format for the space savings since all my devices can stream h.265.
To configure this, set “Must Contain” to “x265” and set the “Tags” for the release profile to “x265”. Then apply the tag to all your Series using the Mass Editor.
The result is that automatic downloads will be restricted to h.265 format, but manual searches will still be available for non-h.265 content.
Closing
I hope this helps everyone get Sonarr up and running on their own system and gets you through some of the “gotcha’s” that I had to spend time figuring out.
Stay tuned becasue shortly I’ll be publishing a walk through on a container called “Overseerr” which allows for central management of Sonarr and gives you the ability to allow other people that stream from your system an interface to request new content.
Sonarr | Docker Hub | GitHub