If you aren’t currently using a password manager, you need to get one asap. Technology security is a must have and its only going to get more important.
Vaultwarden is the self hosted server side of the Bitwarden software. It has all the compatibilities that you get with the hosted password managers (browser plugin, phone app, two-factor authentication) but you get the peace of mind of owning your own data.
Before deploying, you will need to have a reverse proxy server setup on your network because it requires HTTPS to access your vault.
Deployment
Copy this code to a new Stack on your Portainer. Update the information you can change for your deployment and deploy the Stack.
---
version: "3.8"
services:
  vaultwarden:
    image: vaultwarden/server:latest
    container_name: vaultwarden
    volumes:
      - /home/{username}/config/vaultwarden:/data/
    ports:
      - {port number}:80
    restart: unless-stopped
Stuff to change for your deployment:
- Version – This is be determined by the version of Docker you are running on your server. You can find this by entering the command “docker -v”. Here is a link to the Compatibility Matrix.
- Image – You can do “latest” and it will pull the current version. I prefer to look up the actual tag for the current version. This adds a little more management to updating however pinning it to a specific version adds reliability. Here is a link to the Vaultwarden Tag page.
- Volumes – This specifies where all the persistant configuration files for the Vaultwarden container will be stored. Update the information with your username or change the location before the “:” to a location of your choosing.
- Ports – You will want to update this to a port that works well inside your environment. It will be the port that you connect to the web interface of the container. The default is port 80 which is fine if you don’t already have something on that port.
- Restart – You will want to set this to the way you want docker to handle the restarting of the container. Here is a link to the Restart Policies to choose from. I prefer “unless-stopped” so if it crashes or the server restarts, it will automatically restart the container but if you stop the container manually, it won’t try to start it on the next server restart.
Accessing Your Vault
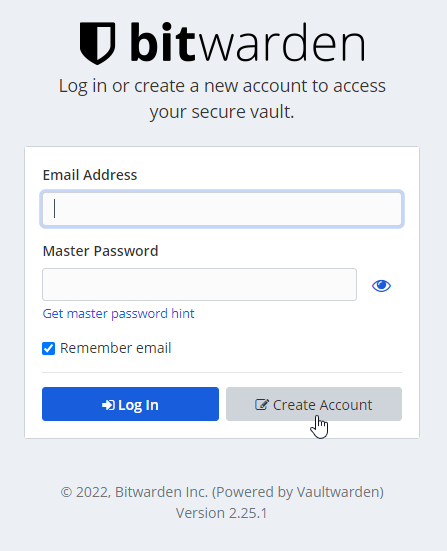
As mentioned in the opening, make sure you setup your reverse proxy so you can access the vault using an HTTPS with certificate. Once that is setup, open your web browser and navigate to the address. This will take you directly to the login page.
There is no default login, you will have to click on “Create Account”.
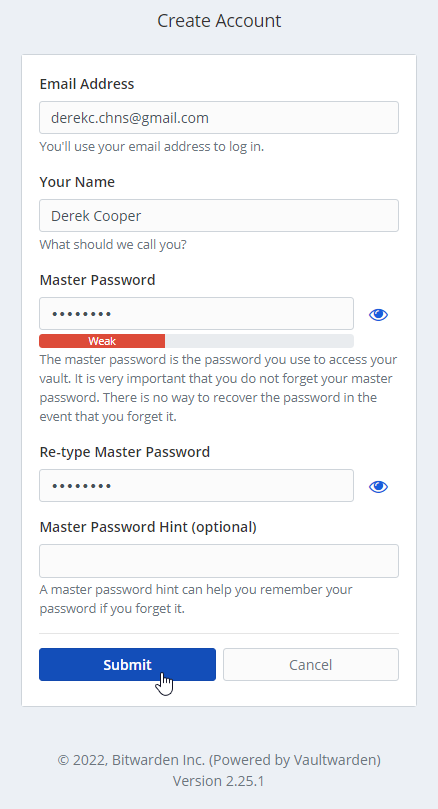
Fill out your account information and click “Submit”.
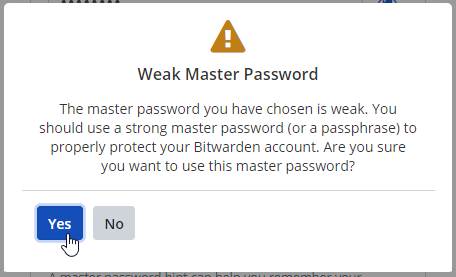
If you try to use a “Weak” password, you will get a popup notification. If you are ok with using this password, you can click “Yes” to continue at your own risk or click “No” to change it.
After submitting your user information, it will kick you back out to the login screen. Enter your username and password and login.
Doing the actual configuration of the server is outside the scope of this walk through. There is a ton of information out there from this point on how to use Bitwarden.
Chrome Extension
If you use Chrome, here is a quick walk through on how to add the extension and point it at your server:
Here is the link to the Bitwarden Chrome Extension. Add it to your browser.
Click the icon in the top right of your browser and then click the “Settings” button. We need to set the server URL before logging in.
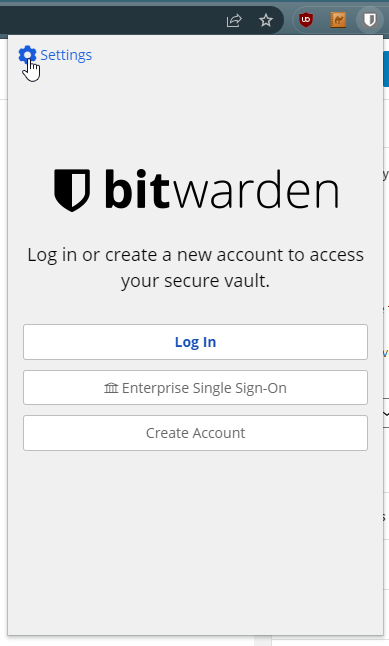
Under the “Server URL”, enter the HTTPS URL for your vault.
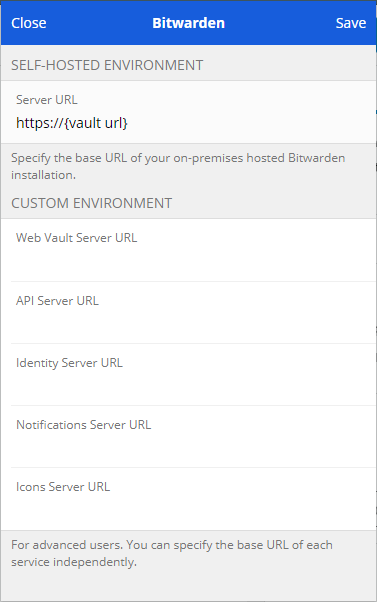
Click “Save” in the top right corner which will close out to the main page for the extension and you should see this message at the bottom.

Click “Log In”, enter your user information and then click “Log In” in the top right corner.
You should see any of the items you have already saved in your vault and create new items. When making new items in the extension, you have to go into the settings and “Sync” the for them to show up in your vault right away.
Android App
Here is the link to the Bitwarden Android App in the Google Play Store. The setup for the app is almost the same as the Chrome Extension so follow that to get logged in. The one thing I do different with the App is I enable “Unlock with Biometrics” in the settings to make it super easy to use your finger print scanner to unlock your vault.