My Linux Server Distribution of choice is Ubuntu Server. I just like the command structure, the folder structure and using nano for text editing. Recently, they released version 22.04 LTS (Long Term Support) which i will be using for all my future server installs. This walk through will guide you through the clean install of the OS on a new server. I might do a walk through on upgrading an existing server if people are interested in that. Since I run Docker containers for most of my applications, its usually cleaner and easier to just do a fresh install and migrate my containers.
Downloading ISO
Here is the direct link to the Download Ubuntu Server website.
To download the ISO file, click on “Option 2 – Manual Server Installation” and then click on “Download Ubuntu Server 22.04 LTS”.
You can also use a Torrent client if you know how which releaves some stress on the servers which is always nice for free software.
Once downloaded, you will want to mount it to your virtual server’s virtual CD drive or uses a tool like Rufus to make a bootable USB drive to use on physical servers.
Then boot the server onto the install media.
Installing OS
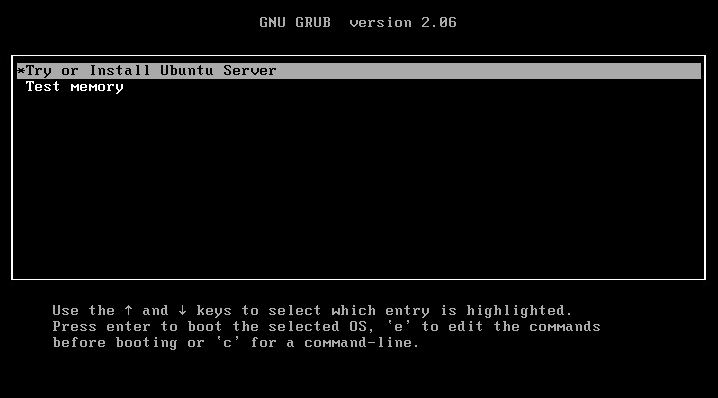
The first screen you should see is the GNU GRUB boot manager. Press “Enter” to select “Try or Install Ubuntu Server” or wait 30 seconds for it to load automatically.
Wait for the server to load all the files into memory and load the install interface.
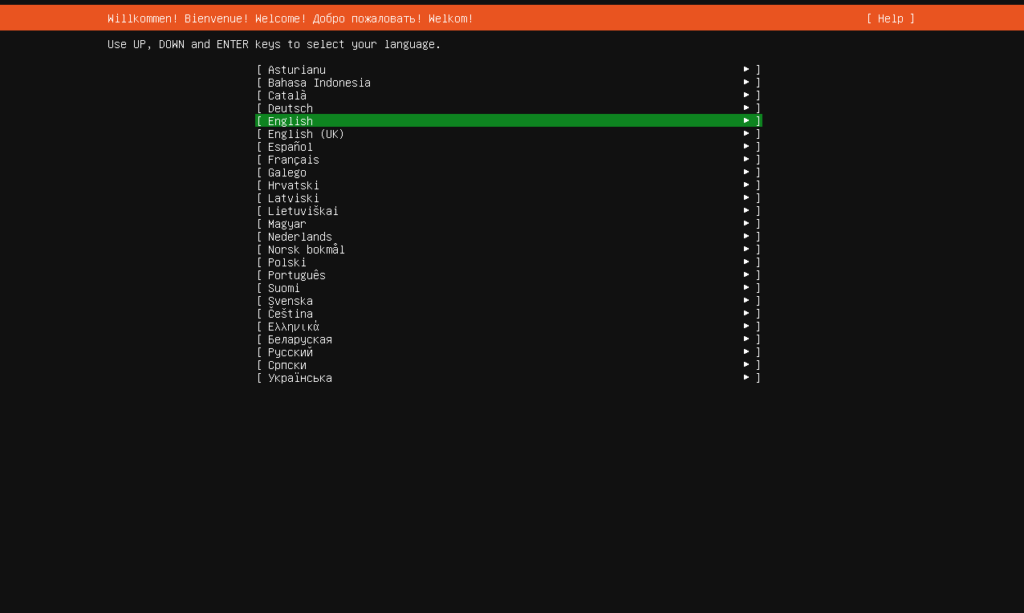
On the “Welcome” screen, select your language if it is something other than English and press “Enter” to proceed.
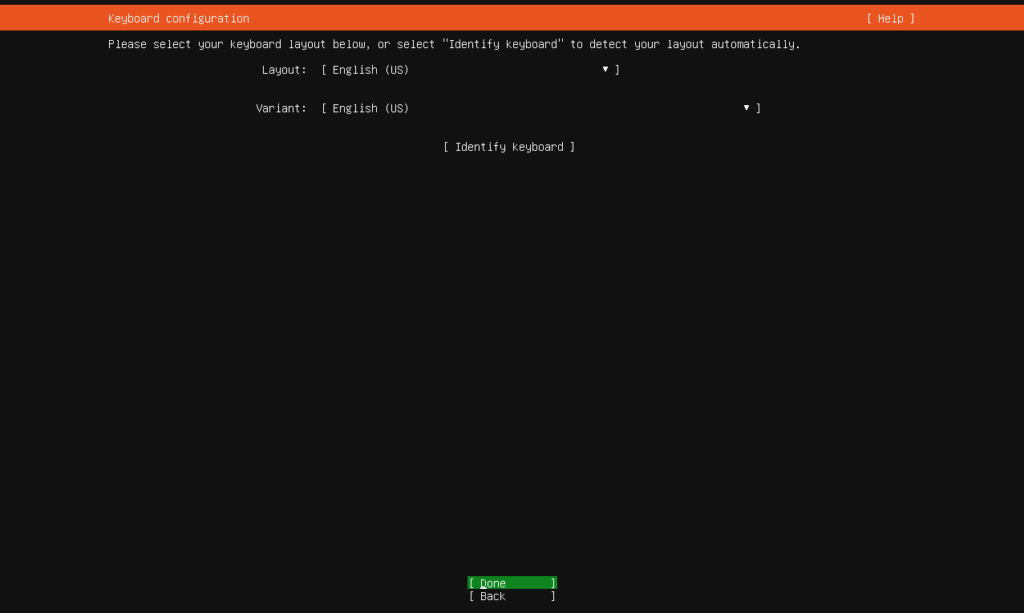
On the “Keyboard configuration” screen, select your keyboard layout if its something other than standard “English (US)”. Arrow down to “Done” and press “Enter” to proceed.
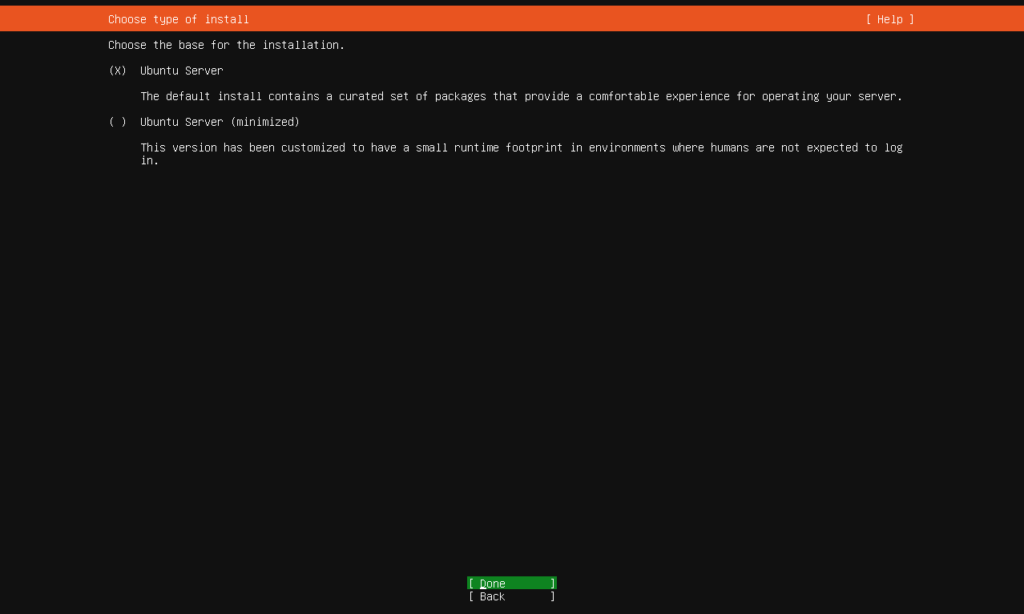
On the “Choose type of install” screen, select either the full install of the OS or you can select the “minimized” version if you know what you are doing and are using this server for a specific task. I recommend just doing the full install. Arrow down to “Done” and press “Enter” to proceed.
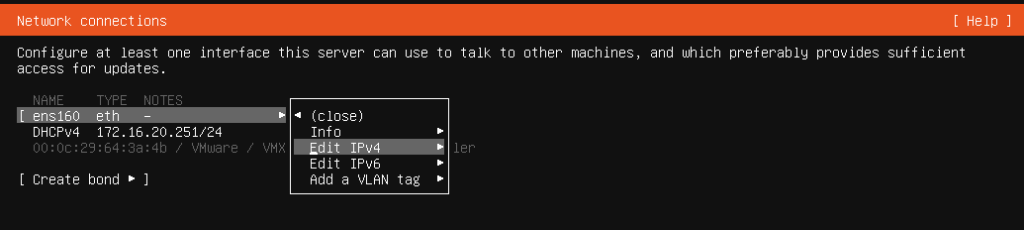
On the “Network connections” screen, you will want to setup the network interface with the IP and DNS settings for the server. If you have DHCP setup on the network the server is on, it will pull the information by default. Since this is a server, it is usually recommended to set a static IP address so it doesn’t accidently change and you loose connection.
To set a static IP, select the interface you want to edit and arrow down to “Edit IPv4” and press “Enter”.
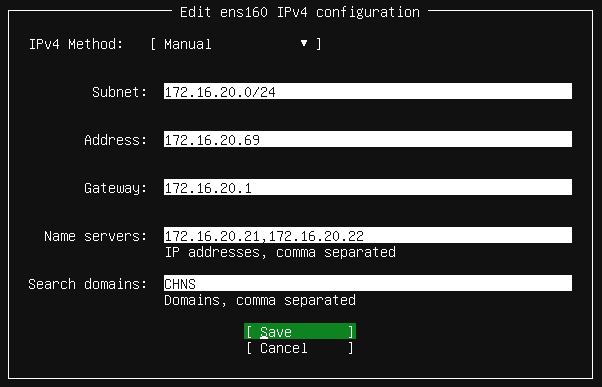
On the configuration page, enter in the following information based on your network:
- IPv4 Method – change to “Manual”.
- Subnet – Enter the subnet for the network you are connected to. This outlines the whole network so the last number will probably be zero followed by a “/” and the subnet mask for the network. If you need help figuring this out, check your router configuration or search online to find the right mask.
- Address – This will be the exact IP address of the server.
- Gateway – This is the IP address of the router interface for the network the server is connected to.
- Name servers – These will be the IP addresses of the DNS servers you want to use. You can enter more than one DNS server, just separate them with a “,”.
- Search domains – This is optional. If you don’t know what yours is or don’t have one setup, just leave it blank.
Arrow down to “Save” and press “Enter”.
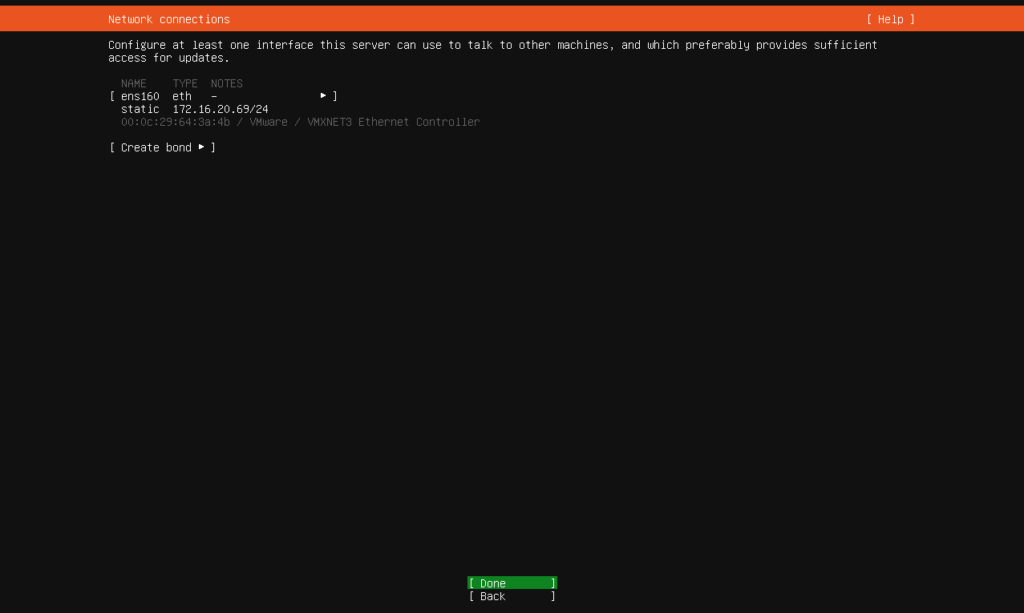
The server will take you back to the “Network connections” screen where you should now see the static IP address you set under the interface name. Arrow down to “Done” and press “Enter” to proceed.
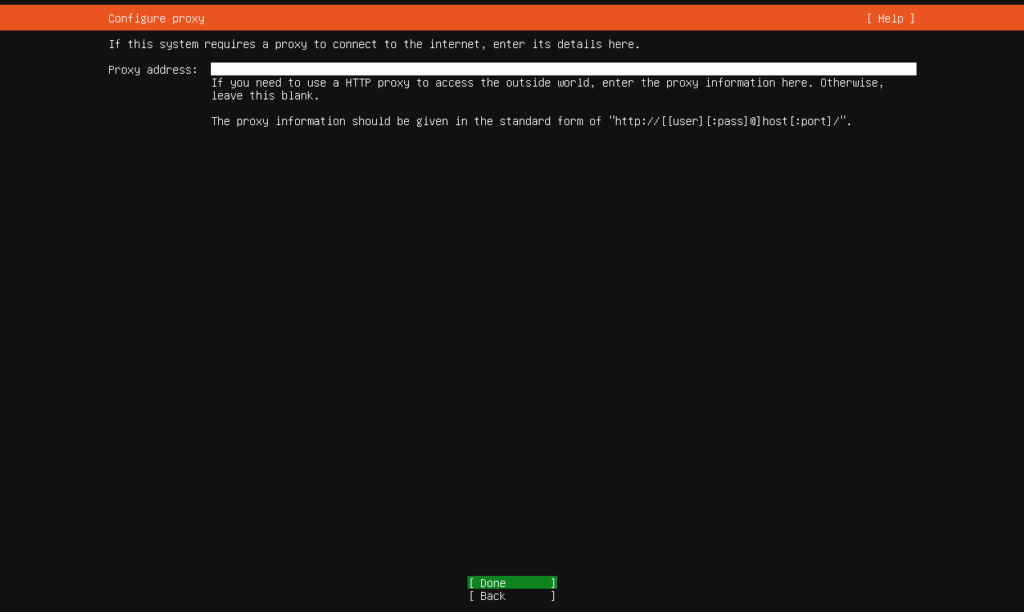
On the “Configure proxy” screen, this is another optional field. If you don’t have one, arrow down to “Done” and press “Enter” to proceed.
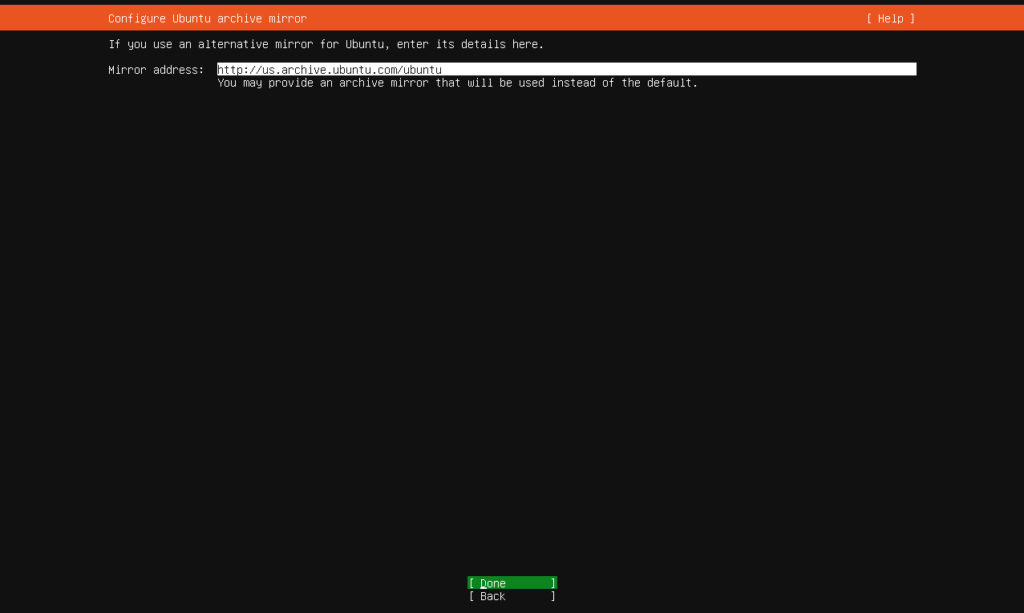
On the “Configure Ubuntu archive mirror” screen, the default URL is fine unless you want to change it to an archive you know and want to use. Arrow down to “Done” and press “Enter” to proceed.
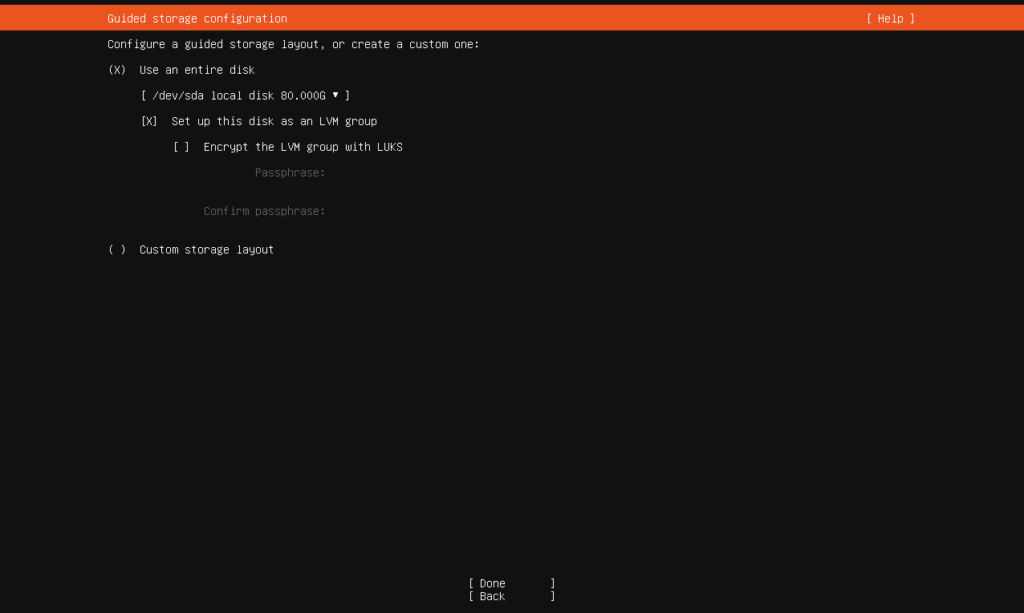
On the “Guided storage configuration” screen, I usually keep “Use an entire disk” selected and set the disk to the drive I want to boot the OS from. Here you can also choose to encrypt the drive if that is a requirement for this server.
Linux disk partitioning can be confusing if you don’t know what you are doing so I recommend just letting the installer make the partitions instead of doing a “Custom storage layout”.
Arrow down to “Done” and press “Enter” to proceed.
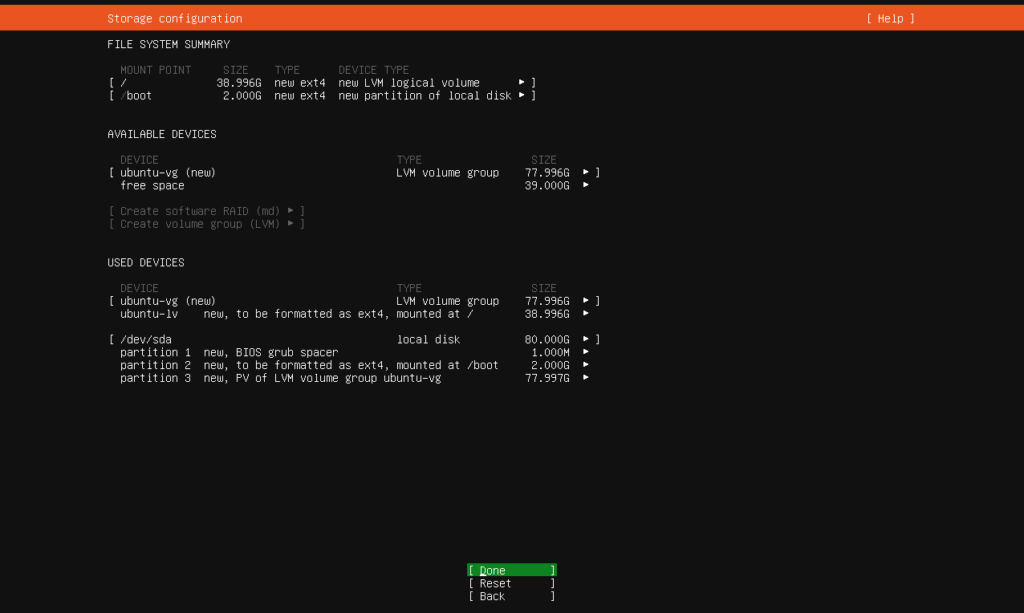
The system will now look at your drive and figure out the best partition layout. Look this screen over and make sure its using your whole drive under the “USED DEVICES” section. Arrow down to “Done” and press “Enter” to proceed.
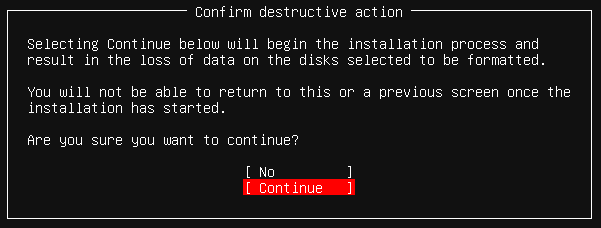
The installer will now pop up a caution message about destroying all the existing data on the drive. Confirm you want to continue by selecting “Continue”.
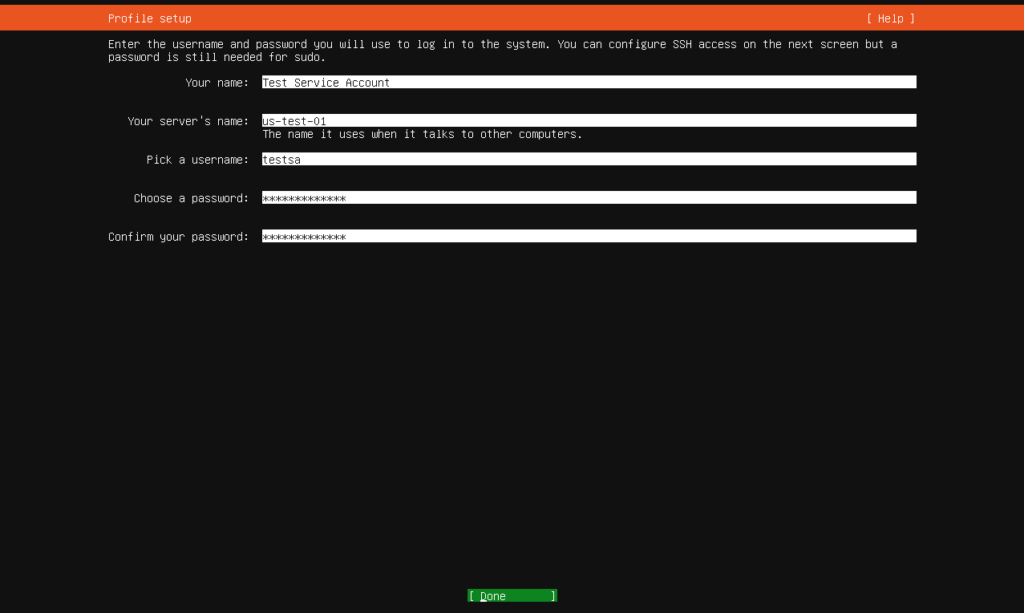
On the “Profile setup” screen, enter the server and user information for logging into the server:
- Your name – this can be anything you want to use to describe this user.
- Your server’s name – this is the name of the server that will be linked with the DNS information for communicating with the server.
- Pick a username – this is the actual username you will enter when logging into the server.
- Choose a password & Confirm your password – enter the password you want for the user account when logging in.
Arrow down to “Done” and press “Enter” to proceed.
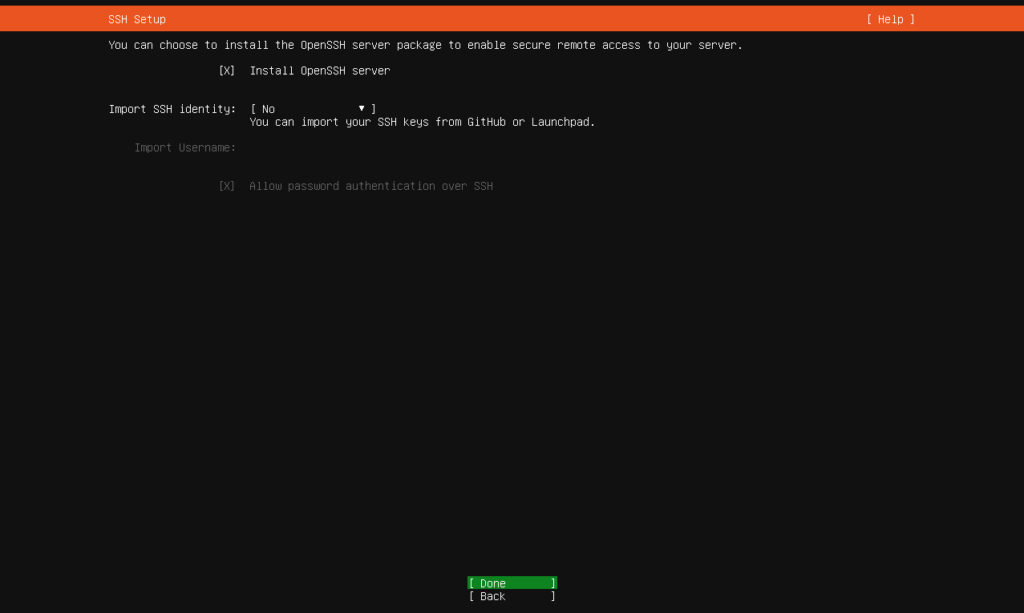
On the “SSH Setup” screen, you can choose to install SSH on this server for remote login. I always do this on new servers because its my preferred way of accessing the server. Also, its a lot easier to install it now then try do it after the fact.
Check the box next to “Install OpenSSH server” and leave the “Import SSH identity” on “No” unless you know what that is and how to load it. Arrow down to “Done” and press “Enter” to proceed.
On the “Featured Server Snaps” screen, you can select applications to be installed during the OS install process. I don’t usually use this option even if I’m going to be installing an application listed because I prefer to control the install process. Arrow down to “Done” and press “Enter” to proceed.

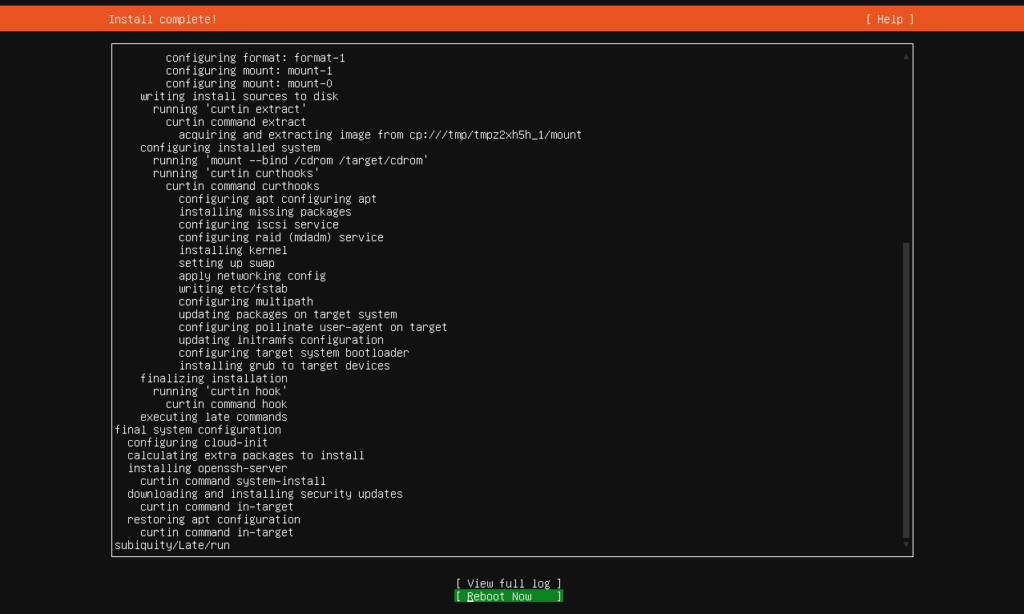
On the “Install complete” screen, you should see a log of the install process. Even though it says “Install complete” it will still try to update the system before finishing. You can either wait for it to finish or arrow down to “Cancel update and reboot”.
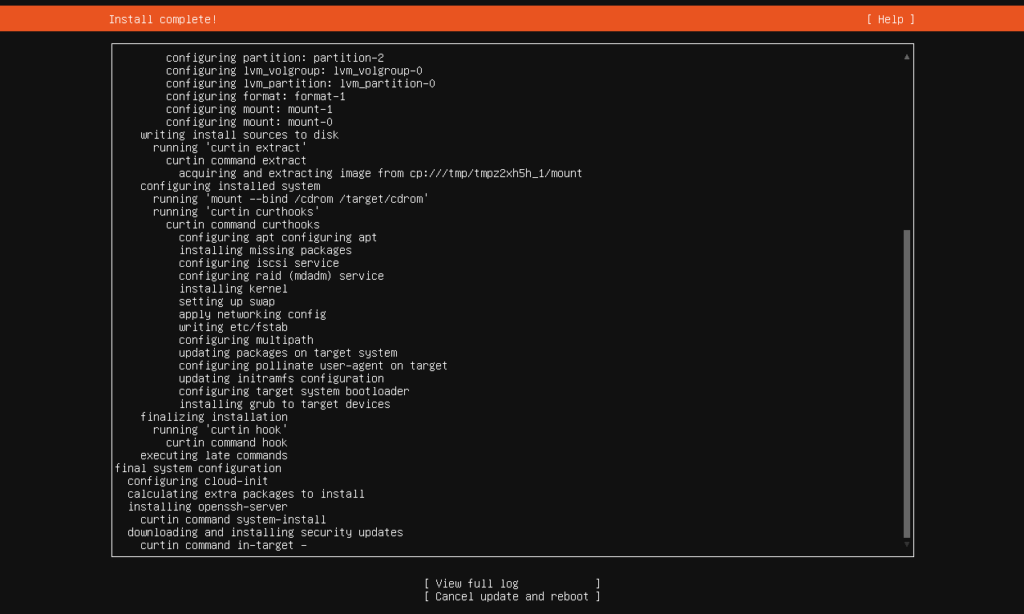
If you choose to wait for it to finish updating, when it is actually installed and updated, it will change “Cancel update and reboot” to “Reboot Now”. It is now safe to reboot the server.
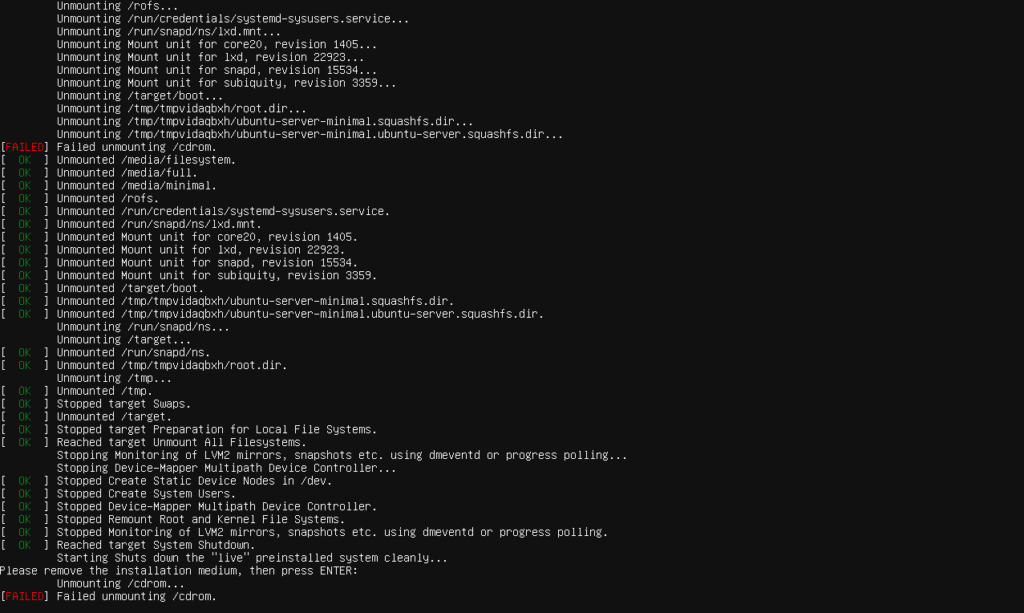
As the server is unmounting the install media and clearing out the files in memory, you will probably get a message saying “Failed unmounting /cdrom” and to “Please remove the installation medium, then press ENTER”. At this point you will want to unmount the ISO file from the server or remove the USB drive from the server. Then press “Enter” to finish the reboot process.
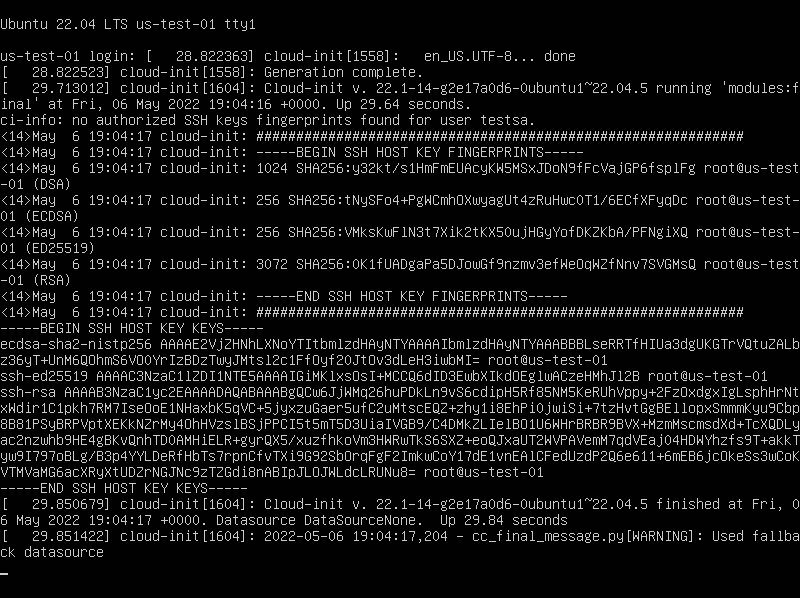
After the server boots of the disk you installed the OS, you should see something that looks like the message below if you installed SSH. Press “Enter” to get the login prompt. Login with the username and password you set on the “Profile setup” screen.
Once you login, you should see a screen similar to below. Your server is now installed and ready for you to deploy applications, Docker containers, Websites or whatever you want to use it for.
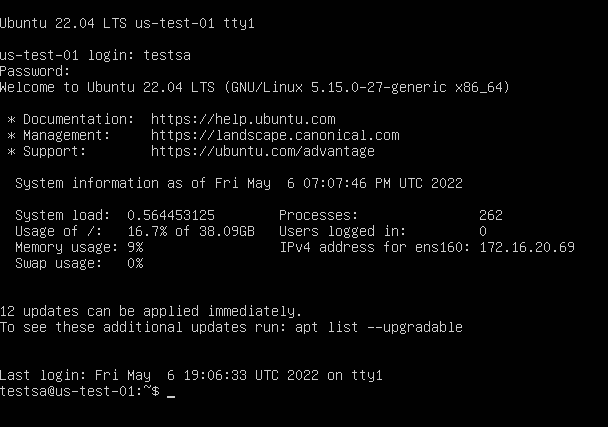
You may notice that even though the server updated during installation, you will still have updates to be installed. You can use the following command to update the package index, install the available upgrades and then reboot the server.
sudo apt update && sudo apt upgrade -y && sudo reboot nowIf you get the new “Restart Services” screen, just press “Enter”. Service restarts aren’t needed because the command will restart the whole server.
That is all for this walk through. I have a separate walk through Here that takes you through the basic configurations I do on newly installed servers.