This is a follow up post after my walk through for “Duplicati – Backup Container”. To be clear, you don’t have to just use this container to only backup Docker containers, you can use it to backup any files you have on a Linux server. This walk through will guide you through restoring files to your server that have already been backed up.
Prerequisites
-
Deploy the Duplicati Container to the server you want to restore the files too. This can either be the same server you backed up or a new server. I will walk you through both situations.
-
If this is a new server, you will want to make the directory you are going to restore the files to before starting. To do this, make sure you create the folder inside a folder that you ported to the Duplicati container in the “volumes” section of the stack.
sudo mkdir {name of folder}
- If you are restoring a Docker Container, make sure you shutdown the container before starting the restore.
Restore Files
Connect to the Duplicati interface.
http://{server name}:{port number}
Click on “Restore” in the top left corner.

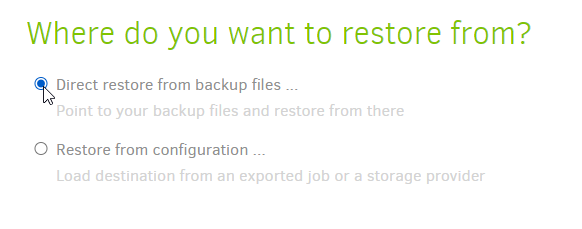
If this is a new server, you will want to select “Direct restore from backup files…”. This will give you the option to connect to your remote backup storage to pull files and restore. If you are restore to the same folder on the same server, you can select “Restore from configuration…” which will allow you to use the settings that are already saved in your backup configuration.
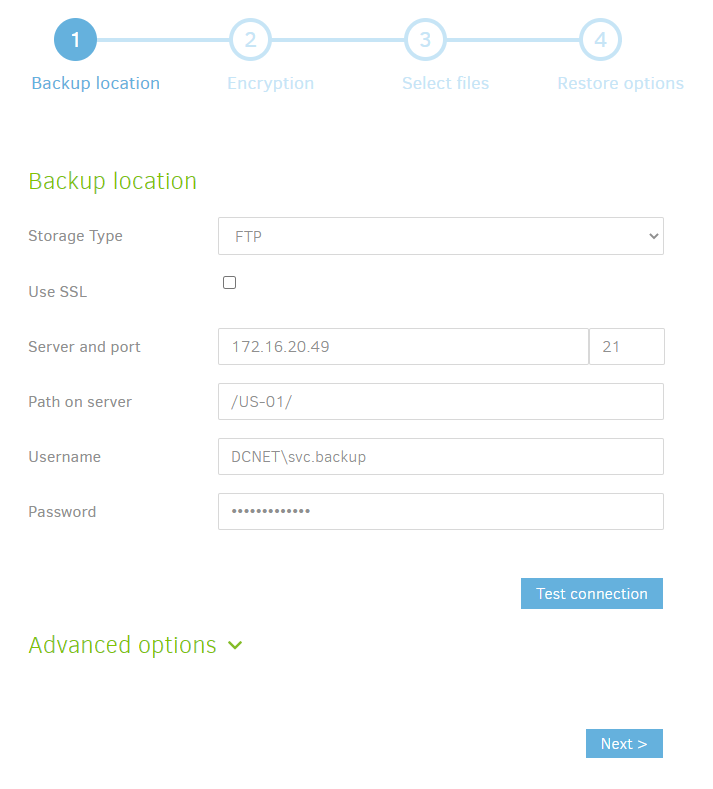
You will now need to select your “Storage Type” and point it at your backup storage. I use an FTP server running on my Backup Server to transfer between all my servers and the storage so I use the settings below. Click “Test connection” to make sure your target and credentials work. Click “Next” to continue.
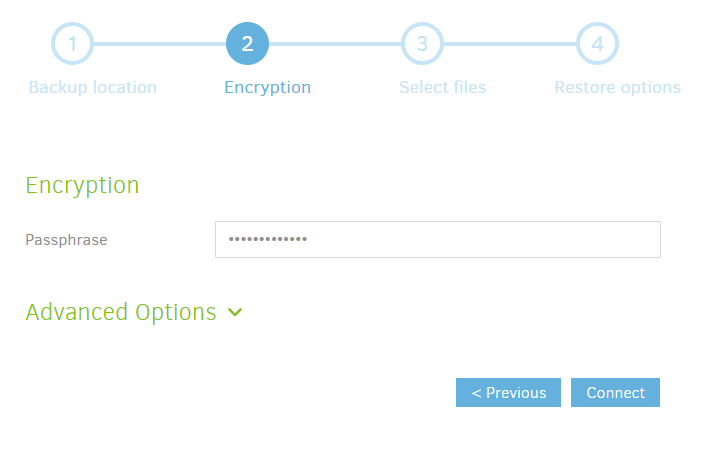
Enter the “Passphrase” if you encrypted your backup files.
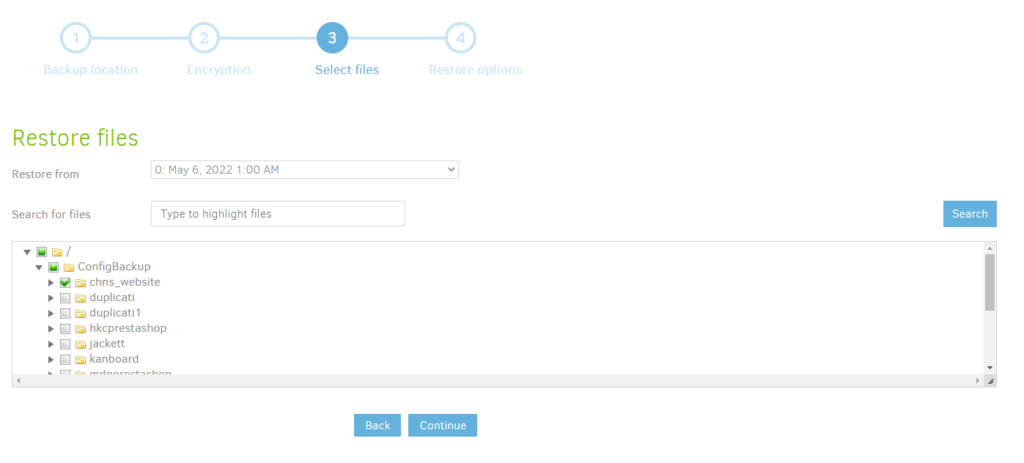
The server will now reach out to your backup storage and pull all available restore points and files.
Under the “Restore from” field, select the restore point you want to use. This should match the times in your backup job.
Find the folder that contains the files you want to restore. Remember that these folders match the folders your ported over in the “volumes” section of the stack. Check the box next to the folder and click “Continue”.
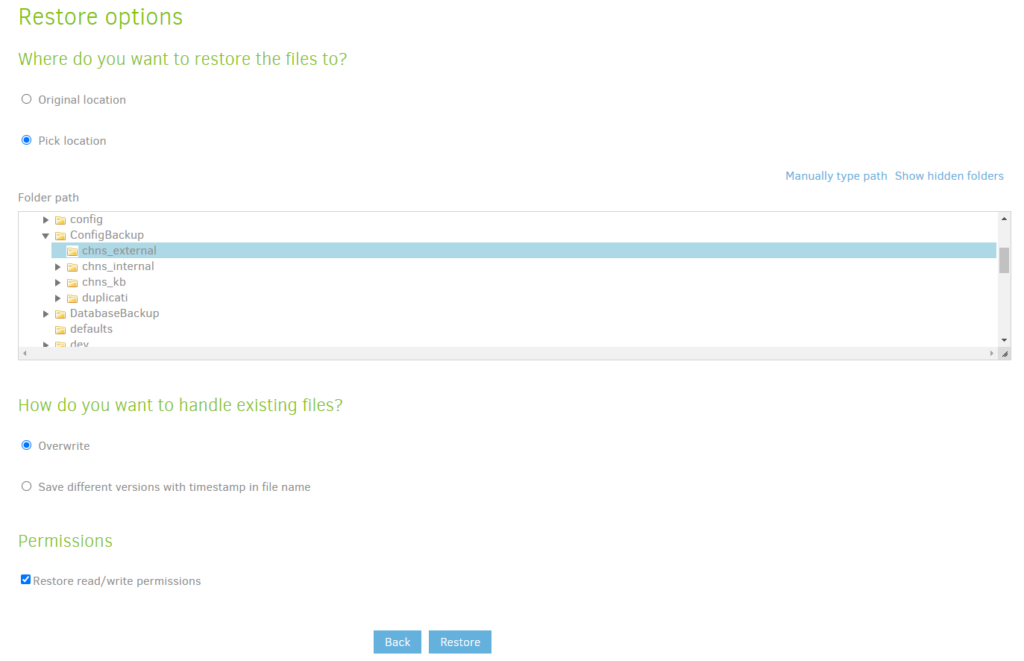
If this is the same server you backed up, you can select “Original location” to restore the files to with the same path as the original files.
If this is a new server or if you want to restore the files to a different location to pull selected files from a backup, select “Pick location”.
Select the folder that you created as part of the prerequisites section of this walk through. Remember that these folders match the folders your ported over in the “volumes” section of the stack.
Select “Overwrite” unless you have a reason to select the other option.
Make sure to check the box to “Restore read/write permissions” at the bottom so the applications that access the folders are still able to work. If you don’t check this box, the files will be restored based on the folder permissions (more than likely root) and in my testing, it breaks some stuff with the containers.
Once you are happy with your settings, click “Restore” to start the processing.
Once the process is started, wait for it to “Build the Temporary Database”, “Download the files” and then “Restore”. Once it is finished, you should see the following success screen. If the restore fails for any reason it will throw and error message and let you know what was wrong. Click “Ok” to be taken back to the Home Screen.
You should now be able to use your restored files for whatever you want. If you restored a Docker Container, you should now be able to start the container and everything should work as normal.