WordPress is a free and open-source content management system. With a built in GUI interface for managing and designing your website, blog, e-commerce site. Easy to use features and plugins that make it simple to do stuff like Google Analytics and AdSense. Pre-built templetes which take all the stress out of designing the layout of your site.
This walk through will consist of the stack deployment and some basic configuration for the interface.
Deployment
Copy this code to a new Stack on your Portainer. Update the information you can change for your deployment and deploy the Stack.
---
version: '3.8'
services:
  wordpress:
    image: wordpress:latest
    environment:
      WORDPRESS_DB_HOST: db:3306
      WORDPRESS_DB_USER: {db username}
      WORDPRESS_DB_PASSWORD: {db password}
      WORDPRESS_DB_NAME: wordpress
    volumes:
      - /home/{username}/config/wordpress:/var/www/html
    ports:
      - {port number}:80
    restart: unless-stopped
    depends_on:
      - db
  db:
    image: mysql:5.7
    environment:
      MYSQL_USER: {db username}
      MYSQL_PASSWORD: {db password}
      MYSQL_DATABASE: wordpress
      MYSQL_RANDOM_ROOT_PASSWORD: '1'
    volumes:
      - /home/{username}/database/wordpress:/var/lib/mysql
    restart: unless-stopped
Stuff to change for your deployment:
- Version – This is be determined by the version of Docker you are running on your server. You can find this by entering the command “docker -v”. Here is a link to the Compatibility Matrix.
- Image – You can do “latest” and it will pull the current version. I prefer to look up the actual tag for the current version. This adds a little more management to updating however pinning it to a specific version adds reliability. Here is a link to the WordPress Tag page.
- DB Username & Password – You will want to update these to whatever you want to use for your environment. Just make sure you don’t use “root” for the username and you will want to make sure to update in both the WordPress container and the MySQL container to match.
- Volumes – This specifies where all the persistant configuration files for the WordPress container will be stored. Update the information with your username or change the location before the “:” to a location of your choosing.
- Ports – You will want to update this to a port that works well inside your environment. It will be the port that you connect to the web interface of the container. The default is port 80 which is fine if you don’t already have something on that port.
- Restart – You will want to set this to the way you want docker to handle the restarting of the container. Here is a link to the Restart Policies to choose from. I prefer “unless-stopped” so if it crashes or the server restarts, it will automatically restart the container but if you stop the container manually, it won’t try to start it on the next server restart.
Configure WordPress
(Important! Before configuring WordPress, you will want to setup your DNS and any Port Forwarding or Reverse Proxy you want to use. During the setup process it will map the site to the current URL so if you change it in the future, it will be difficult to update down the road.)
Open your web browser and navigate to “http://{server name or IP}:{port you configured in the stack}”.
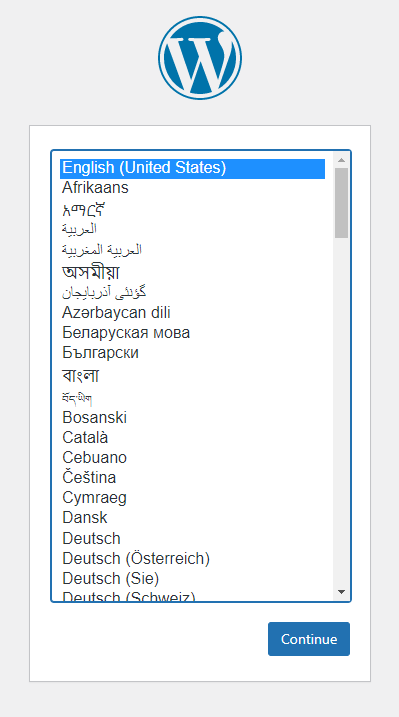
Select your language if it’s not English and click “Continue”.
On the “Welcome” screen, enter you “Site Title”, “Username”, either save the password that it generates for you or enter in your own Strong password. This username and password will be the user account you use to login to management interface of your website. Don’t make these the same as what you set for the database during the container deployment. Enter in your email account you want to be associated with your site. This will be used for any notifications if you set that up and can be changed in the future. Finally, decide if you want to allow search engines like Google to index your site (make it searchable) and check the box if you don’t want this.
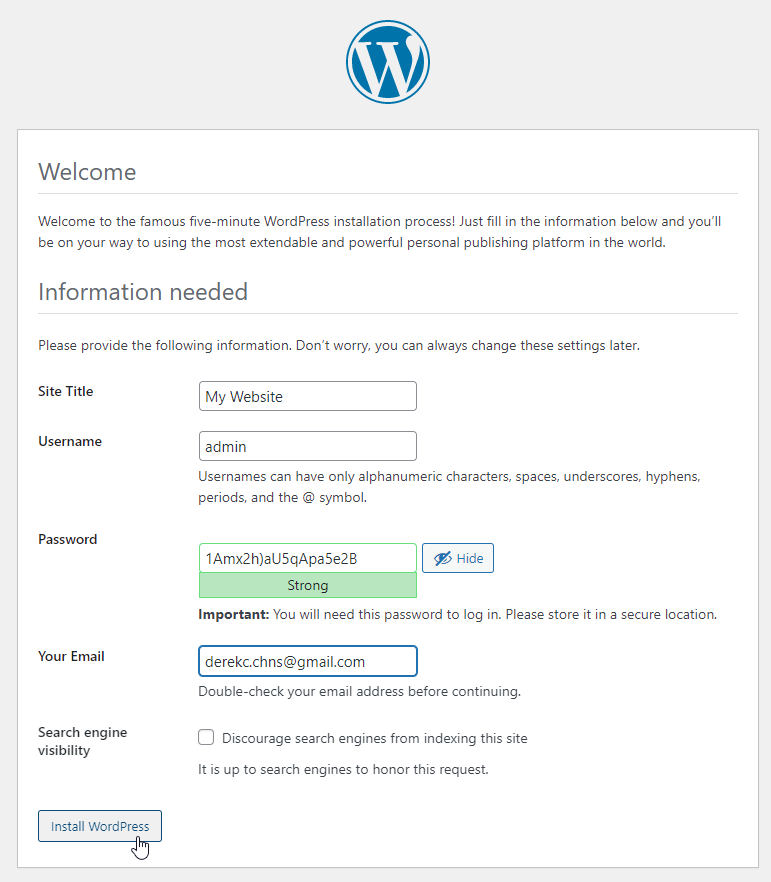
After all your information is entered, click “Install WordPress”. Wait for a few seconds and you should be pressented with this “Success” screen:

Click the “Log In” button to continue.
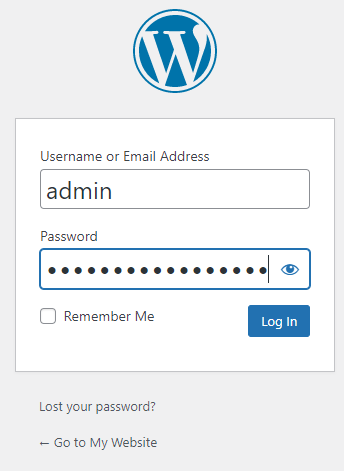
Login with the same username and password you just set.
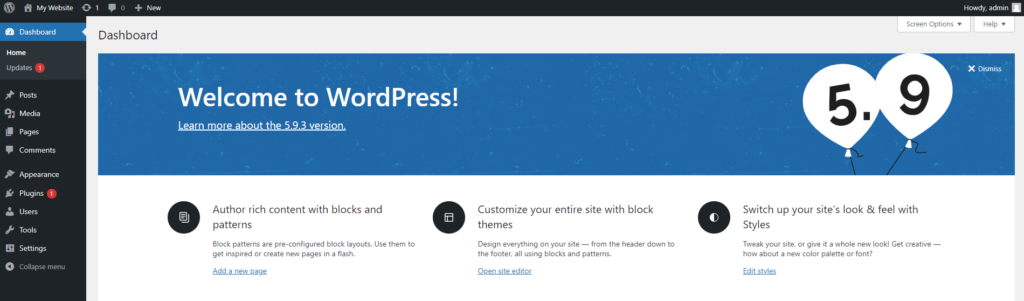
You will then be taken to the Main Dashboard for your new WordPress site! You will prabably see some “errors” for updates to default plugins and possibly and update to the main site software if you aren’t using the current docker image. Make sure you try to stay up to date on these updates, WordPress is known to have security issues but as long as you stay up to date, you should be fine.
When I build a new site, first thing I do is go through and delete all the default Posts, Pages, Comments, and Plugins. You can always add these back in later but I just prefer to start clean.
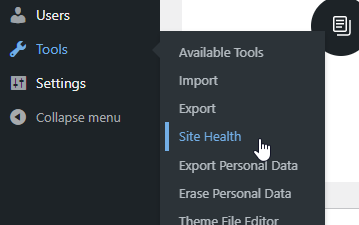
Also, you will occasionally want to go into the “Tools -> Site Health” tool and scan your site for any issues that might come up and correct them.
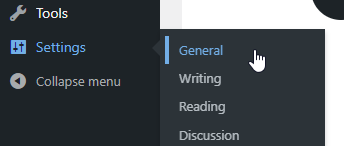
Finally, the “Settings -> General” page is where you can configure some like Site Name, Email Address, Time Zone and Date Format.
Conclusion
That’s it for the installation of WordPress! Doing the actual customization is out of scope for this walk through but there are hundrads of YouTube videos and blog posts about building WordPress sites.