Heimdall is a way to organise all your most used web sites and web applications in a simple way. It also allows for integrated search bar which makes it a good replacement for your home page.
This walk through will consist of the stack deployment and some basic configuration of the interface.
Deployment
Copy this code to a new Stack on your Portainer. Update the information you can change for your deployment and deploy the Stack.
---
version: "3.8"
services:
  heimdall:
    image: linuxserver/heimdall:latest
    container_name: heimdall
    environment:
      - PUID=1000
      - PGID=1000
      - TZ=America/Los_Angeles
    volumes:
      - /home/{username}/config/heimdall:/config
    ports:
      - {port number}:80
    restart: unless-stopped
Stuff to change for your deployment:
- Version – This is be determined by the version of Docker you are running on your server. You can find this by entering the command “docker -v”. Here is a link to the Compatibility Matrix.
- Image – You can do “latest” and it will pull the current version. I prefer to look up the actual tag for the current version. This adds a little more management to updating however pinning it to a specific version adds reliability. Here is a link to the Heimdall Tag page.
- PUID and PGID – These numbers are specific to the user account you are running the container under. Heimdall requires you to run this contain under a user account other than root. You can find this for your user by logging into your server and running the “id” command.
- TZ – Update this to be your Time Zone. Here is a link to a list of all Time Zones.
- Volumes – This specifies where all the persistant configuration files for the Heimdall container will be stored. Update the information with your username or change the location before the “:” to a location of your choosing.
- Ports – You will want to update this to a port that works well inside your environment. It will be the port that you connect to the web interface of the container.
- Restart – You will want to set this to the way you want docker to handle the restarting of the container. Here is a link to the Restart Policies to choose from. I prefer “unless-stopped” so if it crashes or the server restarts, it will automatically restart the container but if you stop the container manually, it won’t try to start it on the next server restart.
Configure Heimdall
Now that your Heimdall container has been deployed, lets connect to it and start setting it up.
Open your web browser and navigate to “http://{server name or IP}:{port you configured in the stack}”.
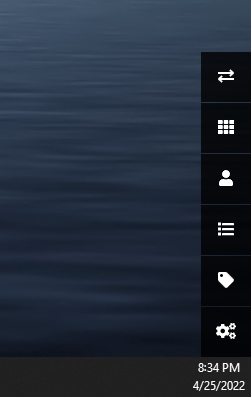
Click the bottom icon that looks like 3 gears to pull up the settings page.
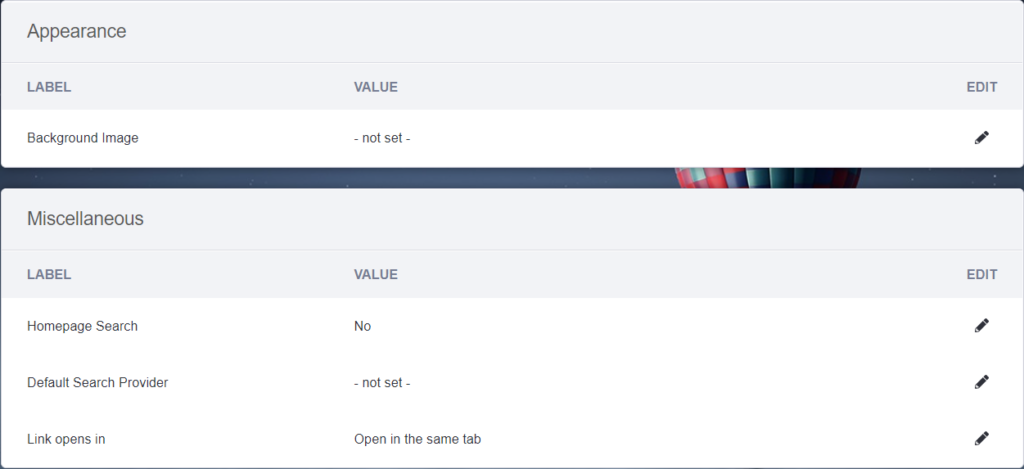
On the settings page, you can set the Background Image for the whole site under the Appearance section. Under the Miscellaneous section, you can turn on/off the “Homepage Search” bar, select your search provider, and set the browser behavior for how links open (same tab or new tab).
Adding Applications
Click the third icon from the bottom, that looks like 3 virtical dots with lines next to them to add applications and sites.
Click the “Add” button. In the “Preview” section, select the “Application Type” for the site/web application you want to add, enter the website to point at and click “Go”.
Heimdall will reach out to the site and pull custom icons and server names for a good-looking icon.
Under the “Add application” section, you can customize the icon as desired.
Some of the applications have smart feature built into them. If the application you selected has these features, you can scroll down and configure the login or whatever information needed to access this information on the dashboard. All applications have different configuration needs so your mileage may vary.
Click “Save” at the bottom to add it to your dashboard.
Reorganizing Icons
Back on the home page, you can click the icon that looks like two arrows facing in opposite directions to re-arange the icons into the order you want them:

Adding Tags
Click the icon that looks like a price tag to add a “Tag” to your site. This will allow you to nest dashboards and have multiple pages to make it easy to organize your icons.

Click the “Add” icon, then enter a “Tag Name”, enter the Hex code for the desired color and click the slider to “Pin” it to the Home page.
Now when you add a application, there is a “Tag” field, you can select your new tags to organize them on different pages.
There isn’t a login page for this application so I wouldn’t allow it to be accessed from outside your network. If you want to use it outside your network, you will want to only access it over a VPN.
That’s it! This tool is very simple and easy to use but adds a lot to any small network.