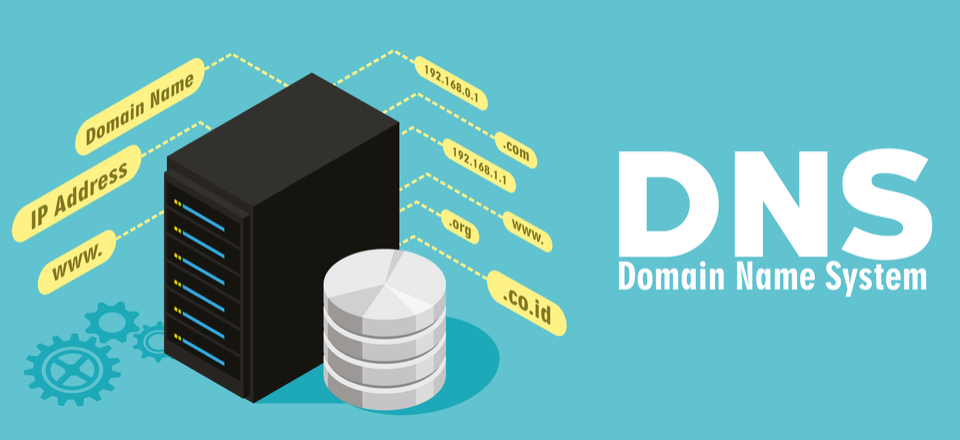
To start, we need to understand what is DNS (Domain Name System). When you type google.com into a web browser, your phone or computer reaches out to the DNS server you have told it to use and asks “what is the address of google.com?". The DNS server then responds with the most updated address it knows, ex. 172.217.3.174 (you can type that into your web browser and it will take you to google.com). Your phone or computer then knows where to route through the internet to get to where you want to go. We as humans need DNS because remembering google.com is a whole lot easier then remembering the string of numbers.
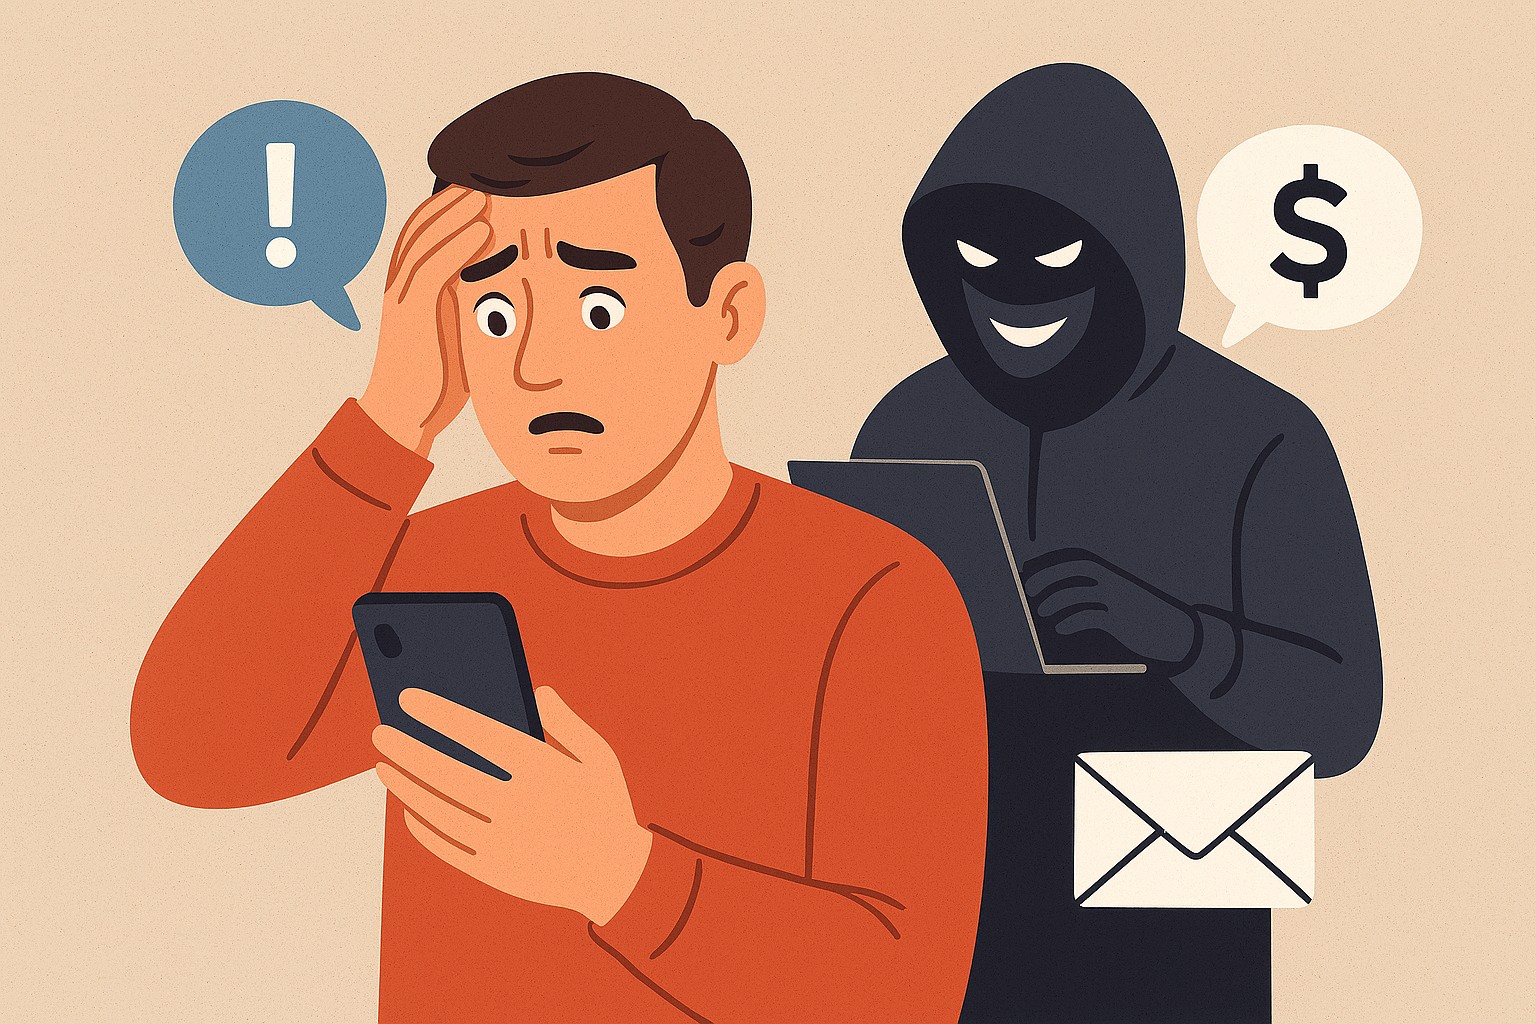
I have always recommended you change your DNS servers primary because of privacy. By default, your devices are setup to automatically use your ISP’s (Internet Service Provider) DNS servers. I feel like your ISP already knows a lot about you, by using their auto provided DNS servers you are straight up telling them where you are looking. Also, some DNS providers offer services like malware screening, where if your devices goes somewhere it is flagged to be harmful like a virus website, it will just not tell your device where that address is to protect you.
When countries “Block” sites, ex. China blocking access to Facebook for its people, this is what they are doing. They are controlling the address translation to specific site on DNS servers they control. There is more to it where they can block the routing on devices they control but that gets high level and there are other ways around that stuff.
Another added benefit could be increasing the speed of your browsing. If you get your lookups from a server that is geographically closer or has more resources to answer its users, it can cut down the time it takes for websites to load.
What can we do about this? We can change who we are asking for the address to a server that falls in line with what we as the user want. Here are some examples of Free DNS server providers that I recommend:
-
Quad9 - They are a DNS provider that is focused on security. They also don’t log any information about your requests.
-
Primary Address: 9.9.9.9
-
Secondary Address: 149.112.112.112
-
-
DNSWatch - They are a provider that is focused on neutrality, meaning it doesn’t censor any content. They also don’t log any information about your requests.
-
Primary Address: 84.200.69.80
-
Secondary Address: 84.200.70.40
-
-
OpenDNS - They have a free service but I list these because one feature they offer with their paid plans if you can setup Family Shield which allows you to have parental controls over what your kids devices can access.
-
Primary Address: 208.67.222.123
-
Secondary Address: 208.67.220.123
-
Now that we know what it is and some possible alternatives, how do we change it?
First, I recommend changing it on your home router. This will set it for every device that connects to your home network so you don’t have to change every device manually. Unfortunately, every home router provider has different ways of doing this so it would be hard for me to do a walk through for everyone. You can just google: “(router make and model) change DNS settings” (ex. Linksys E200 change DNS settings) and you should be able to find a walk through for your specific router.
If you want to change it manually on a Windows 10 device, ex. set it on your Laptop so when you take it places it still uses your settings no matter where you connect, here is a walk through:
-
Click the Windows logo in the bottom left corner and type “Control Panel”.
-
Under “Network and Internet” click on “View network status and tasks”.
-
You should see your current connections. Click the connection, on the right that you want to edit.
-
Click “Properties” in the bottom left corner.
-
Double click “Internet Protocol Version 4 (TCP/IPv4)”.
-
Change the second option to “Use the following DNS server address:”
-
Enter your new DNS server addresses.
-
Click Ok to everything to apply the settings.
This will permanently change your DNS servers on your computer so no matter what network you connect to, you will use these DNS servers.
If you want to change it manually on a Mac computer, here is a walk through:
-
Open “System Preferences”.
-
Click on “Network”.
-
Click “Advanced”.
-
Click on the “DNS” tab.
-
Click the plus (+) in the bottom left.
-
Enter your new DNS server addresses.
-
Click “Ok”.
-
Click “Apply”.
Ok, that covers your devices while you are at home and your computers while away from home, but what about your phone that has mobile data? Unfortunately, these setting are hard to do for mobile through the settings on the phone. Luckily for us, people have figured out you can use the VPN setting to force a DNS change and packaged it into a free app.
The app I found that works pretty well for this is called “DNS Changer - Trust DNS | Fast & Secure Connection”.
Once you download and install it on your device, here is a quick walk through for getting it setup:
-
Launch the app.
-
Press the red circle in the bottom center of the screen to connect.
-
When prompted to “Install a VPN profile”, click “Install”.
-
Your phone will then prompt you asking if this is ok, click “Ok”.
-
It should now “Connected” and the current server you are using and tell you are connected in your notification center.
If you would like to change the servers you are using, click “DNS changer” in the bottom left. You will then be shown a list of built in servers that you can read a basic description of and “Activate” which will force a reconnection.
If you want to use your own servers that aren’t in the list:
-
Click the “Custom” tab.
-
Click the plus (+) in the top right.
-
Enter a Name and the IP address of the server you wish to use.
-
Click “Add” in the top right.
-
Click “Activate”
Hope this helps everyone out there stay secure and anonymous online.