Recently, I started transitioning my domain virtual machines over to my new Proxmox cluster. This includes rebuilding my whole internal domain to fix DNS conflicts. One thing I’ve always wanted to accomplish is setting up Group Policy so my Windows Desktop installations are basically disposable. Meaning all my files are stored on separate servers and any programs I use or settings I set get automatically applied based on what Organizational Unit the Computer account is in or the user that signs into the VM.
All that to be said, I want to be able to deploy a Windows 11 VM for Remote Desktop Access and have it take up as small a footprint as possible. In doing a new RDP server VM for my new domain, I undersized the base OS drive based on Proxmox’s recommendations. This is normally fine since you can just extend the volume. This is where I ran into a issue and the reason for this article.
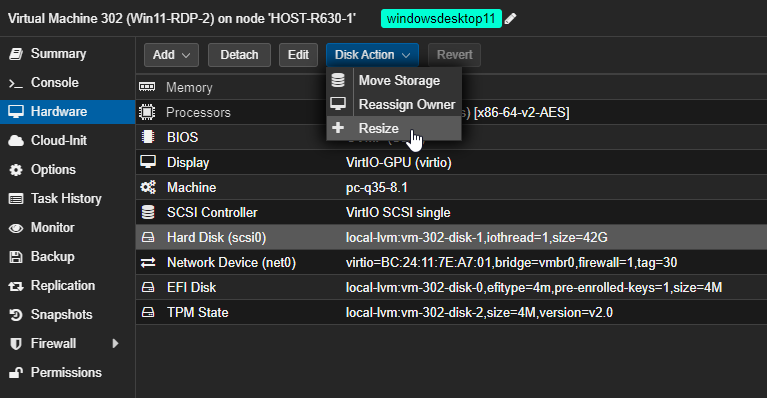
I extended the drive on Proxmox, which was fairly easy. This is done by going into the “Hardware” settings for your VM, selecting the Hard Drive you want to extend, go to the top to “Disk Action” and then select “Resize”.
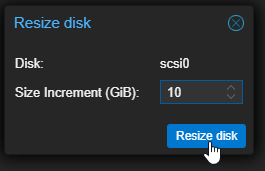
Then just enter the amount of “GiB” you want to increase it by.
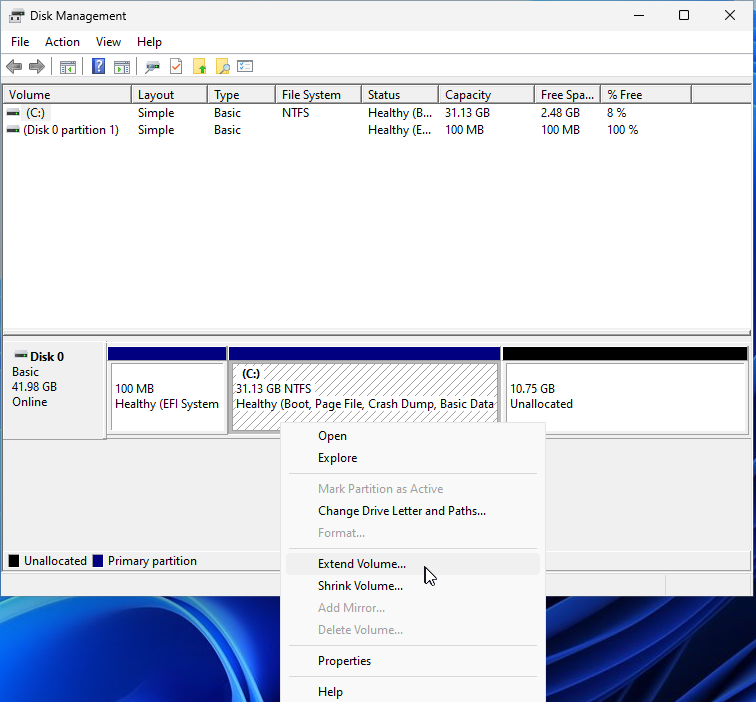
Once that was set, I logged into the VM with a local Administrator account, launched “Disk Management”, right clicked on my OS volume and…Extend Volume was grayed out…
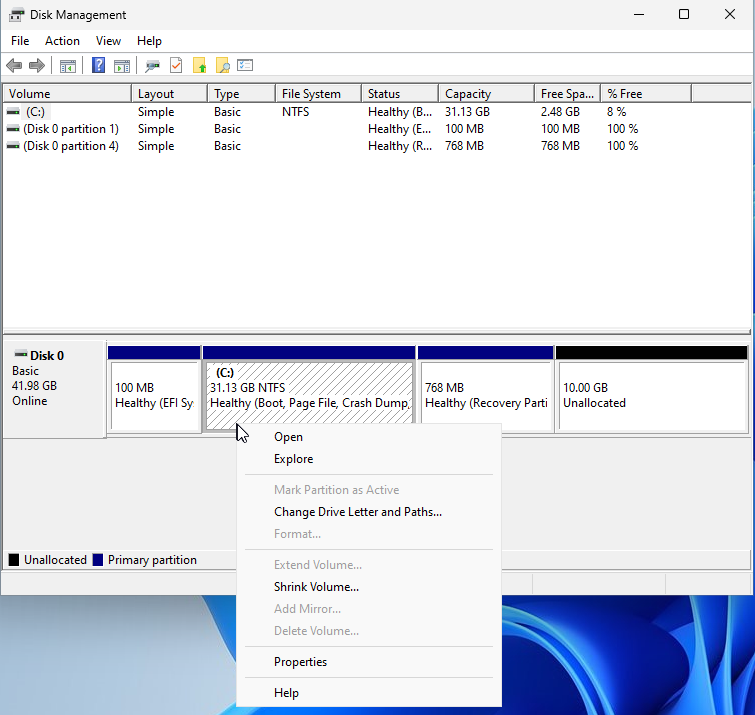
This was very weird since I’ve always been able to do this before and I could see the 10 GB of “Unallocated” space at the end of the drive.
After doing some research, I found my issue. I’m not sure when this was introduced but if you have the “Recovery Partition” at the end of your drive which gets created automatically as part of the Windows install. When you extend it, you can’t add the space to your OS drive. It’s like a roadblock from seeing the rest of the drive.
Since this is basically a disposable VM, I don’t care that much about the Recovery volume. Worst case, I just rebuild the VM. This means I can just delete the Recovery volume and extend…right? Unfortunately, you can’t just delete it through the Disk Management tool.
DiskPart Tool
After doing some searching online, I came across this Help Desk Geek article which had my solution. DiskPart was introduced all the way back in Windows 2000 and is great for doing these low level disk manipulation.
Here are the steps to remove the Recovery Volume:
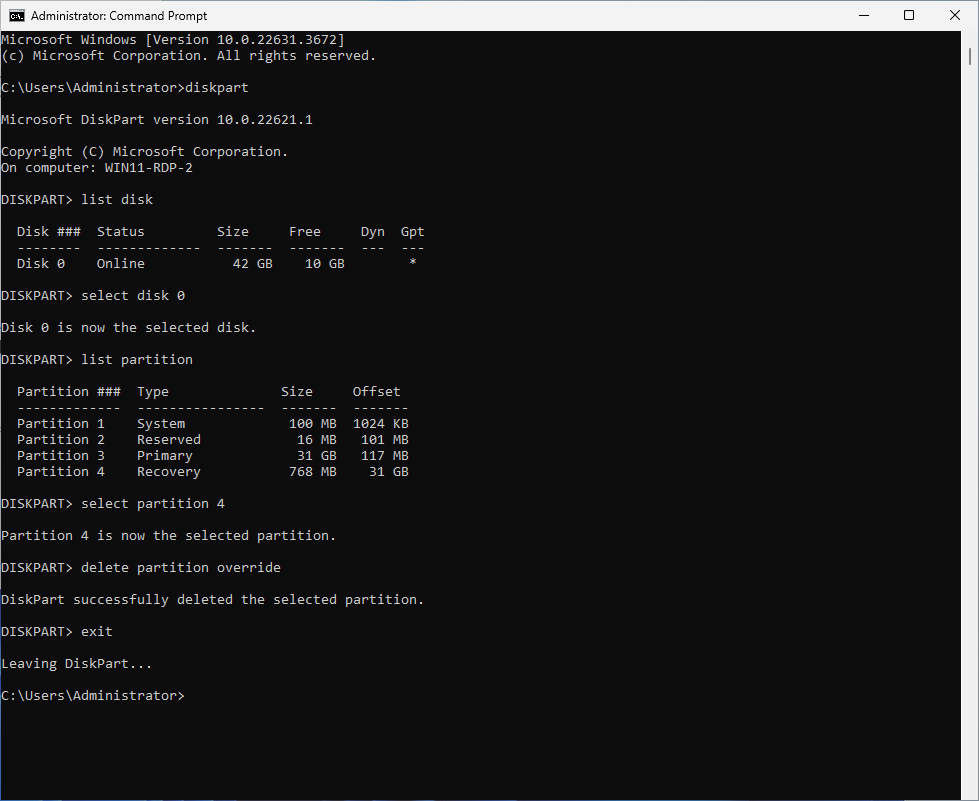
- Launch a “Command Prompt” as “Administrator”.
- Enter the command “diskpart” and press “Enter”. This should enter you into a “DISKPART>” prompt.
- Enter the command “list disk” and press “Enter”. This will list all active hard disks presented to the OS.
- Find your OS disk and enter “select disk {disk number}”. Most cases, the disk number will be “0”.
- Enter the command “list partition” and press “Enter”. This will list all volumes on that hard disk.
- Find your “Recovery” volume and enter “select partition {recovery partition number}”.
- Enter the command “delete partition override”. This should remove the volume and notify you that “DiskPart successfully deleted the selected partition.”.
- Exit the Command Prompt.
Extend Volume
Now that the Recovery volume has been removed, the roadblock should be gone. Go back and launch Disk Management. You shouldn’t see a Recovery partition anymore and if you right click on your OS volume, you should now have the option to “Extend Volume…”.
Click “Next” for the first Wizard page.

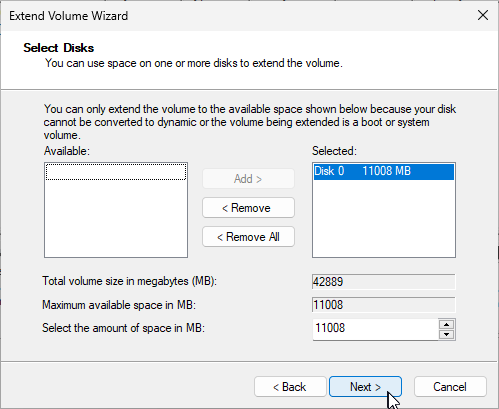
The system should automatically select the unallocated space on the disk but if it doesn’t, select it and click “Add>”.
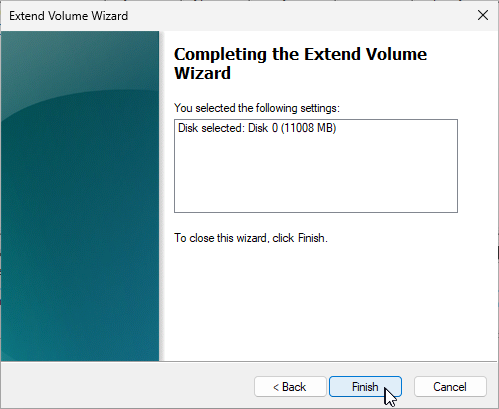
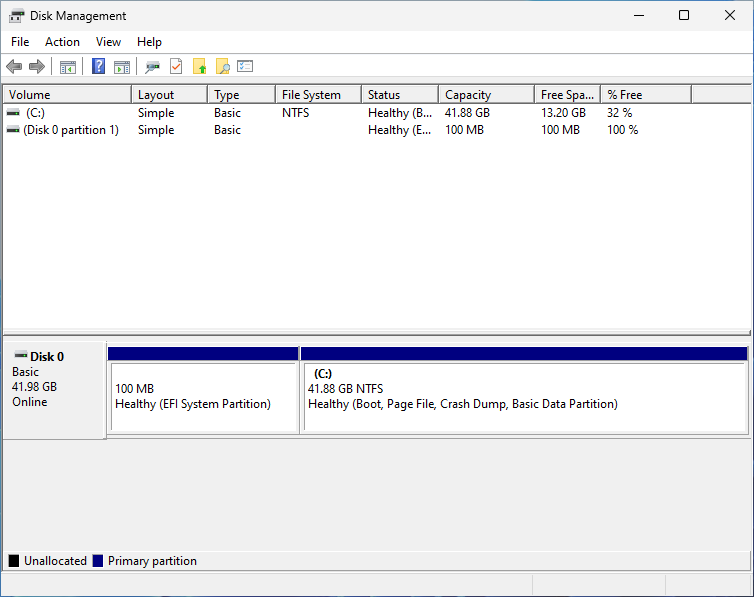
Then just click “Finish” to add all the unallocated space to your volume.
This is a great example of a tool that was made a very long time ago, most people probably forget about, that comes in handy when doing modern system management. Fundamentals are key in this industry. Thanks to Help Desk Geek for putting this article up and reminding me of this tool.
Hopefully this sheds light on this “issue” and someone out there experiencing this will find it and help them through it. If that is you, let us know in the comments below.