Most of the time, my Ubuntu Servers are running Docker so when a new release comes out, it’s usually easier and cleaner to just build a brand new server and migrate then upgrade in place. The more you get into home labs, you come across applications that aren’t containerized and you need to run them on their own VM. For those systems, a upgrade in place is usually easier then trying to fully rebuild the application on another system.
With the release of 24.04 LTS, I thought I’d do an article about upgrading a pre-existing VM to the newest LTS version.
Note: If you are running this upgrade before August 15th 2024, you will get an error saying there is no upgrade version available. There is no direct upgrade path for 22.04 LTS at this time. To get to the new version, you will need to upgrade first to the 23.10 release and then upgrade again to the 24.04 LTS version. I will walk you through that process as part of this walk through. Thanks to Vivek Gite on Cyberciti.biz for publishing this information.
Prerequisite
First thing you will want to do on your existing server is make sure everything up upgraded. You can run this command to upgrade and then reboot the system:
sudo apt update && sudo apt upgrade -y && sudo reboot
Next, make sure you have enough disk space to download the upgrade files and install. You should only need a few Gigabytes.
Lastly, you will want to take a Backup or at the very least a Snapshot of your machine if it’s virtual. There is always the chance the upgrade goes sideways and if it does, being able to restore from backup is critical.
Upgrade
Execute this command on your server to start the upgrade:
sudo do-release-upgrade
If you are doing this before August 15th 2024, you will probably get this error message:
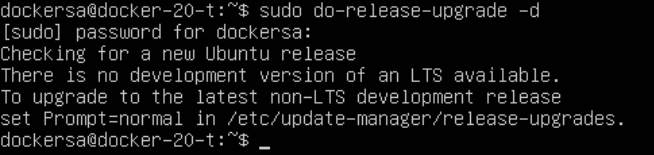
In order to get to 23.10 to then get to 24.04 LTS, we need to run this command to edit the “release-upgrade” file:
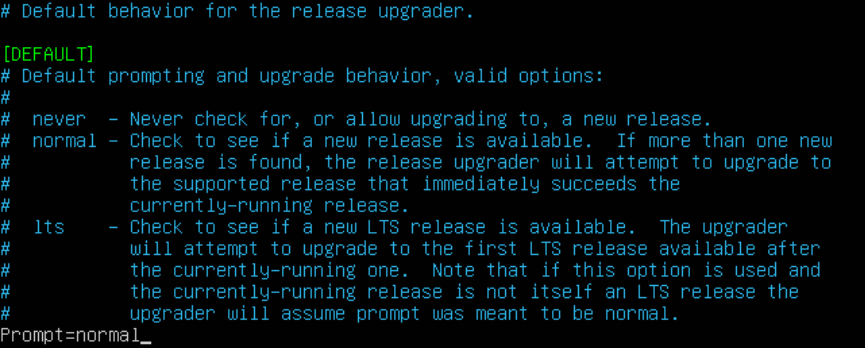
sudo nano /etc/update-manager/release-upgrades
Arrow all the way down to the bottom of the file and edit “Prompt=” and change it from “lts” to “normal”. Save and exit the file by pressing “Ctrl + X” and then “Y” to save, then “Enter” to confirm the file name.
Now, re-execute the upgrade command and it should run this time:
sudo do-release-upgrade
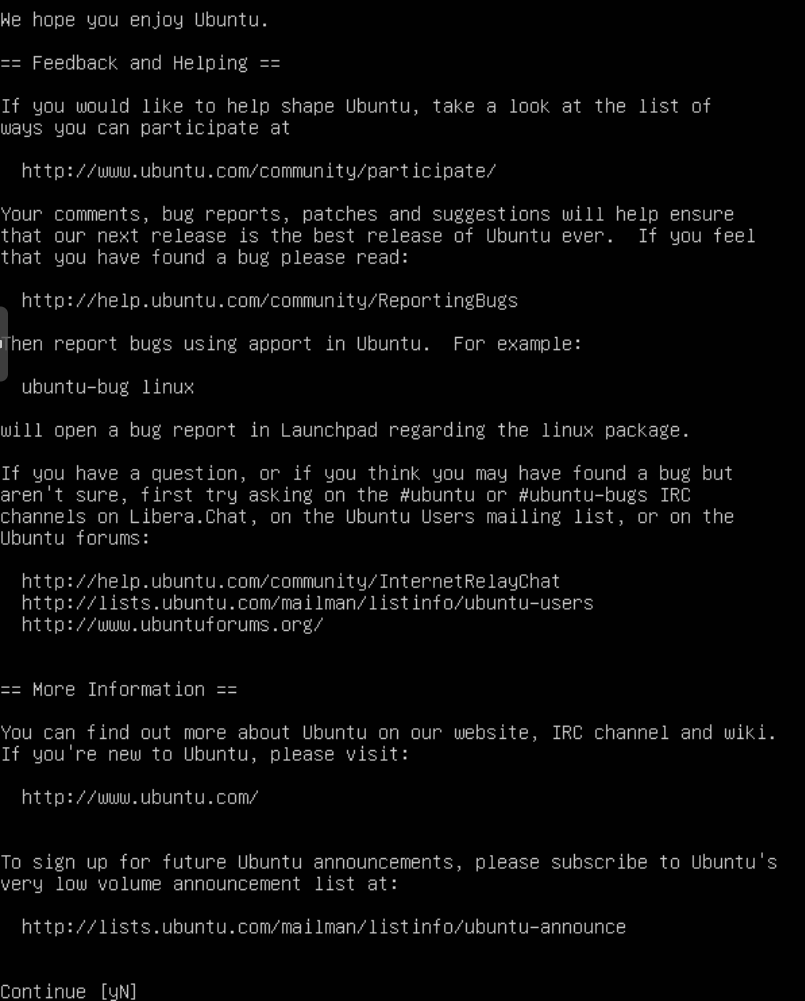
The upgrade will prompt you to confirm you want to upgrade. Press “y” and then “Enter” to confirm.
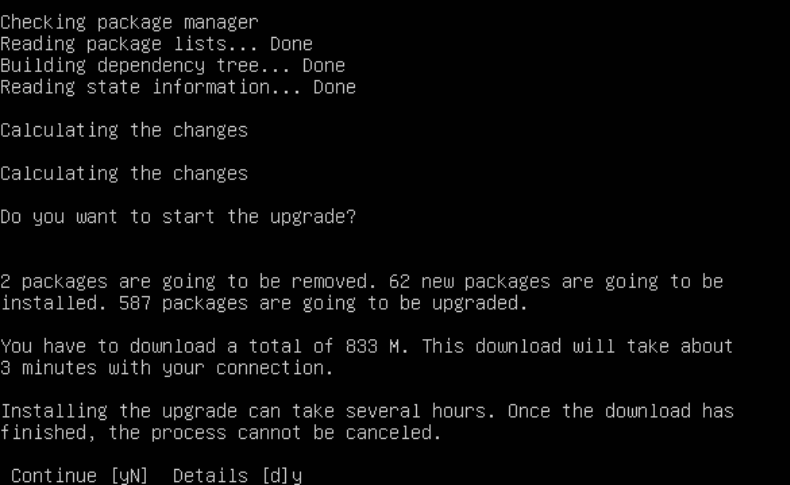
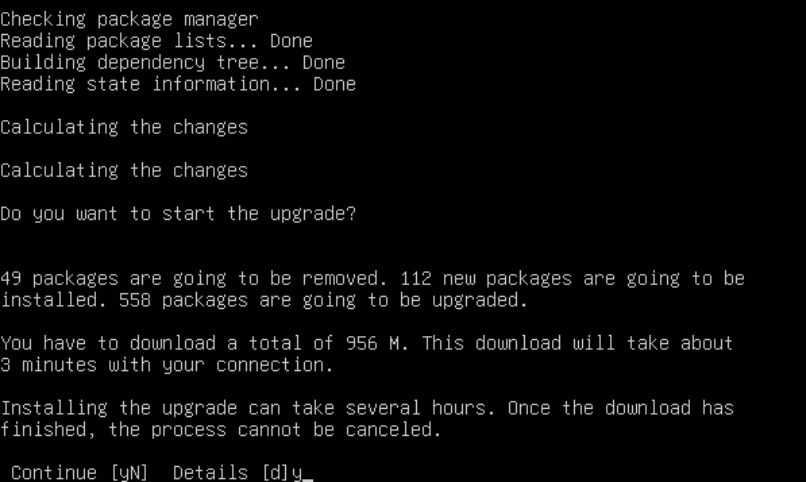
It will then give you a detailed brake down of what the upgrade will do. This includes how many packages it will install, upgrade or remove. Press “y” and then “Enter” to confirm.
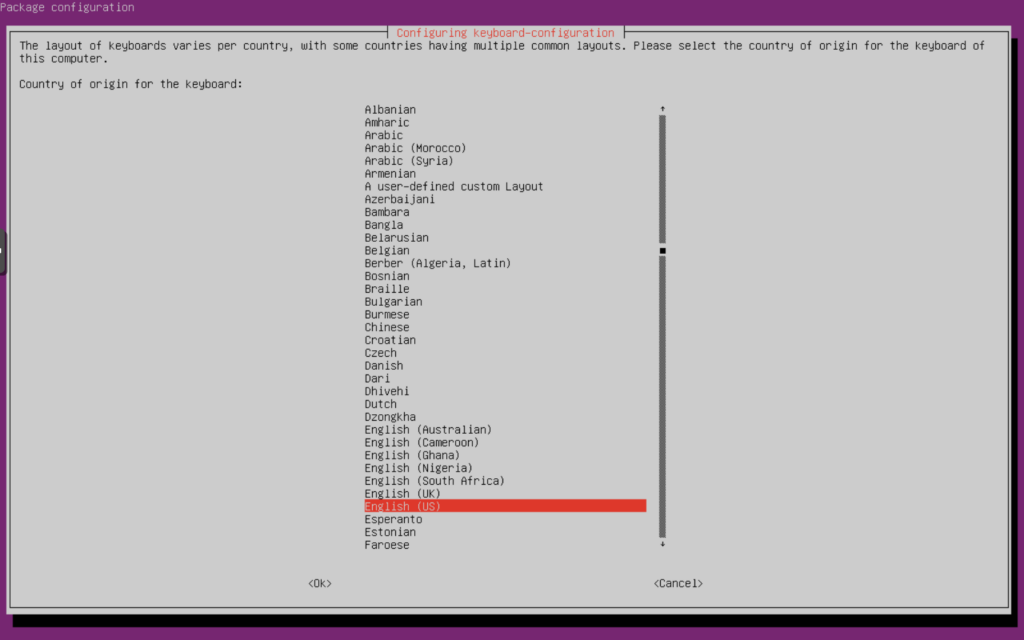
Confirm your “Country” and press “Enter” to continue.
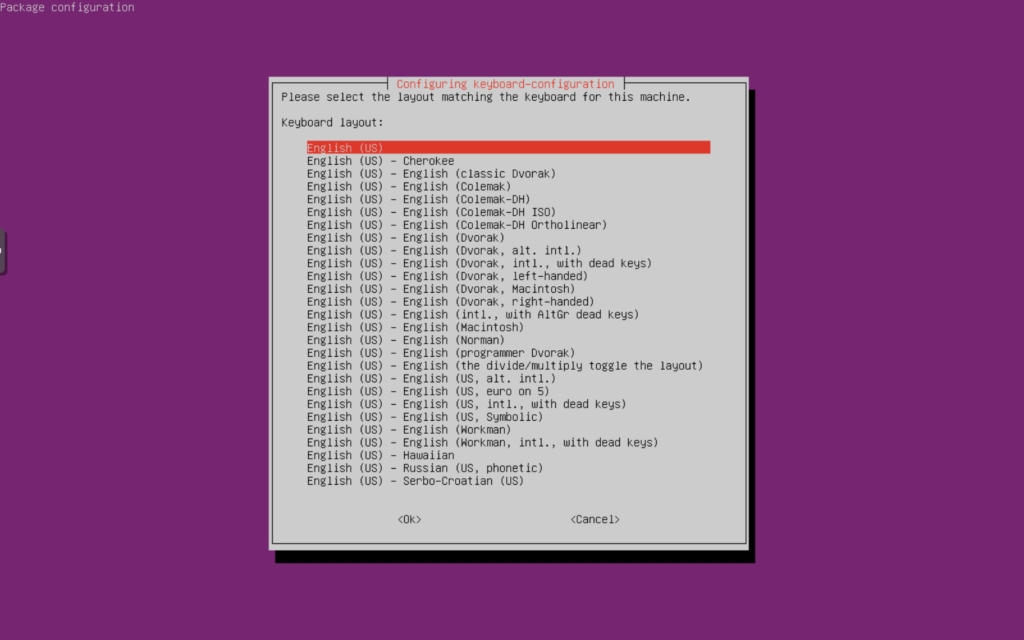
Confirm you “Keyboard Layout” and press “Enter” to continue.
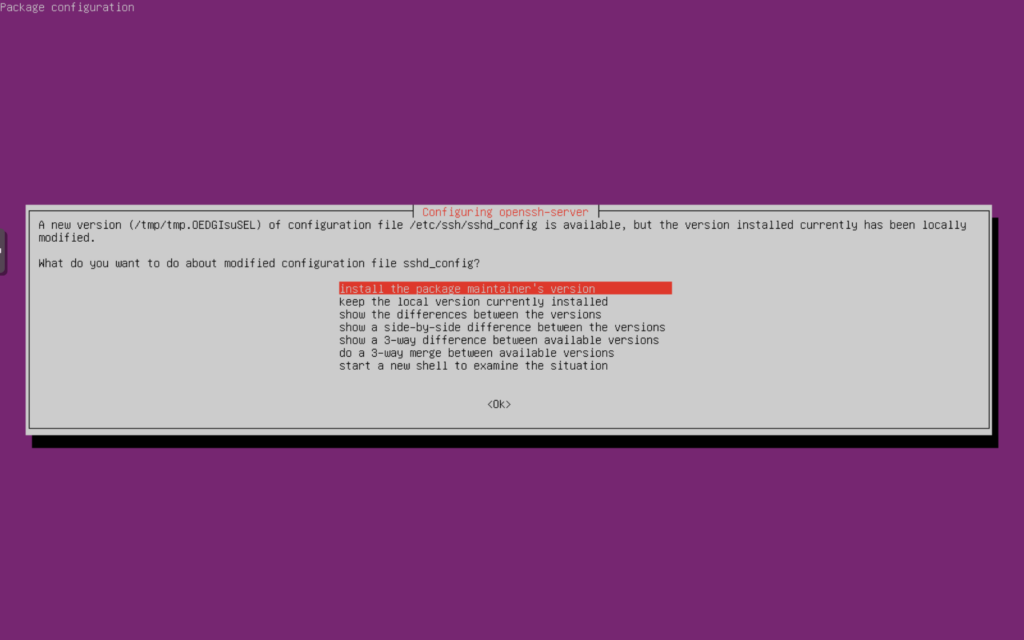
If you have modified you SSH settings, it will then prompt you if you want to keep your original “sshd_config” file or replace it with a new version. I recommend you “Install the package maintainer’s version” to get any new settings added to the file and then go back after and modify it with your custom settings. Select the option you want to do and press “Enter” to continue.
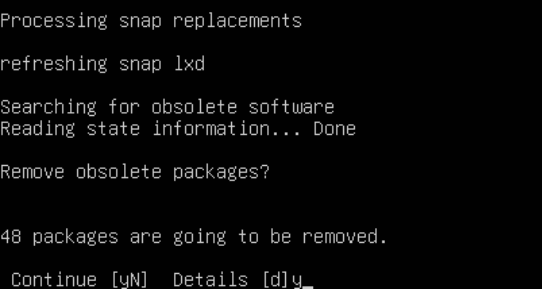
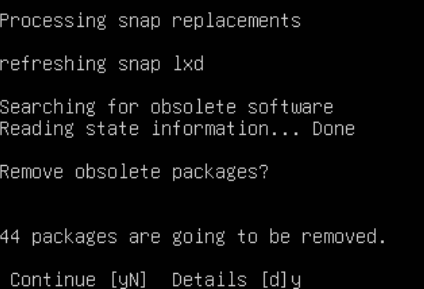
It will then prompt you to confirm you want to remove obsolete packages. Press “y” and then “Enter” to confirm.
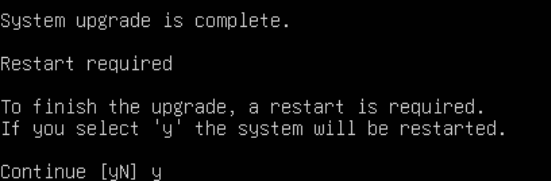
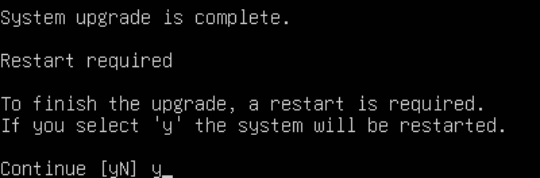
Once it is finished, you will get a prompt that the “System upgrade is complete.” and that a Restart is required. Press “y” and then “Enter” to confirm.
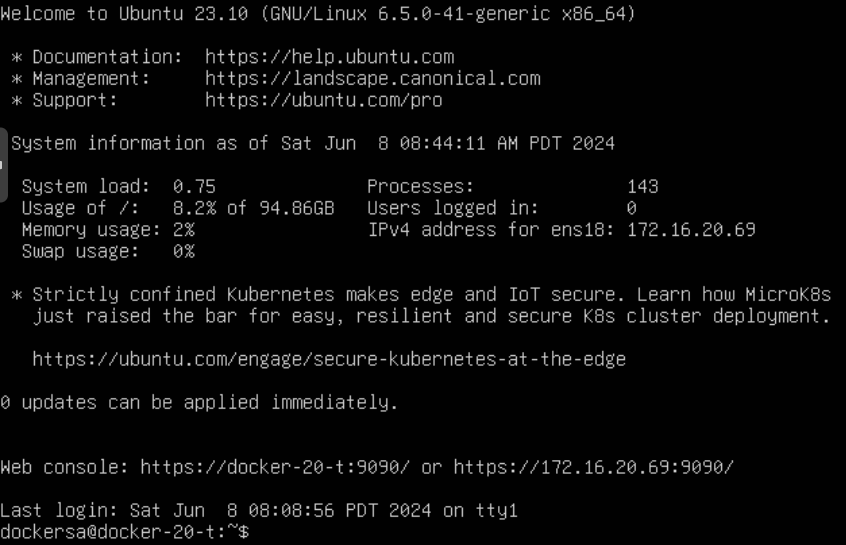
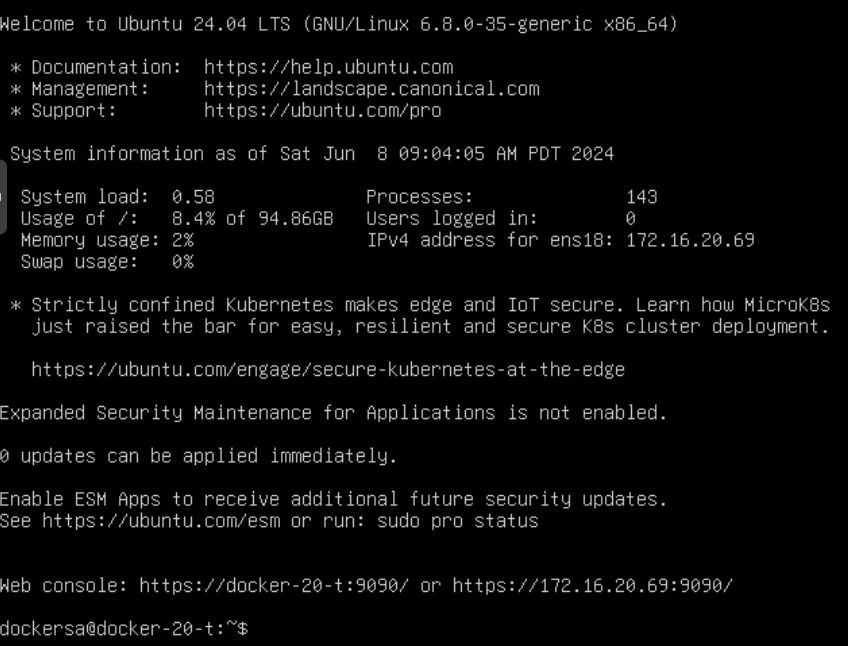
Once your server restarts, you will be prompted to log back in. Once you do, you will see that your server is now running 23.10 (if before August 15th 2024). We will need to re-run the full upgrade to get it up to 24.04 LTS.
Execute this command on your server to start the upgrade:
sudo do-release-upgrade
The upgrade will prompt you to confirm you want to upgrade. Press “y” and then “Enter” to confirm.

It will then give you a detailed brake down of what the upgrade will do. This includes how many packages it will install, upgrade or remove. Press “y” and then “Enter” to confirm.
It will then prompt you to confirm you want to remove obsolete packages. Press “y” and then “Enter” to confirm.
Once it is finished, you will get a prompt that the “System upgrade is complete.” and that a Restart is required. Press “y” and then “Enter” to confirm.
Once your server restarts, you will be prompted to log back in. Now your system should be all upgraded to Ubuntu 24.04 LTS.
Hopefully this helps those out there like me that struggled to get the upgrade at first. I hope that Ubuntu either makes this delayed upgrade process more known or makes it available at the same time as the new version in the future.
Comment below if this helped you or if you ran into any other issues while upgrading.