I originally found this container after DBTech created a video for his deployment guide. I have been using the software for a few months now and really like it. Big shout-out to him for uploading the original video.
If you have worked at an organization with a decent size work force you have probably heard of a Kanban Board or WIP (Work in Progress). It’s a system that makes it easy to manage tasks for multiple people and/or projects that all have a similar progression.
Kanboard is a free and open source, self hosted platform with a simple user interface so you can focus on your project instead of staying organized. I personally have used a few different Kanban style systems through work and personal use and I really like how this one works. You can definitely feel it’s a free platform as it doesn’t have all the fancy stuff some of the paid boards have however for a home lab it works great. I use it for managing the articles for this site and for things I want to implement in my home lab. I even have projects for managing home renovations. That’s one of the nice things about this platform, you can spend a little time customizing it to fit any project need.
In this article, I’ll go over the Deployment through a Portainer Stack. Then I’ll go over the basic’s of how to use the web interface and some of the customizations I have setup.
Prerequisites
I will be setting this up on Portainer utilizing Docker containers running on Ubuntu 22.04.4. Here are my setup guide for all of those pieces of software:
- Installing Ubuntu Server 22.04 LTS
- Things to do after installing Ubuntu Server
- Install and Configure Docker, Docker Compose, and Portainer on Ubuntu Server
Deployment
Copy this code to a new Stack on your Portainer. You can also copy this directly into a Docker Compose yaml file. Update the information for your deployment and deploy the Stack.
---
version: '3.9'
services:
  kanboard:
    image: kanboard/kanboard:latest
    ports:
      - {port number}:80
    volumes:
      - kanboard_data:/var/www/app/data
      - kanboard_data:/var/www/app/plugins
      - kanboard_data:/etc/nginx/ssl
    restart: always
volumes:
  kanboard_data:
Stuff to change for your deployment:
- Version – This is be determined by the version of Docker you are running on your server. You can find this by entering the command “docker -v”. Here is a link to the Compatibility Matrix.
- Image – You can do “latest” and it will pull the current version. I prefer to look up the actual tag for the current version. This adds a little more management to updating however pinning it to a specific version adds reliability. Here is a link to the Kanboard Tag page.
- Ports – You will want to update this to an empty port that works well inside your environment.
- Volumes – I started switching my persistent storage to built-in Docker volumes for some changes I will be making for my file system. Feel free to do what I did in deploying to a Docker volume or you can do a “blind map” directly to the file system on your server (ex. /home/{user name}/docker/kanboard/{folder for each}).
- Restart – You will want to set this to the way you want docker to handle the restarting of the container. Here is a link to the Restart Policies to choose from. I prefer “always” so if it crashes or the server restarts, it will automatically restart the container.
Configuration
Now that we have the docker stack deployed on our server, lets access the web interface and start customizing it.
Open your web browser and navigate to “http://{server name or IP}:{port you configured in the stack}”.
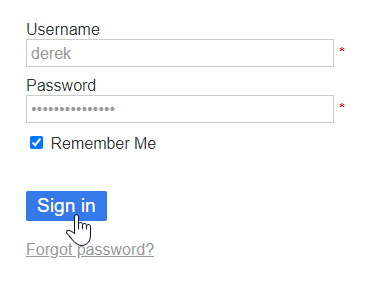
You should see a login screen that looks like this:
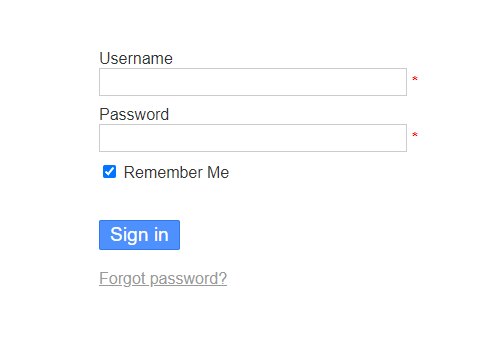
The default username and password for both is “admin”.
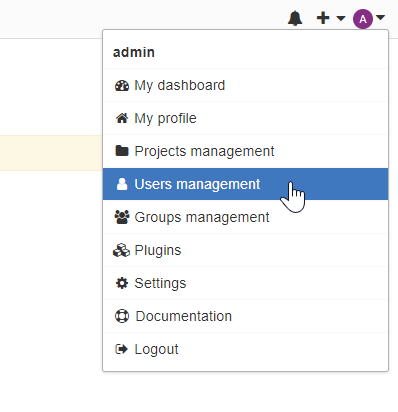
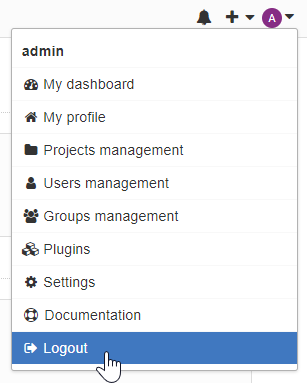
First thing you want to do is create a new user for yourself. Click the “A” (admin) settings in the top right corner and then click “Users Management”.
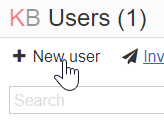
Click the “New user” button in the top left.
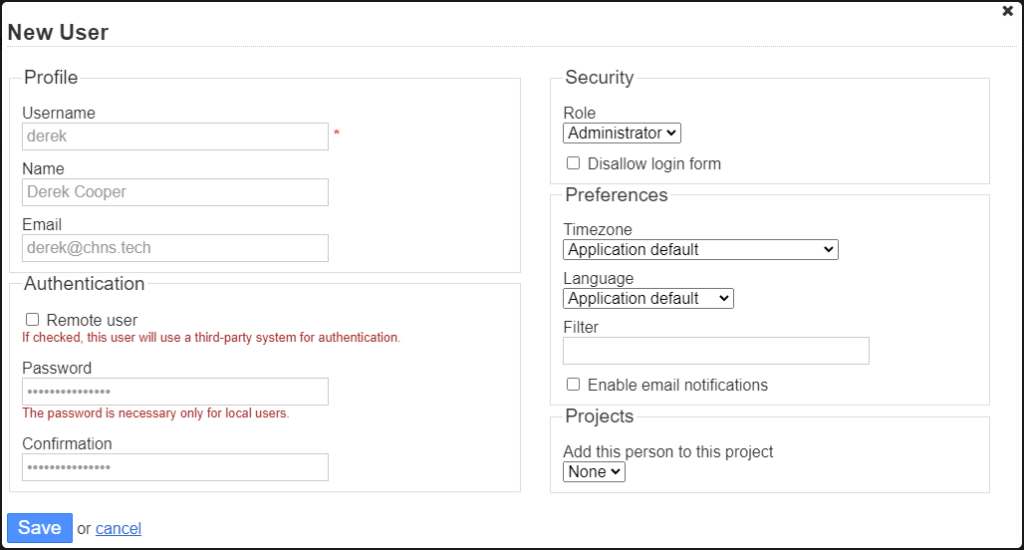
Fill out all the information for yourself and then click “Save” at the bottom. Make sure you change the “Role” to “Administrator” so you can further customize after we switch users.
Logout of the Admin account by going back to the top right corner and then “Logout” at the bottom.
Sign back in with the username and password you just created.
Make sure you go back into User Management and “Change Password” for the Admin account so it’s not the default “admin” password.
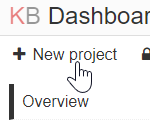
Ok, now lets create our first Project. Click the “New project” button in the top left.
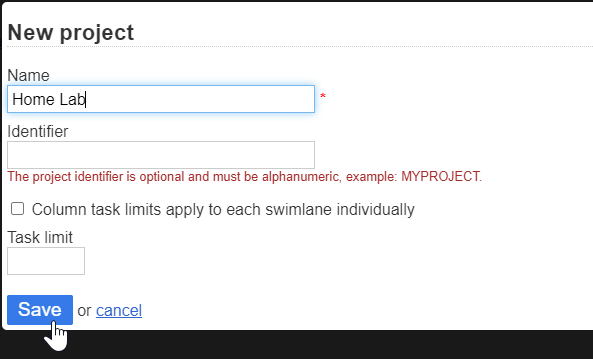
Give the project a name and click “Save” at the bottom.
The first page you will see is the “Summary” for the project. This is where you can see an overview for the project and manage the settings.
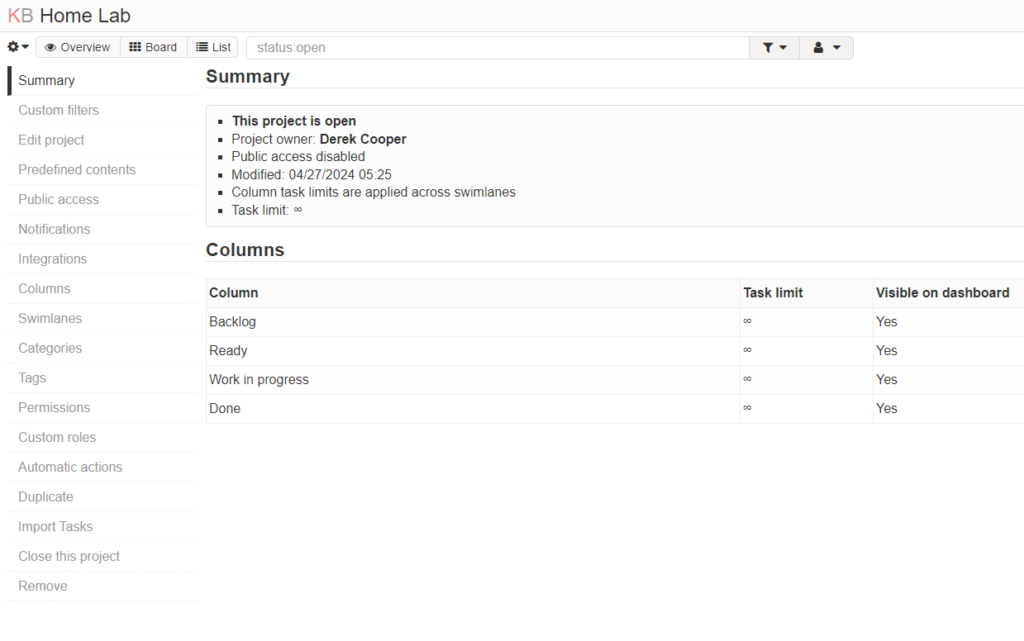
First customization I want to look at is the “Columns”. You can click this on the left menu.
Here we can edit the lanes to fit the needs of the project. Since this is a demo, I’m going to leave them the way they are.
Next thing is the “Categories”.
This allows you to categorize tasks into like tasks which we will use later to color code tasks to make them easier to visualize. I am going to add a few categories for examples. Also assigning a color to each one.

Lastly, lets look at “Automatic actions”.
Here we can customize actions that take place when events happen. There is a huge list of actions so look over them and find the ones that will help you with your process. For this demo, I’m going to focus on “Assign automatically a color based on a category” and build out an automation for each of the categories I build earlier linking them to the same color I assigned to the category. I also built out an automation to start the timer when a task moves to the “Work in progress” column and then closes the task when it sits in the “Done” column for 2 days without any activity.
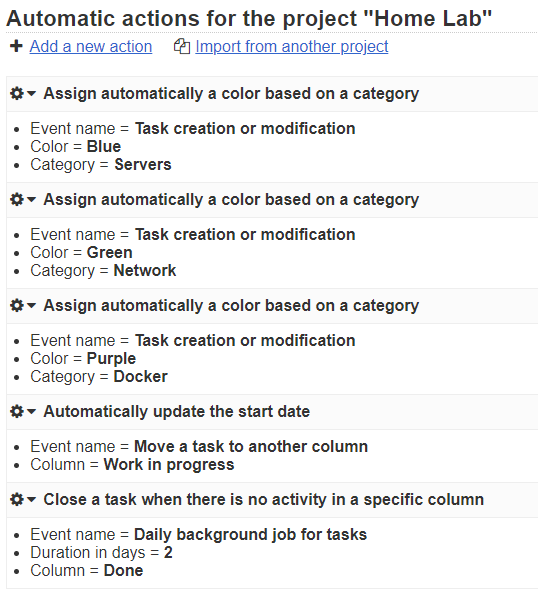
These are just some of the examples I use for my production system.
Now lets create some tasks. Click the “Board” button in the top left corner.
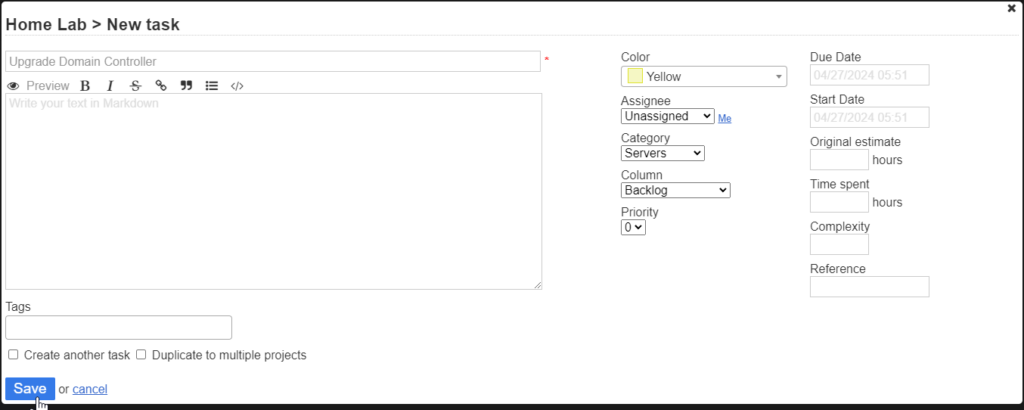
Next, click the Blue “+” in the header of one of the Columns.

Fill out the task with whatever information you need and then click “Save”. Notice the only thing I changed was the “Category” field.
Back on the Board, you will notice that since we have the automation rules in place, the task has been changed to Blue.
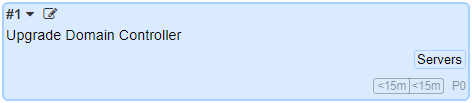
Start listing the Tasks you need to do and customizing them with the information you need to start projects.

Clicking the “KB” in the top left corner will take you back to your Dashboard where you can see an overview of all your projects.
There is still so much to this software that I didn’t cover that adds loads of productivity. It took me a little while to figure out how everything worked but now its pretty easy to update on the fly as I’m working a project. The time tracking aspect is also a really nice thing to have for each task and even broken down into each sub-task you create. I really like this container and will continue to use it to manage all my projects.
Hopefully this helps you get organized and be more productive. If you deployed it or have things you would change, leave a comment at the bottom.